Graco Inc. 216-119 User Manual
Page 4
should be taken when starting threads. Applied
vide you with years of durability and efficiency
These working parts require periodic replacement:
1. Air cap (7).
2. Fluid tip (6).
3. Needle, fluid (41).
Removing Fluid Tip
To remove fluid tip (6) for cleaning or replacement,
remove the ring nut (8) and air cap
turn off the
atomizing air, trigger the gun to release needle pressure
on the tip. Remove the tip with a wrench. Replace with
the needle triggered to the rear.
When replacing air cap
on the gun, be sure the wire
electrode coming from the needle
is centered in the
air cap center hole. The best method is to slide the air
cap onto fluid housing
making sure that the wire
goes through center hole of air cap, then tighten ring
nut
onto barrel
allowing air cap to be drawn up
evenly on the fluid tip. Check alignment of ionizing wire
in the fluid stream.
Removing Fluid Tip Housing
If the housing
is removed, the o-rings
should be
replaced and the housing firmly seated. The housing
must be torqued no more than 15-20 ft-lb
or
plastic threads may become stripped. Lubricate with
petroleum jelly new o-rings on housing before replacing
in gun barrel.
NOTE:
Fluid tip (6) must be removed from housing
before replacing to avoid damage to ionizing
wire.
Replacing Fluid Needle
Turn off the atomizing air and fluid, trigger the gun to
release needle pressure on the tip. Remove ring nut
and air cap
Remove fluid tip
with a
in.
wrench. Remove nut
and screw
from the rear
of the gun. With a long nose pliers pull out needle ex-
tension
nut
nut
spring
and needle
Unscrew needle
from extension (46). (Pliers
maybe necessary as Loctite is used on threads.) Install
new needle
applying Locrite no. 290 or equivalent
to threads to prevent needle from coming loose during
operation. Reassemble needle into back of gun using
extreme care. Ionizing wire must remain straight as it
passes through rear actuator packings
After needle is assembled in the gun, replace fluid tip
and rear spring
and spring
along with ad-
justing screw
locknut
and air cap
For ad-
justment see Replacing Fluid Needle Extension.
Replacing Needle Guide
Needle guide (47) is pressed into rear of fluid housing
(5). Remove fluid housing and press out needle guide.
When replacing be sure internal chamfered end faces
rear of fluid housing.
Replacing Fluid Needle Extension
Remove needle (see Replacing Fluid Needle). When
replacing extension (46); locknut
and needle ad-
justing nut
must be readjusted on needle extension.
Push needle
needle extension
and piston
fully forward, and turn the adjusting nut
all the way
into the piston. Remove needle assembly from piston,
turn adjusting nut two turns counterclockwise, and
tighten locknut (29). This adjustment provides atom
air just before the fluid needle is engaged and after
seating.
Replacing Fluid Packing
The fluid packing
is replaced when the needle
is removed. Remove the packing nut
then pick out
the packing and replace. Replace the packing nut. In-
sert the fluid needle, tighten the packing nut and apply
pressure on the packing to a firm seating. Do not
tighten. The fluid needle should move without binding.
When the gun is completely assembled and fluid
pressure applied, the packing nut may be tightened to
correct a slight leak.
Removing Gun Barrel
It is seldom necessary to remove the gun barrel (42)
from the gun body
When necessary, this is ac-
complished by unscrewing the gun coupling
and
carefully lifting away from the gun body. Inspect o-rings
and 4) and replace if necessary. To line up guide pin
in barrel with hole actuator assembly keep indicator de-
tent
of barrel lined up with top of actuator.
Replacing Cylinder Adapter
The cylinder adapter
should not be removed unless
damaged.
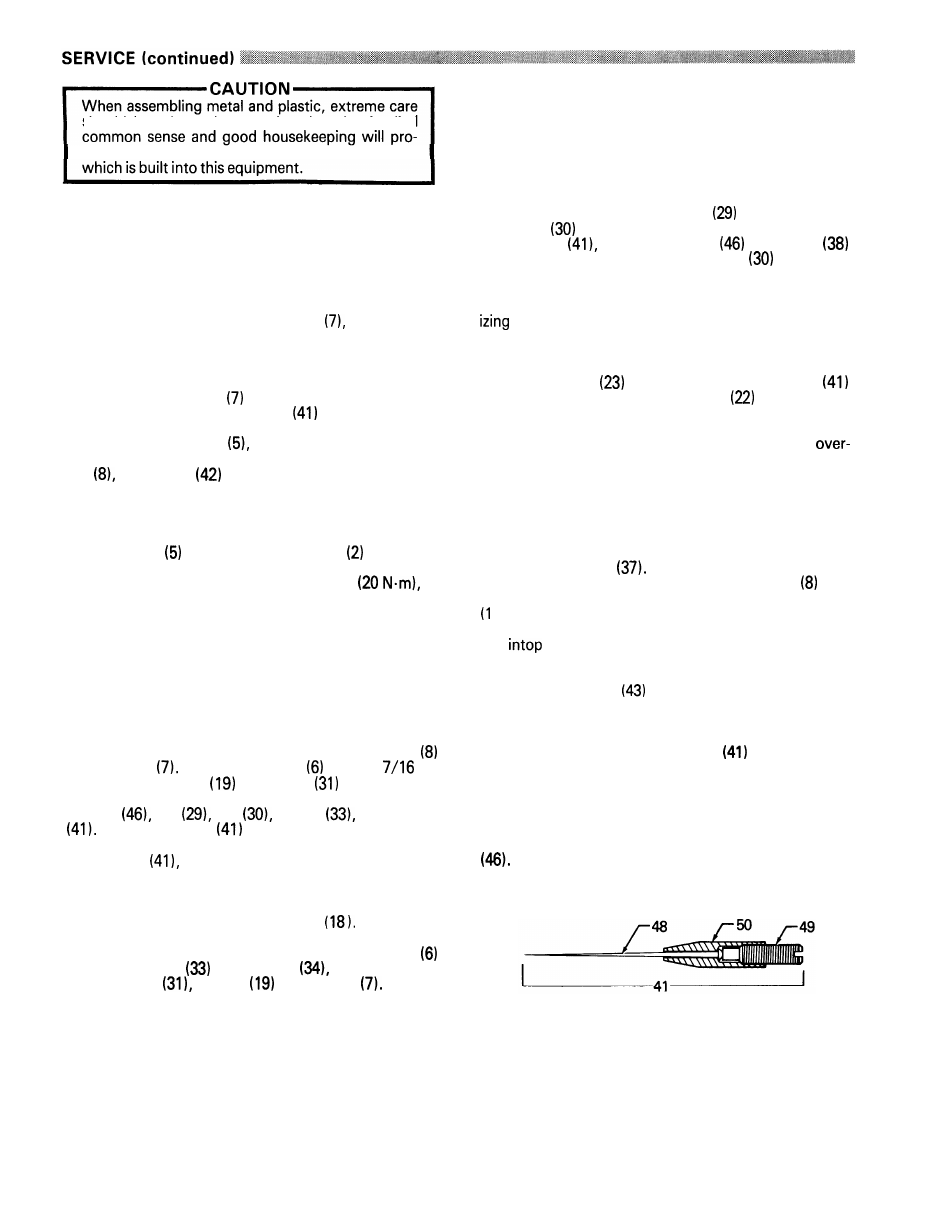
Replacing Electrode Stem of Fluid Needle
If electrode stem (48) of fluid needle
needs replace-
ment, first unscrew electrode stem from fluid needle ex-
tension (46). Unscrew setscrew, and remove old elec-
trode stem.
Insert new electrode stem and replace setscrew.
Reassemble fluid needle (41) to fluid needle extension
4
307434