Chapter 5 basic setting of gn-b41g, Login gn-b41g, Chapter 5 basic gn-b41g settings – GIGABYTE GN-B41G User Manual
Page 28
GN-B41G Wireless Broadband Router
Chapter 5 Basic GN-B41G Settings
You can change the settings of your GN-B41G wireless router using an Internet
browser (Internet Explorer or Netscape Navigator) to access the web-based
utility.
Login GN-B41G
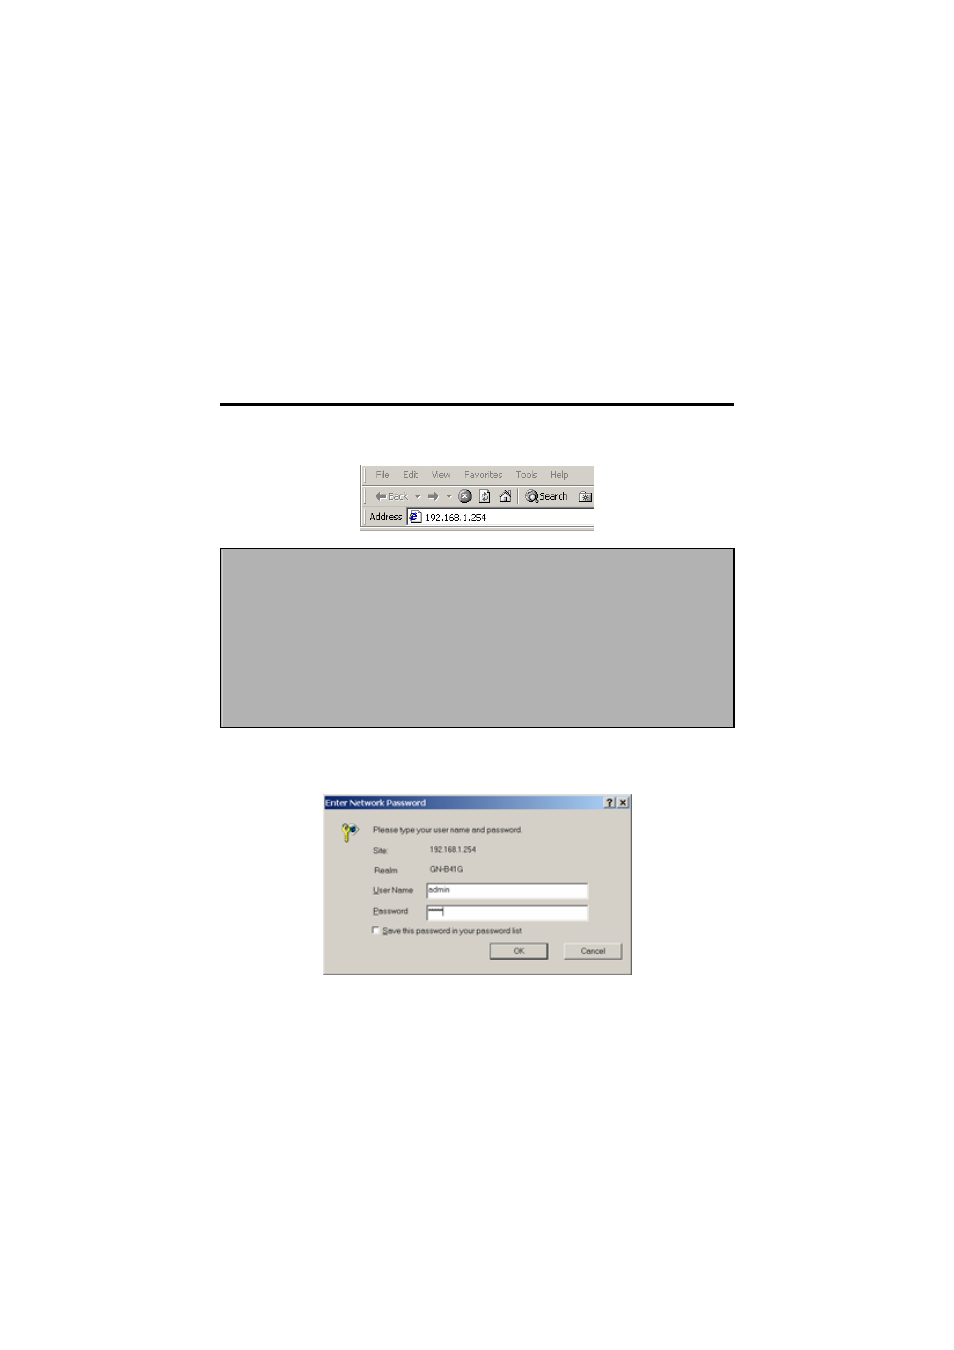
Step 1.
In the address bar of your browser, type “192.168.1.254” and then
press the ENTER key.
Note: If you have more than one Router or the IP is duplicated on the same
subnet, please refer to the following priority table to change your IP in
order.
Priority 1
“192.168.1.254”, “255.255.255.0”, “192.168.1.1”, “192.168.1.33”
Priority 2
“192.168.2.254”, “255.255.255.0”, “192.168.2.1”, “192.168.2.33”
Priority 3
“172.16.1.254”, “255.255.255.0”, “172.16.1.1”, “172.16.1.33”
Priority 4
“172.17.1.254”, “255.255.255.0”, “172.17.1.1”, “172.17.1.33”
Priority 5
“10.1.1.254”, “255.255.255.0”, “10.1.1.1”, “10.1.1.33”
Priority 6
“10.2.1.254”, “255.255.255.0”, “10.2.1.1”, “10.2.1.33”
Step 2.
When the password page appears, use admin as the default User
Name and default Password. Then click the OK button.
28