3 how to enter the initial settings – Furuno 1935 User Manual
Page 29
3-3
3.3
How to Enter the Initial Settings
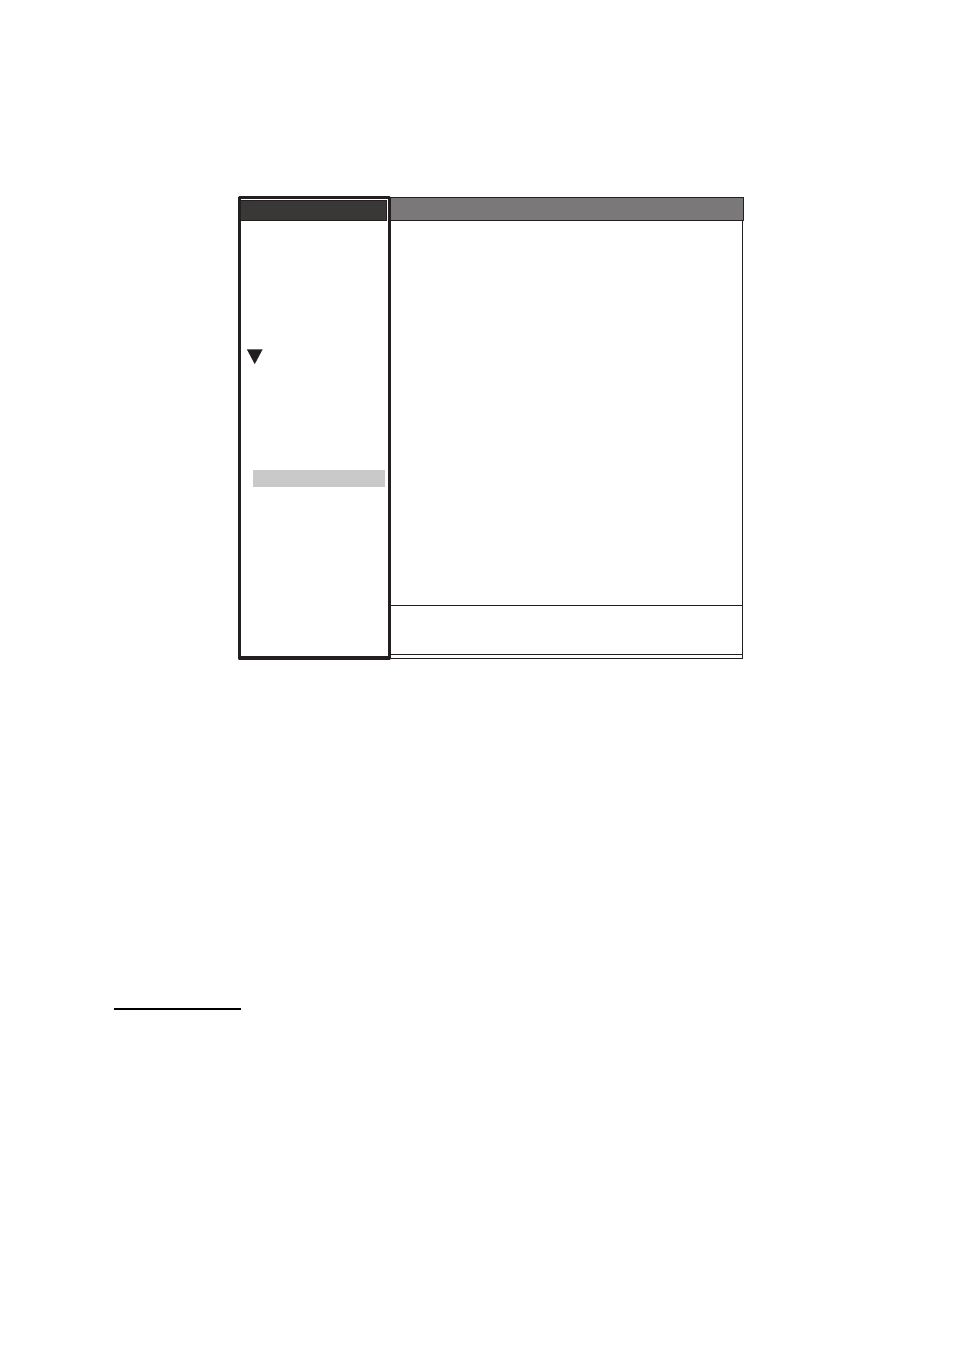
After you set the purpose of the radar, enter the initial settings as follows.
1. On the main menu, press T
or S to select Installation.
2. Press the ENTER key. The Installation menu becomes active and the cursor moves to the
right column.
3. Press T
or S to select an item from the Installation menu.
4. Press the ENTER key to show the setting window.
5. Press T
or S to select an option.
6. Press the ENTER key to validate the setting.
7. Press the MENU key to close the main menu.
Basic Settings
Input Source: Select the input source from Master and Slave. The default setting is Master.
Master: A display unit operates as the main radar.
Slave: A display unit operates as a remote display. For the remote display, make sure you
adjust the "Video Init Adjust" and "Timing Adjust" (page 3-5 and 3-6).
ARPA QV Select: Set to "On" position to display quantized video on the screen. Set to "Off" po-
sition for normal use.
Demo Mode: Set to "On" position to activate the demo mode. Set to "Off" position for normal use.
[ENTER]: Enter [CANCEL/HL OFF]: Back
[MENU]: Exit
System
GPS
Units
Target
ARPA
AIS
Demo Mode
Input Source
ARPA QV Select
Antenna Height
Heading Adjust
: 15m
: 2
: 0. 0 °
: Off
: Master
: Off
MBS Adjust*
Auto Install Setup*
Timing Adjust
Near STC Level
: 0
: 0
: 0.000 NM
Menu
Menu
Installation
Installation
Initial
Factory
Sector Blank **
Installation
Total On Time*
: 000000.5 h
Total TX Time*
: 000000.6 h
* : Displayed when scrolled.
Memory Clear*
** : Set the Sector Blank to "Off" in order to
execute Auto Installation Setup in the
Installation menu.
Video Init Adjust*
: 6
ARPA Adjust SP*
: 2
ARPA Adjust MP*
: 2
ARPA Adjust LP*
: 2
Antenna Rotation
: Rotate
Tests
A/C Auto Adjust