Chapter2 installation of the scanner, 1 installing the scanner, 2 connecting the scanner to your pc – FUJITSU fi-5900C User Manual
Page 12: Chapter2, Installation of the scanner, Connecting the usb interface
4
Chapter2
INSTALLATION OF THE SCANNER
2.1 Installing the Scanner
1. Place the scanner at its installation site.
For details on the scanner's dimensions and
required installation space, refer to the fi-5900C
Operator’s Guide, chapter "10. Scanner Specifi-
cations".
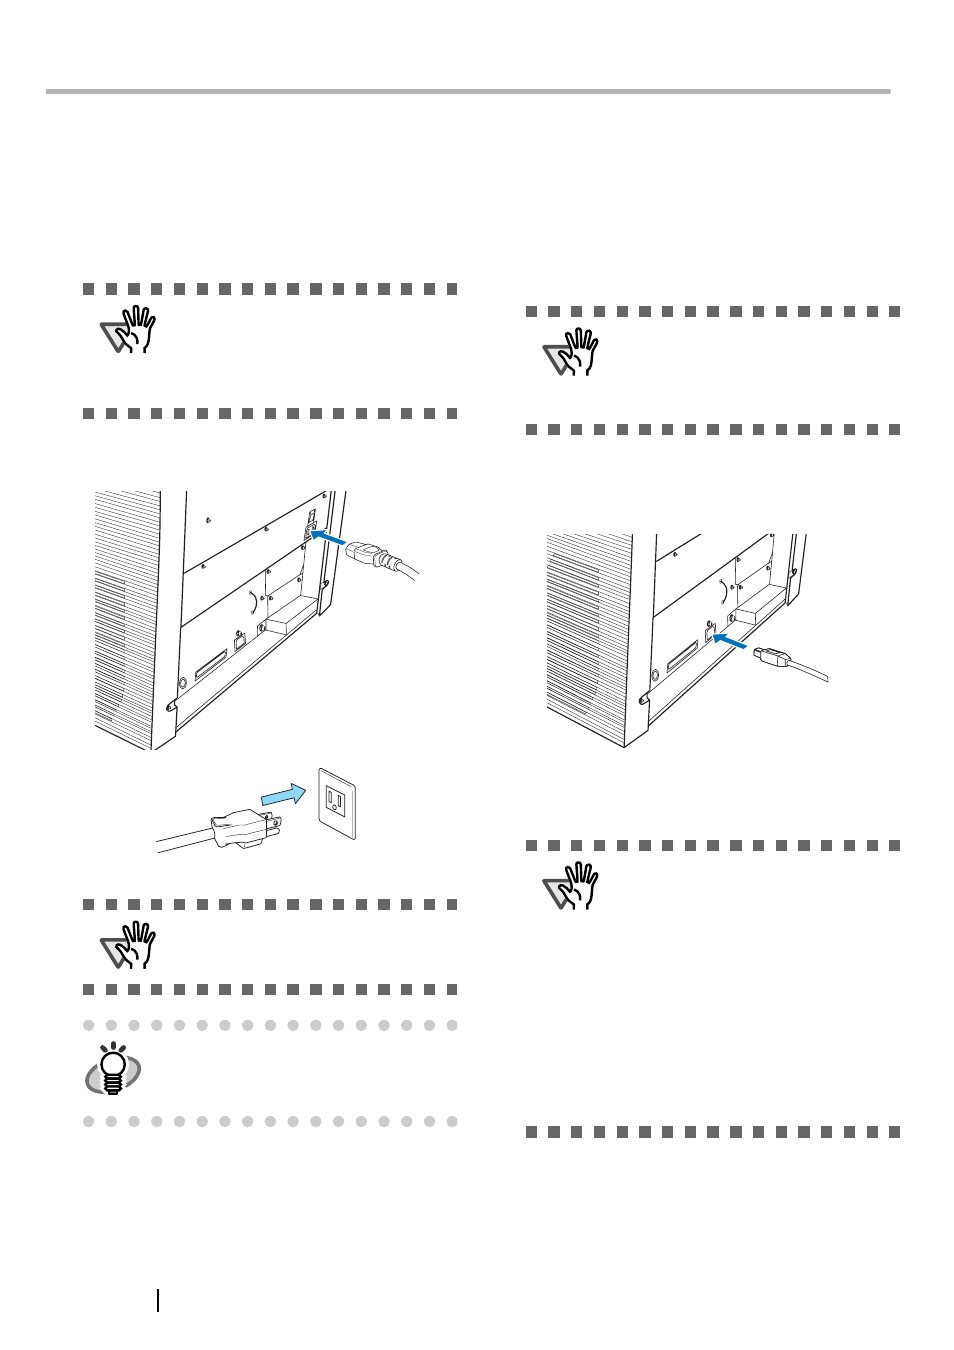
2. Connect the AC cable to the Power inlet of the
scanner and plug it into an outlet.
2.2 Connecting the Scanner to
Your PC
When running Windows 95 or Windows NT 4.0, con-
nect the scanner using the SCSI interface.
When running Windows 98, Windows Me, Windows
2000, or Windows XP, connect either using the USB or
SCSI interface.
■ Connecting the USB Interface
1. Connect the USB cable to the USB connector.
2. Connect the other end of the USB cable to
your PC.
ATTENTION
•
The scanner weight is 50 kg (110 lb).
Make sure two persons are available
when moving the scanner.
•
When carrying the scanner, only grip the
bottom side.
ATTENTION
Use only the power cable provided by the
manufacturer.
HINT
The Function Number Display and the LED
may flash for an instant when plugging the
AC cable into the outlet. This is not a mal-
function.
ATTENTION
This scanner is provided with two inter-
faces: Ultra SCSI and USB 2.0 /1.1. Con-
nect only one of the USB or SCSI cable.
Windows 95 and Windows NT 4.0 do not
support USB interface.
ATTENTION
•
Be sure to use the USB cable which
comes with this scanner. Correct opera-
tion with commercially available cables
is not guaranteed.
•
When connecting to a USB hub, use the
first stage USB hub that is closest to the
computer. If you use the second or later
hub stages, the scanner may not oper-
ate correctly.
•
If you connect the scanner with USB 2.0,
it is required that the USB port and Hub
are compliant with USB 2.0. The scan-
ning speed may slow down if it is con-
nected with USB1.1.