Photography menu operation, Q shooting mode ➡ p.31, 43, Y quality ➡ p.29 – FujiFilm FinePix A340 User Manual
Page 30: D ev ➡ p.32, Self-timer ➡ p.30, A white balance ➡ p.32, Y quality settings in still photography mode
29
Advanced
Features
3
1
PHOTOGRAPHY MENU OPERATION
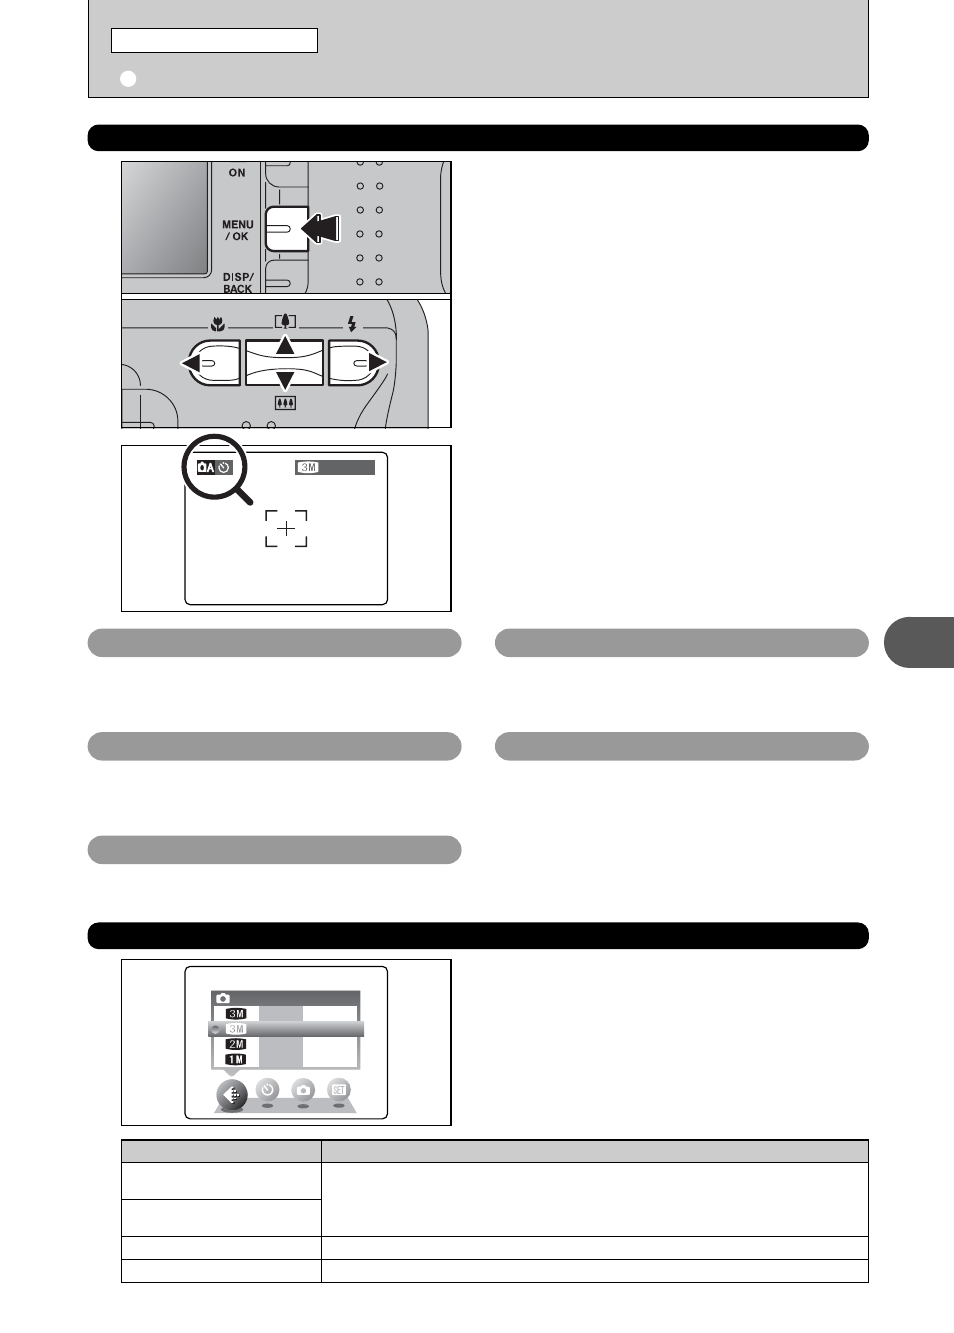
1 Press the “MENU/OK” button to display the
menu on the LCD monitor.
2 Press “d” or “c” to select the menu item and
“a” or “b” to change the setting.
3 Press the “MENU/OK” button to confirm the
selection.
0
1
0
2
0
3
q STILL PHOTOGRAPHY MENU OPERATION (Important. Please read.)
STILL PHOTOGRAPHY MENU
2
When you enable the setting, an icon appears in
the top-left corner of the LCD monitor.
●
!
The settings available in the menu screen vary depending on
the Still photography mode.
q Shooting mode
➡P.31, 43
Specify “
a
” Auto, “
s
” Manual, “
m
” Portrait, “
,
”
Scene, “
.
” Sports, “
/
” Night or “
r
” Movie.
y Quality
➡P.29
Set the size of the recorded image when the
picture is taken. The size set is matched to the
intended use of the print size.
D EV
➡P.32
Set when the correct exposure cannot be obtained.
* Self-timer
➡P.30
Use this setting for taking pictures such as group
shots where the photographer is included in the
shot.
A White balance
➡P.32
Change this setting to take a picture with the white
balance fixed for the surroundings and lighting
when the picture is taken.
Choose from 4 settings. Using the table below as a
guide, select the setting that best suits the aims.
y QUALITY SETTINGS IN STILL PHOTOGRAPHY MODE
●
!
The numbers to the right of each setting show the number of
available frames.
●
!
When changing the quality setting, the number of available
frames also changes (
➡P.19).
Printing at A4 or A5 size or printing part of the image cropped at A6 size.
For better image quality, select “F”.
Quality mode
4
F,
4
N (2272
× 1704)
✽ FinePix A340 only
3
F,
3
N (2016
× 1512)
✽ FinePix A330 only
Printing at A5 or A6 size.
2
(1600
× 1200)
Printing at A6 size.
1
(1280
× 960)
Sample Uses