Field Controls UV-18HPC User Manual
Page 11
page 11
WARNING:
Never expose eyes or skin to UVC light from any source. Looking directly at the UVC light may cause permanent eye damage or blindness.
Never operate the UV-Aire Air Purifying System out of the plenum. Avoid touching the glass portion of the lamp with your hands.
MODEL
LAMP
(Field Controls Part Number)
CIRCUIT BOARD
(Field Controls Part Number)
BALLAST
(Field Controls Part Number)
UV-12C
46365401
46436300
46365511
UV-18C
46365402
46436300
46365512
UV-28C
46365403
46436300
46365510
UV-28
46365403
N/A
46365503
UV-12HP
46365401
N/A
46365511
UV-18HP
46365402
N/A
46365512
UV-28HP
46365403
N/A
46365510
UV-12HPC
46365401
46436300
46365511
UV-18HPC
46365402
46436300
46365512
UV-28HPC
46365403
46436300
46365510
TROUBLESHOOTING GUIDE
If the LED is illuminating a YELLOW color and the circuit board alarm beeps every 15 minutes, the lamp
1.
should be replaced soon.
If the LED is illuminating a RED color and the circuit board alarm beeps every 5 minutes, the lamp should
2.
be replaced immediately.
If the lamp does not light up, replace lamp.
3.
If the lamp still does not light up after replacing the lamp, replace ballast.
4.
REPLACEMENT PARTS LIST
For replacement parts, contact your local heating service company.
Any questions, please contact Field Controls at:
• Phone: 252-522-3031 • Fax: 252-522-0214 • Email: [email protected]
NOTE:
UV lamps contain a small amount of mercury, like
a typical fluorescent lamp. Check with your local waste
management authority for local disposal or recycling
requirements. According to the EPA's Universal Waste Rule,
these types of lamps may be disposed of into household waste.
Insert the lamp through the mounting hole and secure the
5.
lamp by rotating the swivel bracket counter-clockwise into
position and secure by tightening wing nut. Be careful not to
over tighten the wing nut.
Attach ballast plug onto the end of the lamp.
6.
Plug in the power cord and press the power switch to the
7.
ON position.
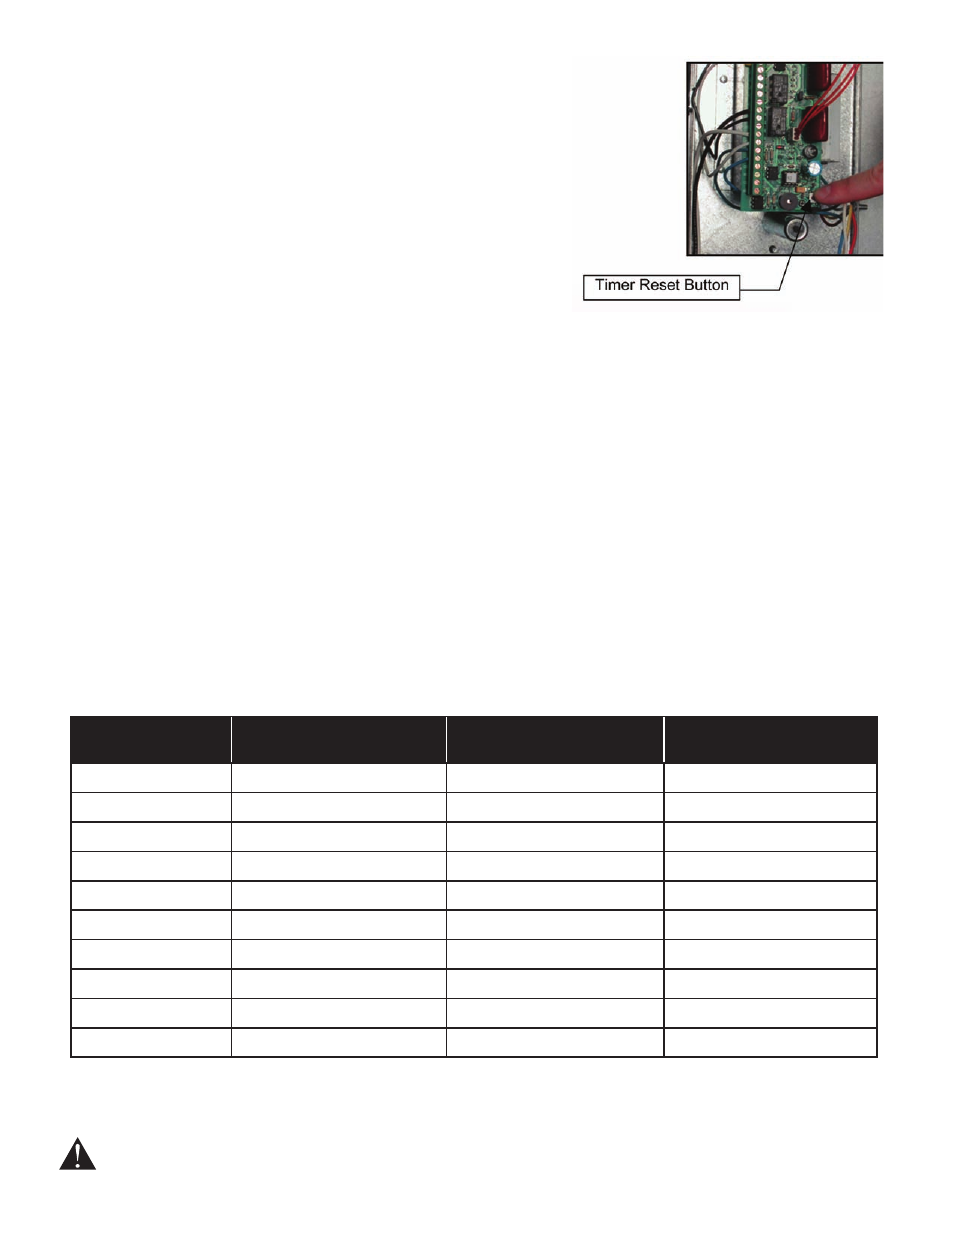
Press the timer reset button on the circuit board using the eraser end of a pencil or the blunt end of a
8.
plastic ink pen. Hold for three seconds. (See Figure 22)
Release the timer reset button. The LED on the cover will flash twice, indicating the timer circuit has
9.
been reset.
Close cover and tighten cover screw.
10.
After replacing lamp, make sure a new Lamp Replacement Label (supplied with lamp replacement) is
11.
applied to the housing and dated with the date of installation.
Figure 22