Setting the brightness (exposure compensation), Setting the brightness, Exposure compensation) – FujiFilm 2400 User Manual
Page 21: P.40), P.41), P.41), and, G setting the brightness (exposure compensation), B self-timer photography
41
3
40
●
!
The Brightness setting is disabled in the following
situations:
• When the flash is used in Auto or Red-Eye
Reduction mode
• When dark scenes are shot in Forced Flash mode
This setting can be specified when the
photography mode is set to “
C
”.
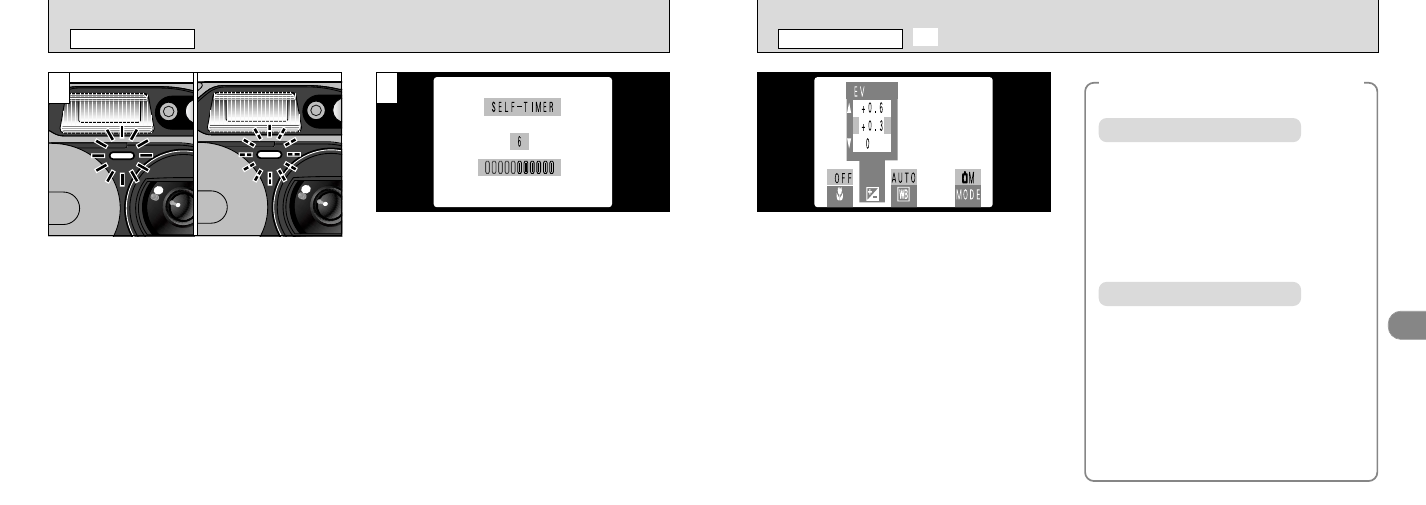
Use the Brightness setting to obtain the optimum
image brightness (exposure) when the subject is
much brighter or darker than the background.
●
There are 9 compensation levels (–0.9 to +1.5
EV in approx. +0.3 EV increments). See P.68
for a definition of EV.
◆
Subjects for Which Exposure Adjustment
is Particularly Effective
◆
Positive (+) Compensation
●
Copying of printed text (black characters
on white paper) (
+
1.5 EV)
●
Backlit portraits (
+
0.6 to
+
1.5 EV)
●
Very bright scenes (such as snowfields)
and highly reflective subjects (
+
0.9 EV)
●
Shots made up predominantly of the
sky. (
+
0.9 EV)
Negative (–) Compensation
●
Spotlit subjects, particularly against dark
backgrounds (–0.6 EV)
●
Copying of printed text (white characters
on black paper) (–0.6 EV)
●
Scenes with low reflectivity, such as
shots of pine trees or dark foliage (–0.6
EV)
✽ Settings given in parentheses are a general
guide.
The self-timer lamp lights for 5 seconds, blinks
for 5 seconds, then takes the picture.
The time remaining until the picture is taken is
counted down on the LCD monitor.
●
!
Self-timer mode is cancelled after you take the
picture.
●
!
To stop the self-timer, once it has started running,
press the “BACK” button.
B SELF-TIMER PHOTOGRAPHY
PHOTOGRAPHY MENU
G SETTING THE BRIGHTNESS (EXPOSURE COMPENSATION)
PHOTOGRAPHY MENU
3
4