Setting the file size and quality, Macro (close-up) photography, Photography – FujiFilm 2400 User Manual
Page 19: P.37), Macro, Macro (➡p.37), Setting, P.36), I macro (close-up) photography
37
3
36
You can select “
{
” or “
C
” as the photo-
graphy mode. When you select “ON”, the lens
automatically zooms out fully (
l
) for Macro
mode photography.
In Macro (close-up) photography, you can take
pictures of subjects at distances of between
10cm (3.9in.) and 80cm (31.5in.) from the
camera.
Also, set the flash functions according to the
given circumstances (
●
!
When shooting in dark conditions, use a tripod to
prevent camera shake.
●
!
If you are using the flash, ensure that you are at
least 20 cm (7.9 in.) from the subject.
●
!
You cannot use the optical zoom in Macro Photography,
but using the digital telephoto is possible (
●
!
Macro Photography is cancelled when you switch
the camera off.
If you use the viewfinder to take a picture in
Macro Photography, the field visible through
the viewfinder does not match the field
actually photographed because the
viewfinder and lens are in different positions.
For this reason, you should use the LCD
monitor to take pictures in Macro
Photography. The LCD monitor does not
switch off in Macro Photography.
iMACRO (CLOSE-UP) PHOTOGRAPHY
PHOTOGRAPHY MENU
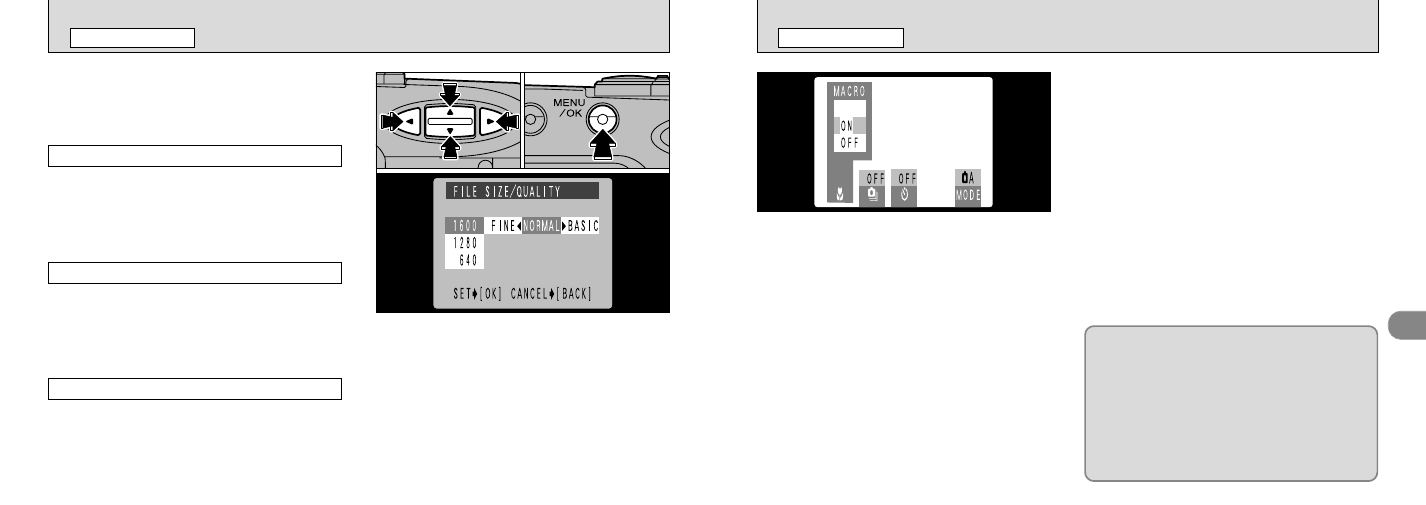
SETTING THE FILE SIZE AND QUALITY
PHOTOGRAPHY MENU
You can select any combination of 3 file sizes
(numbers of pixels) and 3 quality (compression
ratio) settings. Select the combination that best
suits your aims.
➀
Use the “
ab
” button to change the file size
setting, and then use the “
d
” or “
c
” button to
change the quality setting.
➁
Press “MENU/OK” to confirm the settings.
●
!
There are 6 combinations of file size and quality
settings in total (
To get high-quality prints
Use the largest available file size (1600
✕ 1200)
and a low compression ratio (FINE or
NORMAL). However, because this increases the
amount of data in each frame, the number of
remaining shots decreases.
For images to be used on the Internet
These images are intended to be viewed on a
personal computer screen, so you should use a
small file size (640
✕ 480). Because this
reduces the amount of data used for each
frame, the number of remaining shots increases.
Quality (compression ratio)
Choose “FINE” for better image quality or
“BASIC” to increase the number of available
shots. In most cases, the “NORMAL” setting
provides more than adequate image quality.
●
➀
●
➁