Charging the battery by usb, Turning the power on and off, Initial settings – PRAKTICA luxmedia 18-Z36C User Manual
Page 15: Turning the power on and off initial settings
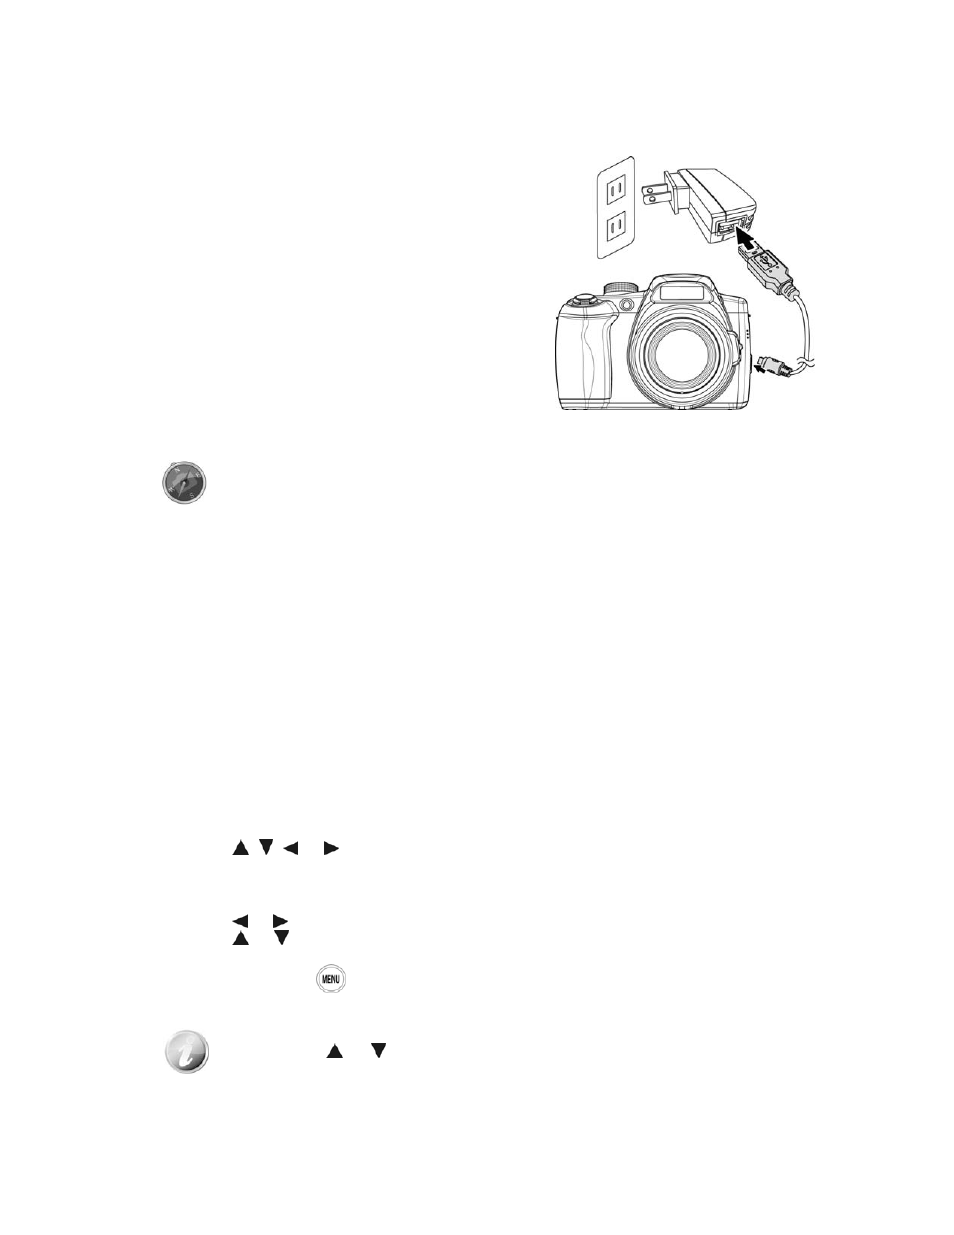
Charging the Battery by USB
In other way charging the battery, you can use the USB cable to connect the camera with PC or USB
adapter.
15
g.
1. Connect the camera with the USB cable as shown.
2. Connect the other end with the USB adapter and plug it
into a power outlet or with the USB port of PC directly
for chargin
•
When the battery is charging, the LED indicator
flashes.
•
When the battery is
fully charged, the LED
indicator goes off.
•
When the battery is unusual charged, the LED
indicator flashes rapidly.
•
When the camera charges without the battery
inside, the LED indicator goes off.
• It's recommended not operating the camera when charging.
Actual charging time depends on current battery capacity and charging conditions.
• You can also charge the battery with Apple adapter. Its power output meets the
standard 5V/500mA.
• When the battery is removing during charging, it will recover charging after you
unplugging and replugging USB.
Turning the Power On and Off
There are two ways to turn on the camera:
• The startup image displays briefly and the startup sound plays if enabled. The zoom lens extends and
the camera is turned on in Record mode.
• The camera is turned on in Playback mode. The zoom lens is not extended.
To turn off the camera, press the Power button.
See "Modes" on page 16 to know more about Record and Playback mode.
Initial Settings
When you turn on your camera for the first time, you will be asked to do the initial settings of your camera.
First is the setup of language menu. Specify in which language menus and messages are to be displayed on
the LCD monitor.
Setting the Language
1. Press , , or to move through the selection.
2. Select a language, and then press OK to apply.
Setting the Date & Time
1. Press or to move through the selection.
2. Press or
keys to change the value for the date and time.
3. Press OK to apply.
4. If necessary, press
to close the menu.
Now, you are ready to start taking images and videos.
Holding down or keys to change the values continuously.