ITC Hemochron Response Whole Blood Coagulation System User Manual
Page 9
9
OPERATION
Entering RxDx
The RxDx mode of operation is entered by any of the following:
•
Selecting RxDx from the ID Selections menu.
•
Inserting a barcoded HRT, PRT or PDA-O tube into either well.
•
Selecting an HRT, PRT or PDA-O test from the test menu.
•
Selecting RxDx from the HiTT menu.
Note: Whenever RxDx is entered, both wells are operational and results of tests run in either well are
copied into the case. All PID and OID entry requirements and QC lockout conditions are suspended
until the operator exits the RxDx case.
1.
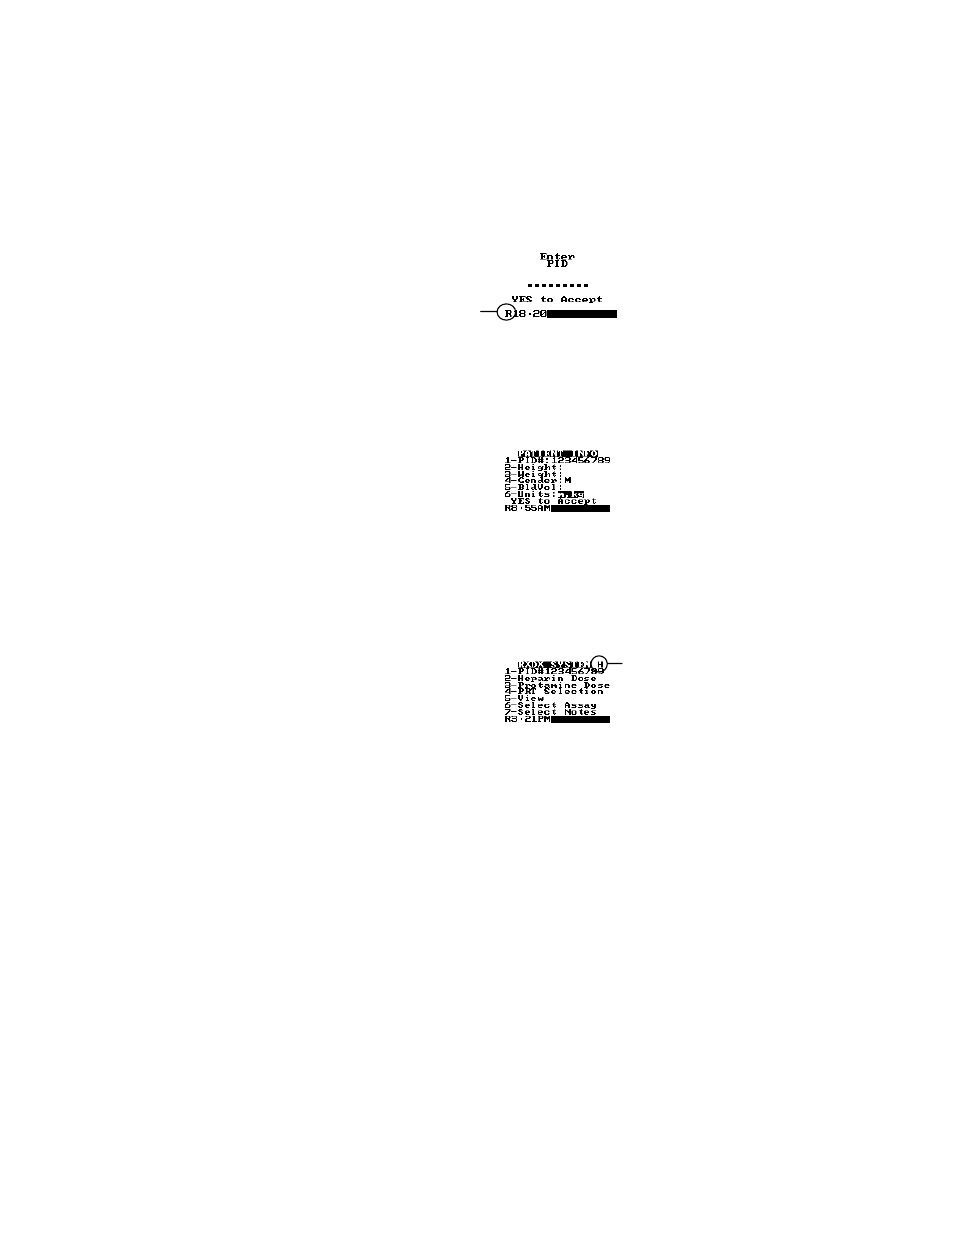
Enter RxDx (see above). A prompt to enter a PID is displayed:
Note: An “R” is displayed on the divider bar of each screen to designate that the system is in
the RxDx mode of operation.
Note: The PID prompt is not displayed if a stored RxDx case is selected from the View menu of
the RxDx System screen (page 18).
2.
Enter the PID (up to 9 numeric digits) for the case and then press YES. The Patient Info screen is
displayed for review or entry of patient information:
Note: If the entered PID does not correspond to that of a stored RxDx case, a new case is
created for that PID. Up to ten (10) RxDx cases can be stored on the system. If an eleventh
case is initiated, the operator is warned that the oldest case will be deleted.
3.
For a new case, or to revise information for a stored case, enter the height, weight, and gender of the
patient for calculation of blood volume, or enter the blood volume directly. See below for the
procedure.
4.
Press YES. The RxDx System screen is displayed for the case:
Note: If the active case is an open case (page 5), the mode of the case (heparin, additional
heparin, or protamine, as detailed on page 2) is designated by the corresponding letter (H,
A or P) in the title bar of the RxDx System screen.
RxDx mode
of Operation
Heparin mode