ION Audio Tape Express + User Manual
Page 5
5
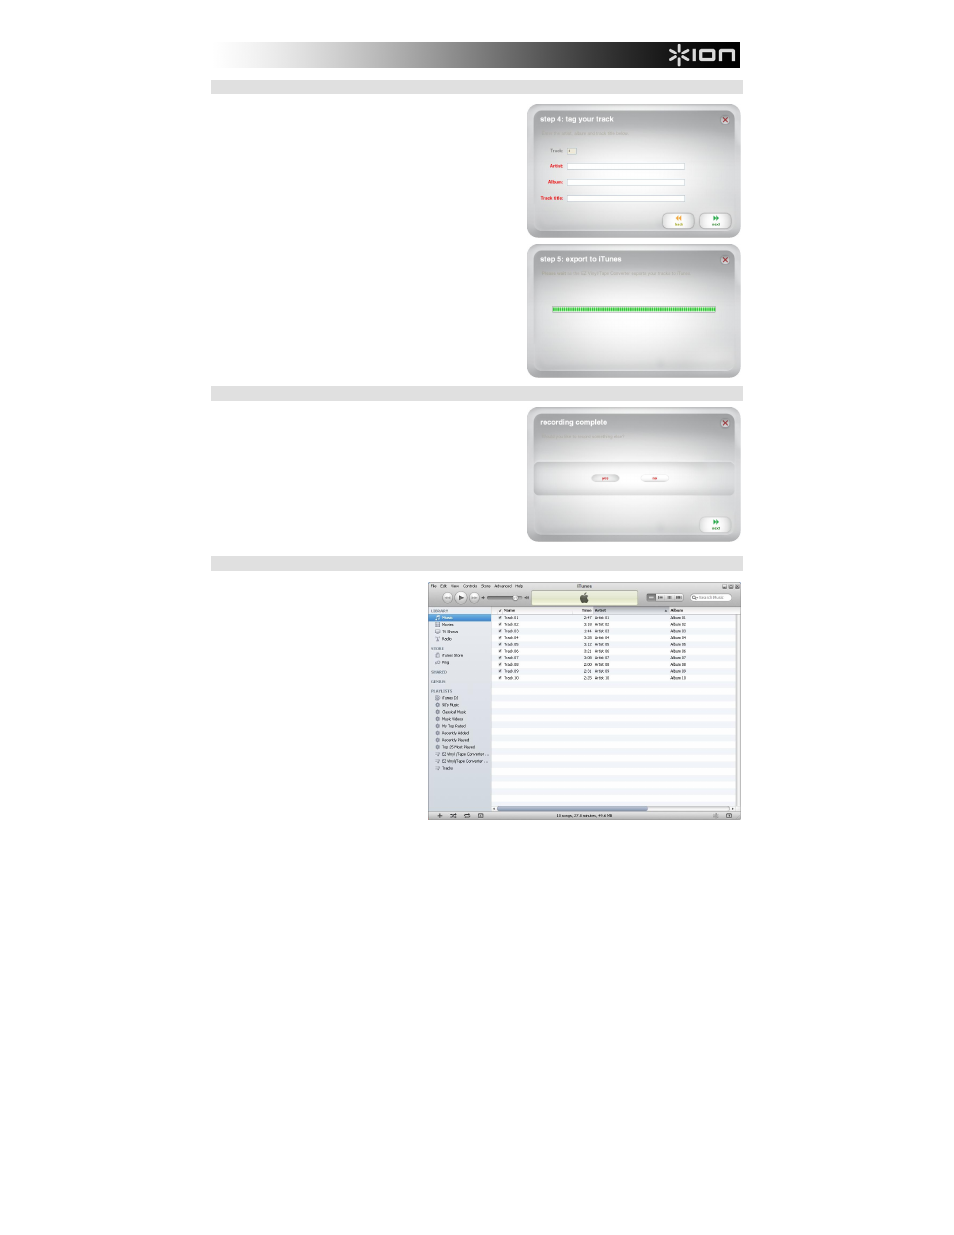
STEP 4
Once you have finished recording, please enter the Artist, Album
and Track titles by clicking and typing into the corresponding
fields. (If you are recording songs from different artists and
albums, you may need to record them in separate batches.)
Note: If you have recorded more than 10 tracks, you can access
the information for tracks 11-20 by clicking Next.
When you are finished labeling your recording, click Next.
The software will now export your recording to iTunes. Please
allow the exporting process to complete.
STEP 5
Once the software has exported your recordings to iTunes, you will
see the screen on the right.
Choose Yes if you would like to record again.
Choose No if you do not wish to record more.
When you have made your selection, click Next to record again or
exit the application.
STEP 6
You will now be able to access your
recordings through your iTunes library.
Switch over to your iTunes window (iTunes
will open automatically once your tracks
have been exported.) Click on the Music
library tab on the left and navigate to the
Artist, Album and Track titles which you
entered for your recording.
To view the newest songs added to your
iTunes library, click the View menu, select
As List, then right-click (or "ctrl" + click on a
Mac) on the Name category above the list of
tracks. In the menu that appears, check
Date Added and click OK. Above the list of
tracks, click the Date Added category. Your
newest song will be at the top of the list.
(You can click the category – Name, Artist,
Date Added, etc. – any time you want to re-
order the tracks shown in your iTunes
library.)
From iTunes, you can even burn your recordings straight to a CD or load them onto your iPod.
Please consult the iTunes Help menu for more information on using iTunes.
Note that after transferring music to your computer, you may need to reselect your computer's soundcard as
the playback device. Otherwise, you may not hear any sound when playing audio from your computer. For
more information, see the Troubleshooting section.