Step 1a: quick start setup procedures – 8e6 Technologies Threat Analysis Reporter TAR User Manual
Page 32
8
8
e
6 T
hreaT
a
nalysis
r
eporTer
Q
uick
s
TarT
G
uide
Step 1A: Quick Start Setup Procedures
Link the Workstation to the Threat Analysis Reporter
Monitor and Keyboard Setup
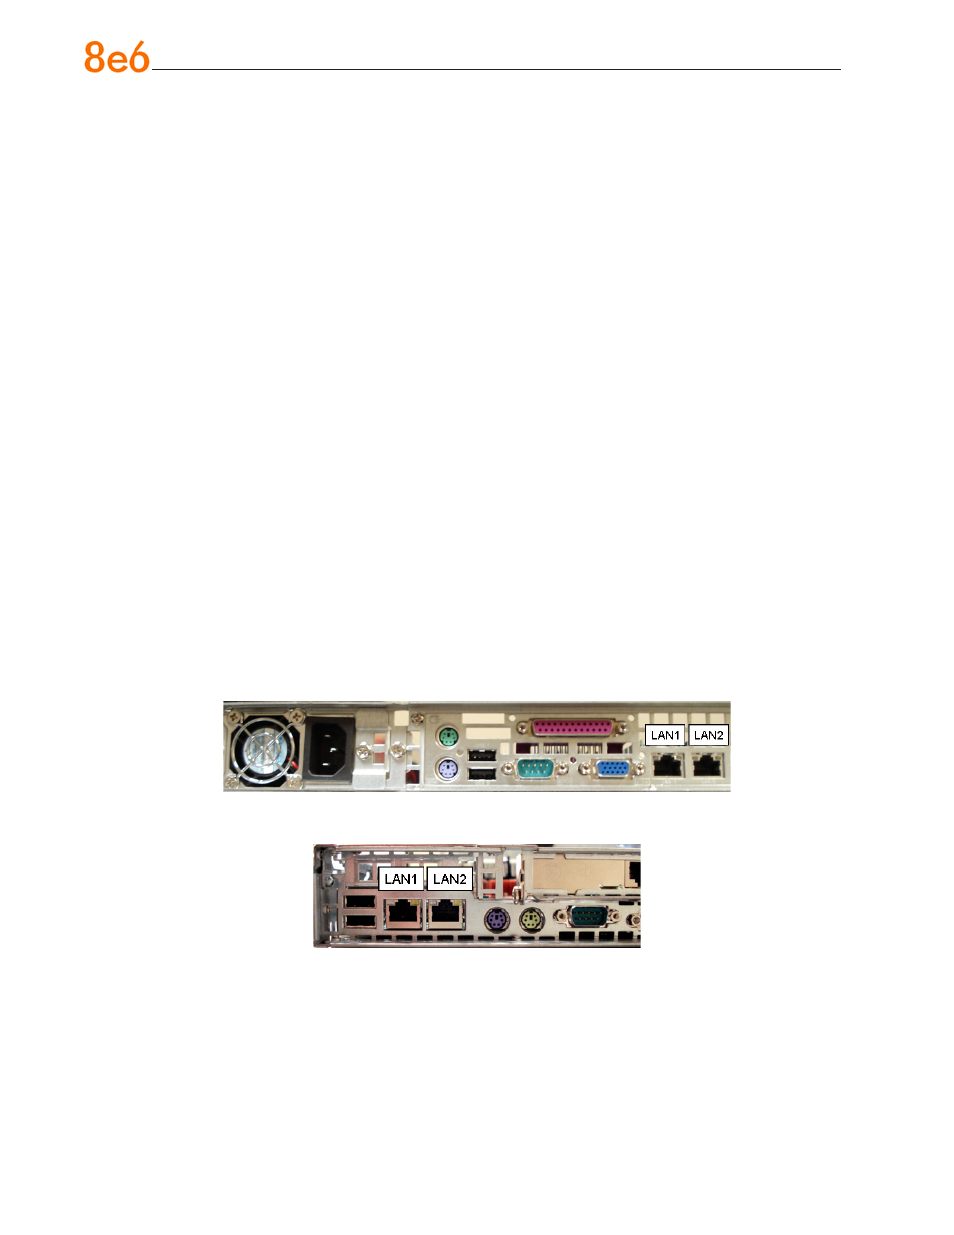
A. Connect the PC monitor and keyboard cables to the rear of the chassis (see Fig. 1
for an SL or MSA unit, and Fig. 2 for an HL unit).
B. Turn on the PC monitor.
C. Power on the Threat Analysis Reporter by dropping down the face plate and pressing
the large button at the right of the front panel (see Fig. 3 for an SL unit, Fig. 4 for an
MSA unit, and Fig. 5 for an HL unit).
Once the Threat Analysis Reporter is powered up, proceed to the Quick Start menu
instructions.
Serial Console Setup
A. Using the serial port cable (and USB DB9 serial adapter, if necessary), connect the
laptop to the rear of the chassis (see Fig. 1 for an SL or MSA unit, and Fig. 2 for an
HL unit).
B. Power on the laptop.
C. Power on the Threat Analysis Reporter by pressing the large button on the front
panel (see Fig. 3 for an SL unit, Fig. 4 for an MSA unit, and Fig. 5 for an HL unit).
Fig. 1 - Portion of SL and MSA chassis rear
Fig. 2 - Portion of HL chassis rear