Polishing – Harbor Freight Tools 7" Variable Speed Polisher/Sander 69474 User Manual
Page 14
Page 14
For technical questions, please call 1-800-444-3353.
Item 69474
polishing
1. Make sure the surface to polish has been thoroughly
washed, and is free of dust, dirt, oil, grease, etc.
2. Place a clean Foam Pad (sold separately)
securely onto the Backing Pad.
2. Apply about two tablespoons of wax
(not included) evenly on the clean Foam Pad.
CautiOn! Do not apply the wax directly to the surface
of the vehicle. The amount of wax needed will vary
according to the size of the vehicle being waxed.
3. Rotate the Speed Dial to select the
desired speed between 1 and 4.
CautiOn: Only use the slower speeds (1 through 4)
for polishing. Otherwise, damage may occur to
the paint being polished. Harbor Freight Tools is
not responsible for damage to the vehicle’s finish
due to improper use of this Polisher/Sander.
4. Plug the Power Cord into an electrical extension cord
(not included). Then, plug the extension cord into a
grounded, GFCI-protected, 120 volt electrical outlet.
WaRninG! to prevent electric shock,
keep cord connection off ground.
note: Always start and stop the Polisher/Sander while it
is held firmly against the surface of the vehicle. Failure
to do so may result in the Foam Pad or Polishing
Bonnet being thrown from the Polishing Pad.
5. To start, position the unit on the area to be polished,
grip the Polisher/Sander firmly with both hands and
press in on the Safety Lock then the Trigger. Release
the Safety Lock and continue to hold in the Trigger.
6. Keep pressure off of the Polisher/Sander
when operating. The Foam Pad should
LIGHTLY contact the polishing surface.
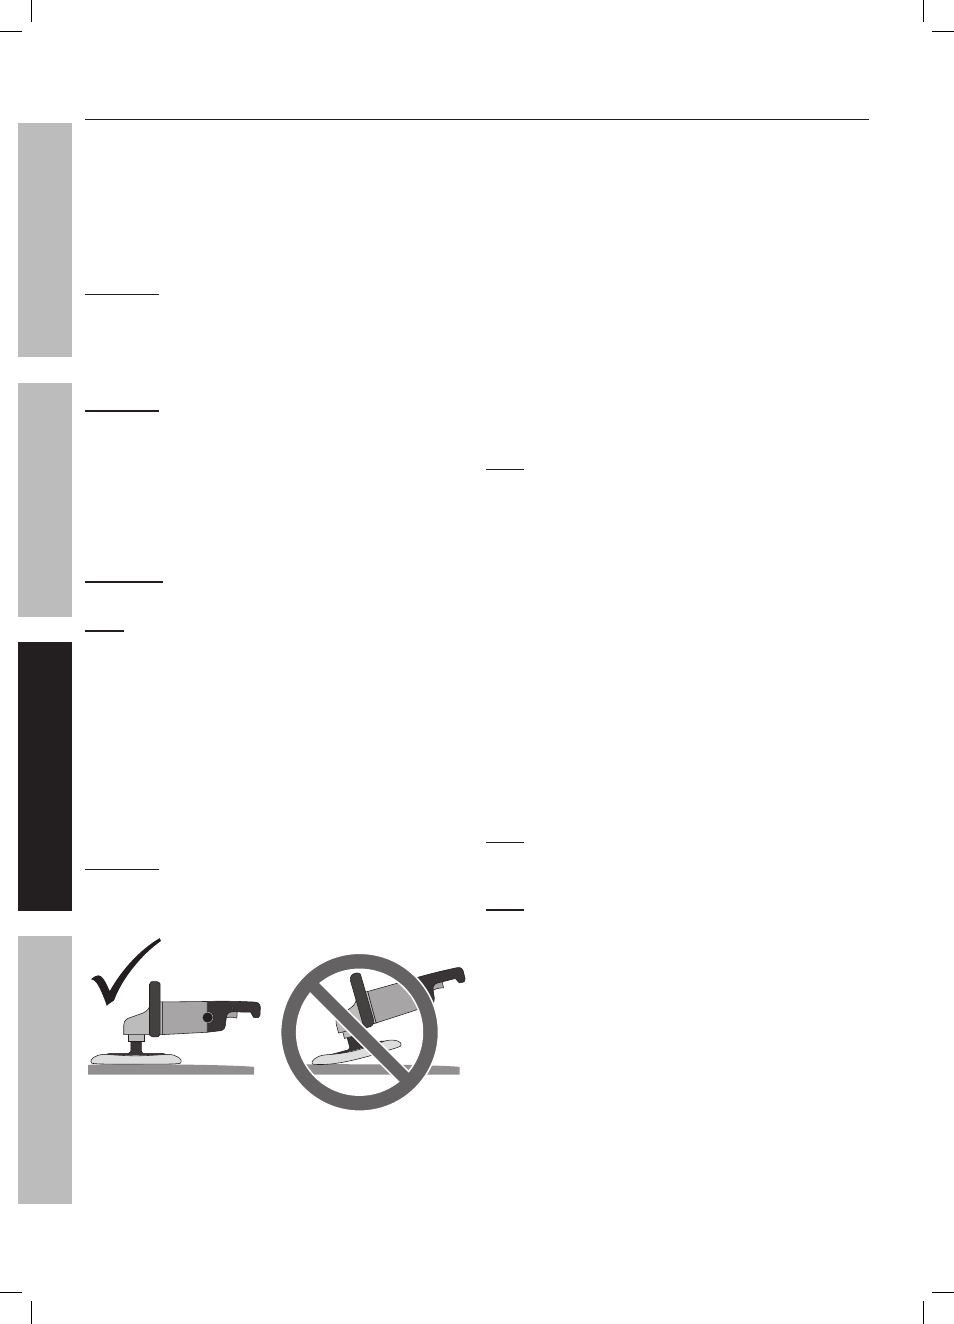
CautiOn: to prevent damage to the foam pad,
polishing bonnet, and vehicle finish:
Only apply the pad/bonnet flat against
the surface, see below.
Figure h: polishing angle
7. Begin using the Polisher/Sander to apply wax to the
vehicle. Apply the wax to all flat surfaces with broad,
sweeping strokes in a crisscross pattern. Apply
the wax evenly over the surface of the vehicle.
8. Add additional wax to the Polishing Pad
as needed. To add additional wax:
a. Release the Trigger and allow the Polisher/
Sander to come to a complete stop.
b. Add a small amount of wax evenly
over the pad surface.
c. Avoid using too much wax. For additional
applications of wax to Foam Pad, reduce
amount of wax. Foam Pad will not absorb
as much wax in subsequent applications.
d. Resume operation.
note: The most common error when waxing/
polishing vehicle is applying too much wax. If Foam
Pad becomes saturated with wax, applying wax
will be more difficult and will take longer. Applying
too much wax may also reduce life of Foam Pad.
If Foam Pad continually comes off the Backing Pad
during use, too much wax may have been applied.
9. After the wax has been applied to the vehicle’s
surface, release the Trigger. Unplug the Power
Cord from the electrical extension cord.
10. Remove the Foam Pad from the Backing Pad and
with your hand and the Foam Pad, apply wax to
any hard to reach areas of the vehicle such as
around lights, door handles, under bumpers, etc.
11. Allow sufficient time for wax to dry.
12. Place a clean Polishing Bonnet (sold
separately) securely onto the Backing Pad.
note: Tightly pull the string to secure the
Polishing Bonnet. Secure the string and keep
it out of the way by tying several knots.
note: Start and stop the Polisher/Sander only
while it is held firmly against the surface of
the vehicle. Failure to do so may result in the
Bonnet being thrown from the Backing Pad.
13. Start the Polisher/Sander and begin
buffing off the dried wax.
14. When you have removed as much wax as
you can with the Polisher/Sander, release the
Trigger and unplug the Polisher/Sander.
15. Remove the Polishing Bonnet from Backing Pad.
Using the Polishing Bonnet, remove the wax
from all hard to reach areas of the vehicle.
Sa
Fet
Y
Ope
R
ati
O
n
m
aintenan
C
e
Setup