Command control via the network, Communication port, Rppdqg&rqwuro6hwwlqjv – Hitachi CP-X205 User Manual
Page 105
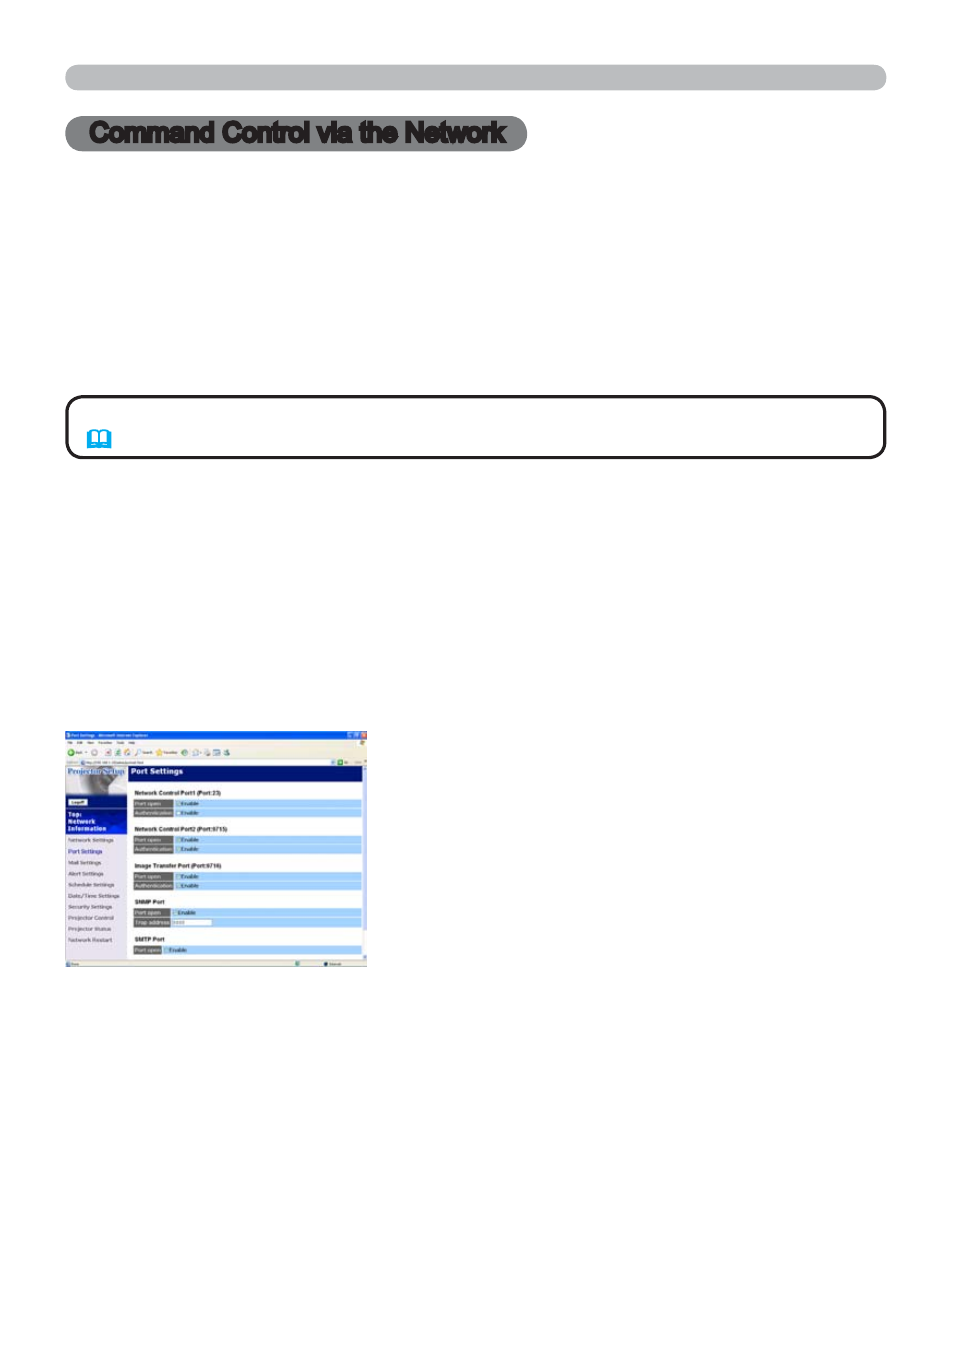
1) Enter "http://192.168.1.10/" into the address bar of the web browser.
(QWHUWKH$GPLQLVWUDWRU,'DQGSDVVZRUGDQGFOLFN[Logon].
&OLFN[Port Settings] on the main menu.
4) Click the [Enable] check box to open
1HWZRUN&RQWURO3RUW3RUW to use
7&3&OLFNWKH[Enable] check box for the [Authentication] setting when
authentication is required, otherwise clear the check box.
&OLFNWKH[Enable] check box to open 1HWZRUN&RQWURO3RUW3RUW to
XVH7&3&OLFNWKH[Enable] check box for the [Authentication] setting
when authentication is required, otherwise clear the check box.
&OLFNWKH[Apply] button to save the settings.
&RPPDQG&RQWUROYLDWKH1HWZRUN
Command Control via the Network
Communication Port
The following two ports are assigned for the command control.
7&3
7&3
&RPPDQG&RQWURO6HWWLQJV
&RQ¿JXUHWKHIROORZLQJLWHPVIURPDZHEEURZVHUZKHQFRPPDQGFRQWUROLVXVHG
Example: If the IP address of the projector is set to 192.168.1.10:
&RPPDQGFRQWUROLVQRWDYDLODEOHYLDFRPPXQLFDWLRQSRUW7&3
(
9WKDWLVXVHGIRUWKHH6+27WUDQVPLVVLRQIXQFWLRQ
NOTE