Using the design gallery menu, Removing red eyes, Applying artistic effects – HP R830/R840 User Manual
Page 29: 5 using the design gallery menu, Removing red eyes applying artistic effects, Using, 5using the design gallery menu
5
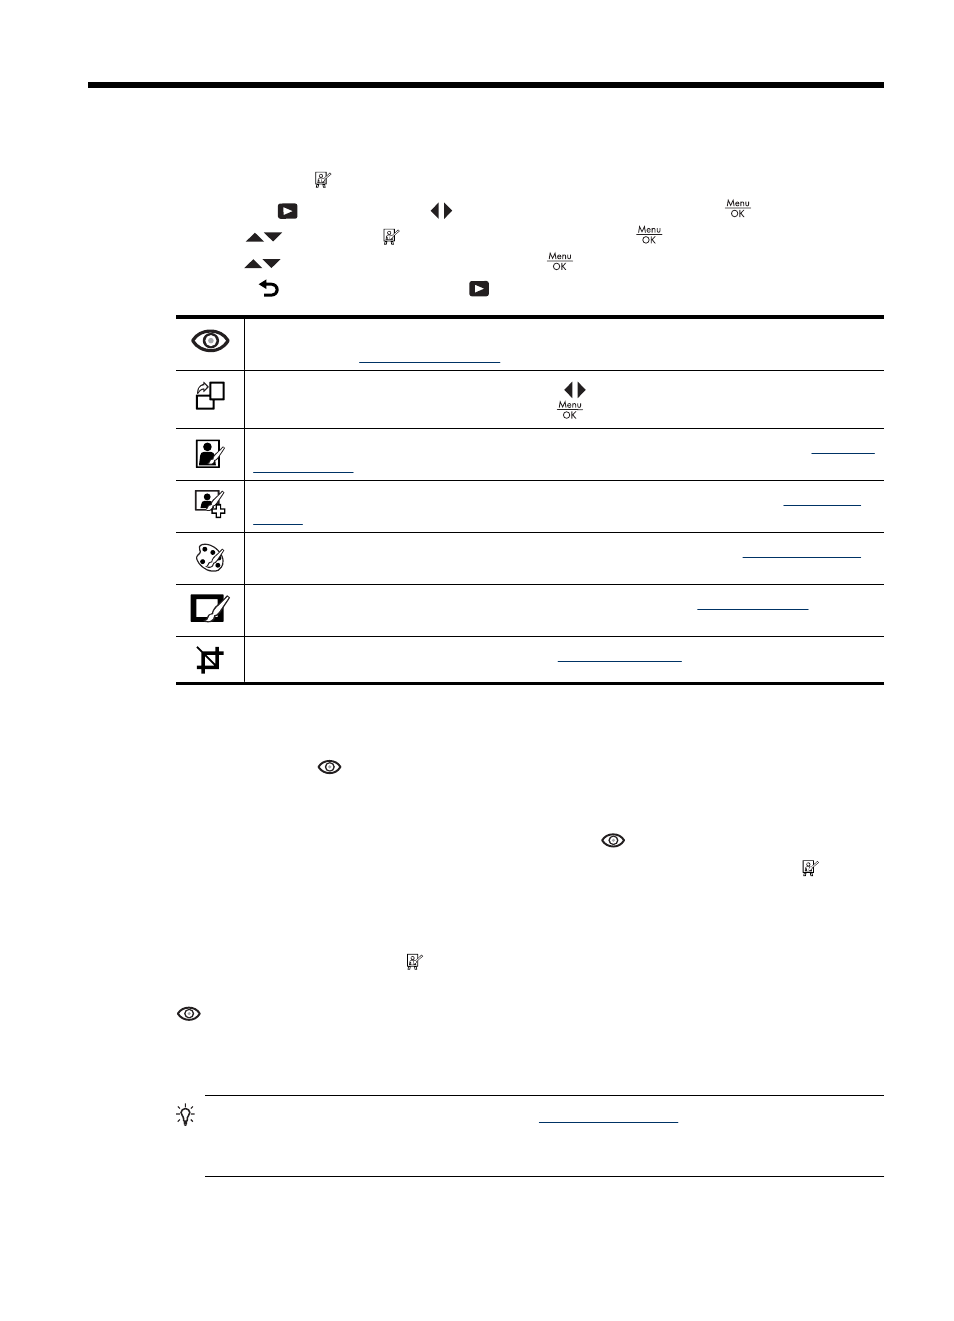
Using the Design Gallery Menu
You can use the Design Gallery features to enhance your captured images.
1. While in
Playback, use
to scroll to an image, then press
.
2. Use
to highlight Design Gallery, then press
.
3. Use
to highlight an option, then press
and follow any on-camera instructions.
4. Press repeatedly to return to
Playback.
Remove Red Eyes—Allows you to remove red eyes in images containing human
subjects (see
“Removing red eyes” on page 27
).
Rotate—Rotates the displayed image. Use
to rotate the image clockwise or counter-
clockwise in 90-degree increments. Press
to save the image in the new orientation.
Apply Artistic Effects—Allows you apply a creative effect to an image (see
).
Enhance Photos—Allows you to correct certain flaws on an image (see
).
Modify Color—Allows you to apply a color effect to an image (see
).
Add Borders—Allows you to add a border to an image (see
).
Crop—Allows you to crop an image (see
Removing red eyes
When you select
Remove Red Eyes, the camera processes the current still image
to remove red eyes from the subjects.
The red-eye removal process takes a few seconds, after which the image displays with
green boxes around corrected areas, along with the
Remove Red Eyes menu:
•
Save Changes (Default)—Overwrites the original image and returns to the Design
Gallery Menu.
•
View Changes—Displays a magnified view of the image with green boxes around
the corrected areas.
•
Cancel—Returns to the Design Gallery Menu without saving the red eye
changes.
Remove Red Eyes is only available for pictures taken with a flash.
Applying artistic effects
TIP:
If you need to crop an image (see
), do so
before applying artistic effects, adding borders, or enhancing photos. If you plan to
apply artistic effects, modify colors, or enhance photos, do so before adding a border.
Using the Design Gallery Menu
27