Printing the date on photos, Printing from a digital camera – Epson Stylus CX6000 User Manual
Page 11
Epson Stylus CX6000 Series
6/06
11
4. Press the C
Memory Card
button
until the
Print All/PictBridge
light
comes on.
5. If your memory card contains DPOF
information, you see
DPOF
on the
photo viewer screen.
6. Select
Photo Paper, Matte Paper
, or
Plain Paper
(whichever you loaded).
7. If you select
Plain Paper
,
your
photos print with a white border. If
you select
Photo Paper
or
Matte
Paper
, your photos print borderless,
to the edge of the paper.
8. Select
Letter
,
4"x6"
, or
5"x7"
for
paper size.
9. Press the x
Start
button to start printing.
Note:
If the memory card does not contain DPOF information, one copy
of all the photos on the card will be printed.
If you need to stop printing, press the y Stop/Clear Settings
button.
Printing the Date on Photos
You can print the date that your photos were taken on the
corner of the photo.
Note:
The date printed on your photos is the date your photo was taken, not
when it was printed.
1. Make sure your CX6000 Series is not connected to your
computer (or your computer is turned off).
2. Load the type of paper you want to use (see page 4). You
can load more paper later as necessary to print all your
photos.
3. Insert the memory card (see page 8).
4. Press the
Setup/Utilities
button.
5. Press the l or r button to select
Press Start to add a date
to photos
.
6. Press the x
Start
button.
7. Press the u or d button to select the date format you want
to print.
❏
yyyy.mm.dd
(2006.06.16)
❏
mmm.dd.yyyy
(Jun.16.2006)
❏
dd.mmm.yyyy
(16.Jun.2006)
8. Press the x
Start
button.
9. Press the
Setup/Utilities
button to return to memory card
mode.
Follow the steps in one of the previous sections to print your
photos.
Printing From a Digital Camera
If your camera is PictBridge
™
- or USB DIRECT-PRINT
™
-
compatible, you can print your JPEG photos by connecting
your digital camera directly to your CX6000 Series. Your
photos must be sized from 80 × 80 pixels to 9200 × 9200
pixels.
1. Make sure your CX6000 Series is not printing.
2. Remove any memory cards from slots.
3. Load the type of paper you want to use (see page 4). Load
enough sheets for the number of photos you’ll be printing.
4. Press the paper type button to select
Photo Paper
or
Matte
Paper
to print borderless photos (without a white border).
Select
Plain Paper
if you want your photos printed with a
small white border.
5. Press the paper size button to select
Letter
,
4"x 6"
, or
5"x 7"
.
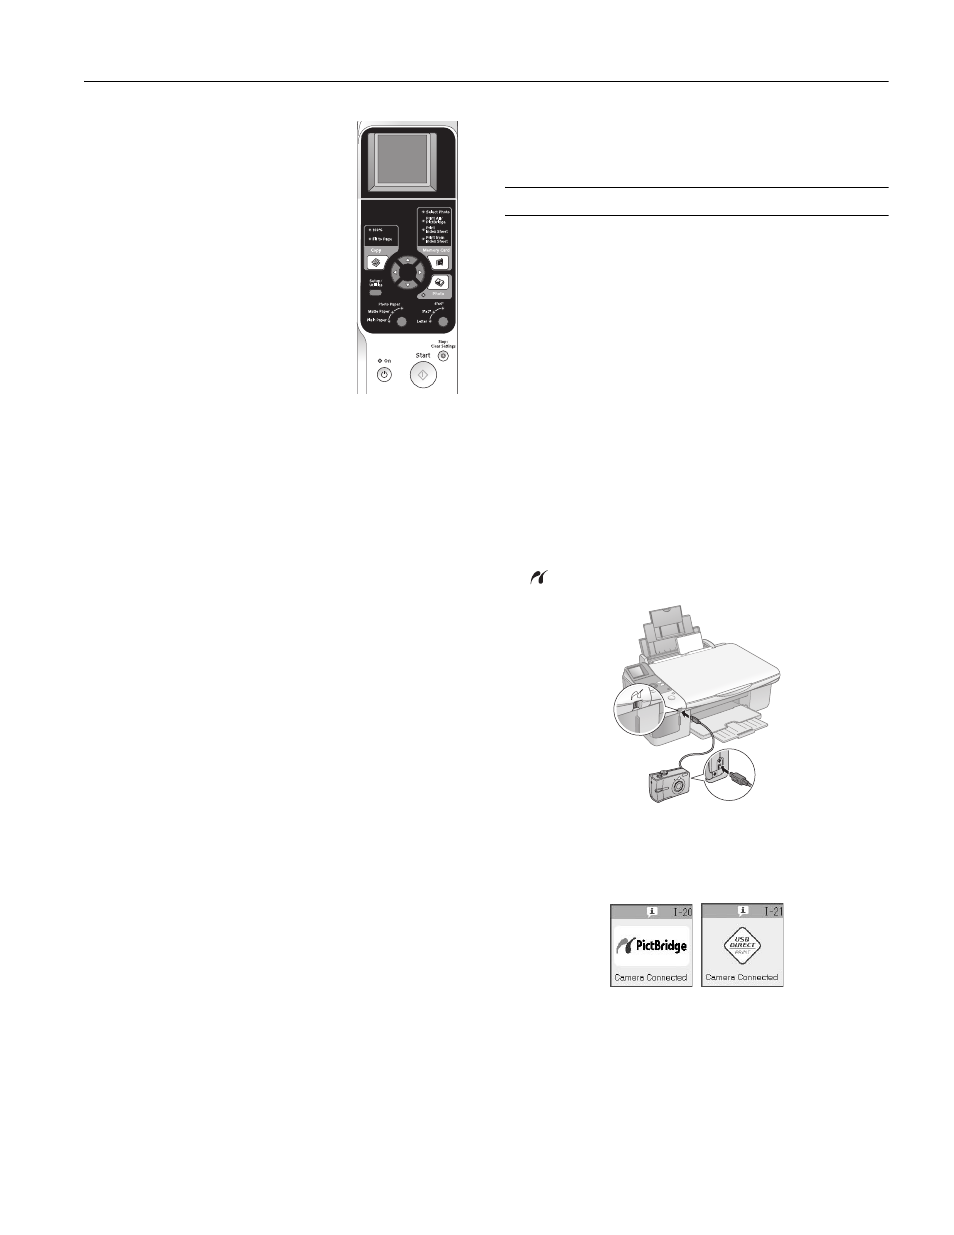
6. Connect the USB cable that came with your camera to the
USB connector on the front of your CX6000 Series.
7. Make sure your camera is turned on.
8. The
Print All/PictBridge
light on the CX6000 Series turns
on and one of these screens appears on the photo viewer
screen.
9. Select the photos you want to print with your camera. Then
adjust any necessary settings and print your photos as
explained in your camera manual.