EnGenius Technologies SN-920 User Manual
Page 10
~ 13~
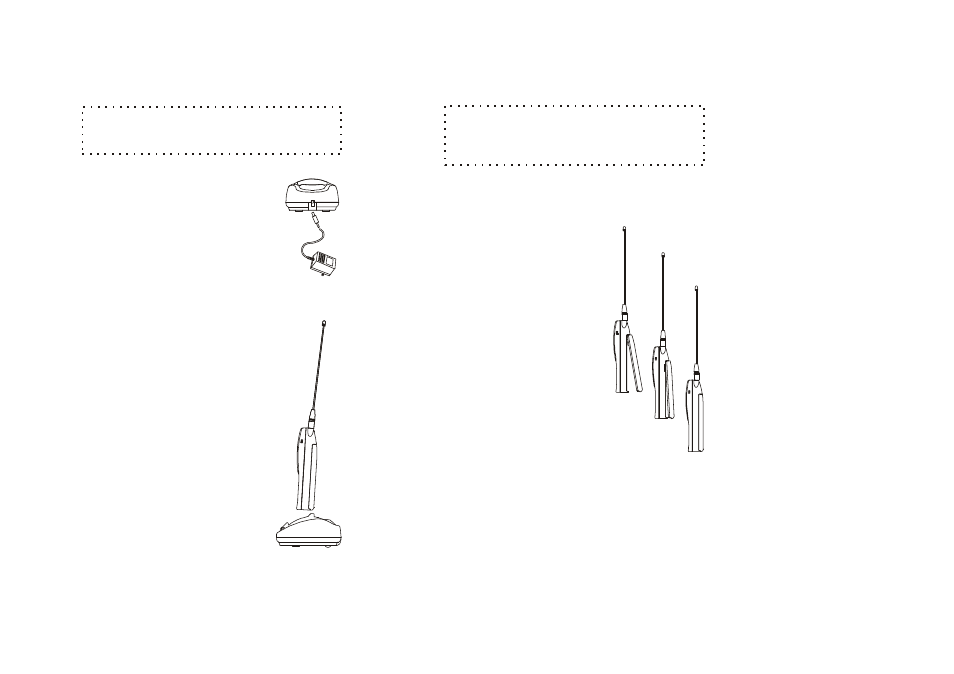
The location for the handset charging
requires a standard 120V AC
electrical wall outlet.
1. Plug the small end of the 12V
DC adapter into the receptacle
on the back of the charger unit.
2. The two-pronged 12V DC adapter
is then plugged into the wall outlet.
The battery charger can charge the handset and
a spare battery pack at the same time.
The charging unit has spare battery charging slot
behind the handset charging slot.
1. To charge the handset, simply place the
handset, with battery pack attached, into
the charging slot with the handset facing
the front of the charger. If the handset is
properly in the cradle, the cradle's
PHONE indicator light will be illuminated.
2. To simultaneously charge a spare
battery, insert the spare battery pack
with pack contacts facing down and
towards the rear into the rear charging
slot.
Charging Setup
Cradle
Charging a Battery
cradle
Follow instructions that came with the answering
device or telephone if different from those described here.
NOTE:
~ 14~
It takes about 80 minutes to fully charge a battery
in either the (front) handset slot or the (rear) spare battery
slot.
NOTE:
LED is not lit: Slot is empty or proper
connection is not made.
LED is blinking red: Battery charging.
LED is green: Battery is fully charged.
1. To remove the handset battery:
Turn the handset face down and
locate the battery pack release
on the bottom of the handset.
Push the release towards the
top of the phone and lift up.
2. To install battery pack:
Carefully slide the top battery
pack tabs into battery pack
area of handset aligning the
metal contacts of handset
and battery pack. Press down
on the bottom end of the battery
pack. The battery pack should
"click" into a secured position
on the handset.
Battery Light Indicators
*
*
*
Installing New Battery