Denon AVR-S660H 5.2-Channel Network A/V Receiver User Manual
Page 141

G
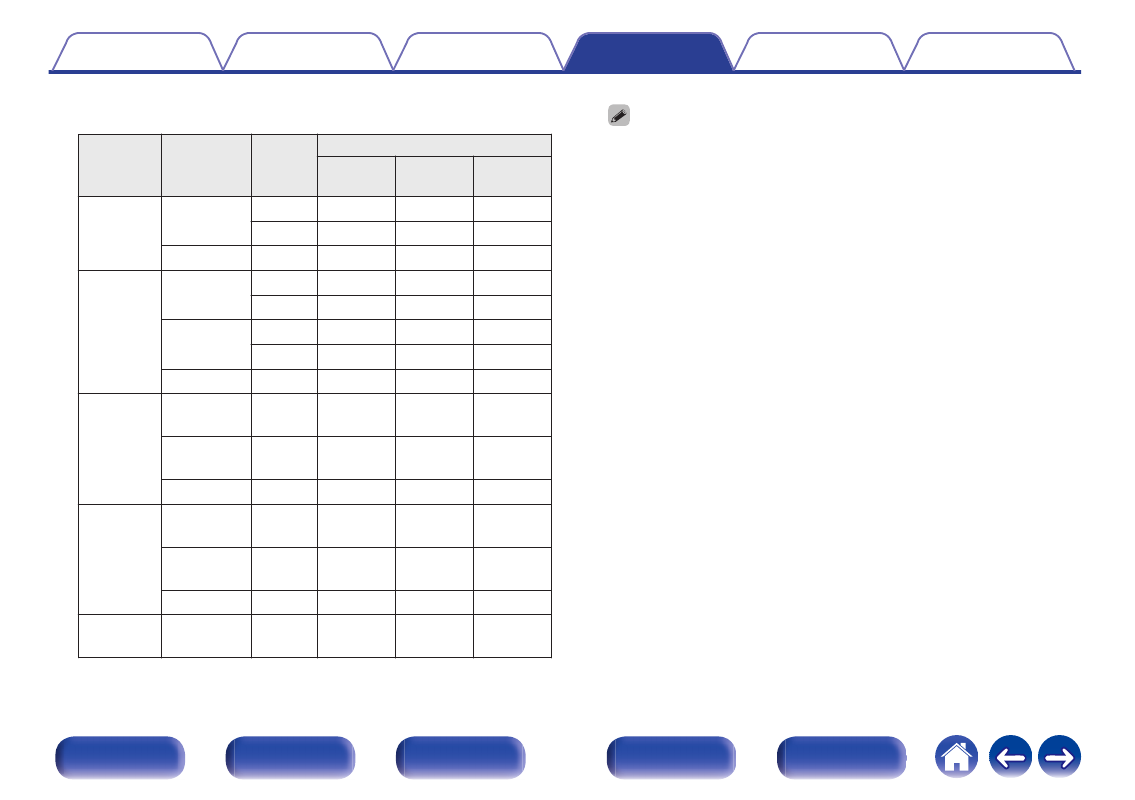
Relation between the “4K/8K Signal Format” setting and supported
resolutions
H
Support
Resolution
Color
Space
Pixel
Depth
4K/8K Signal Format
Standard Enhanced
8K
Enhanced
4K 24Hz,
4K 30Hz,
4K 25Hz
RGB /
YCbCr 4:4:4
8 bit
P
P
P
10,12 bit
–
P
P
YCbCr 4:2:2 12 bit
P
P
P
4K 60Hz,
4K 50Hz
YCbCr 4:2:0
8 bit
P
P
P
10,12 bit
–
P
P
RGB /
YCbCr 4:4:4
8 bit
–
P
P
10,12 bit
–
–
P
YCbCr 4:2:2 12 bit
–
P
P
4K 120Hz,
4K 100Hz
YCbCr 4:2:0 8,10,12
bit
–
–
P
RGB /
YCbCr 4:4:4 8,10 bit
–
–
P
YCbCr 4:2:2 12 bit
–
–
P
8K 24Hz,
8K 30Hz,
8K 25Hz
YCbCr 4:2:0 8,10,12
bit
–
–
P
RGB /
YCbCr 4:4:4 8,10 bit
–
–
P
YCbCr 4:2:2 12 bit
–
–
P
8K 60Hz,
8K 50Hz
YCbCr 4:2:0 8, 10 bit
–
–
P
0
When setting this to “Enhanced”, we recommend using a “Premium High
Speed HDMI Cable” or “Premium High Speed HDMI Cable with Ethernet” that
has an “HDMI Premium Certified Cable” label attached to the product
package.
0
When setting this to “8K Enhanced”, we recommend using a certified “Ultra
High Speed HDMI cable”.
0
When this setting is “Enhanced” or “8K Enhanced”, configure the television or
playback device settings to match this setting.
0
When this setting is “Enhanced” or “8K Enhanced”, video may not be output
correctly depending on the connected playback device or HDMI cable. In this
case, change this setting to “Standard”.
0
“Custom” is displayed for the setting item if our service engineers or custom
installers has configured the HDMI signal format for this unit.
0
“4K/8K Signal Format” can also be set by the following procedure. However,
the menu screen is not displayed. Watch the display while configuring the
setting.
1. Press and hold the main unit’s TUNE + and MODE at the same time for at
least 3 seconds.
“V.Format:< NTSC>” appears on the display.
2. Press the main unit's DIMMER.
“4K/8K:
3. Use the main unit's TUNE + or TUNE – and select the 4K/8K Signal Format.
4. Press the main unit’s STATUS to complete the setting.
141
