Usage, Charging dji action 2, Power/record button – DJI Action 2 Front Touchscreen Module User Manual
Page 10
DJI Action 2 User Manual
©
2021 DJI OSMO All Rights Reserved.
7
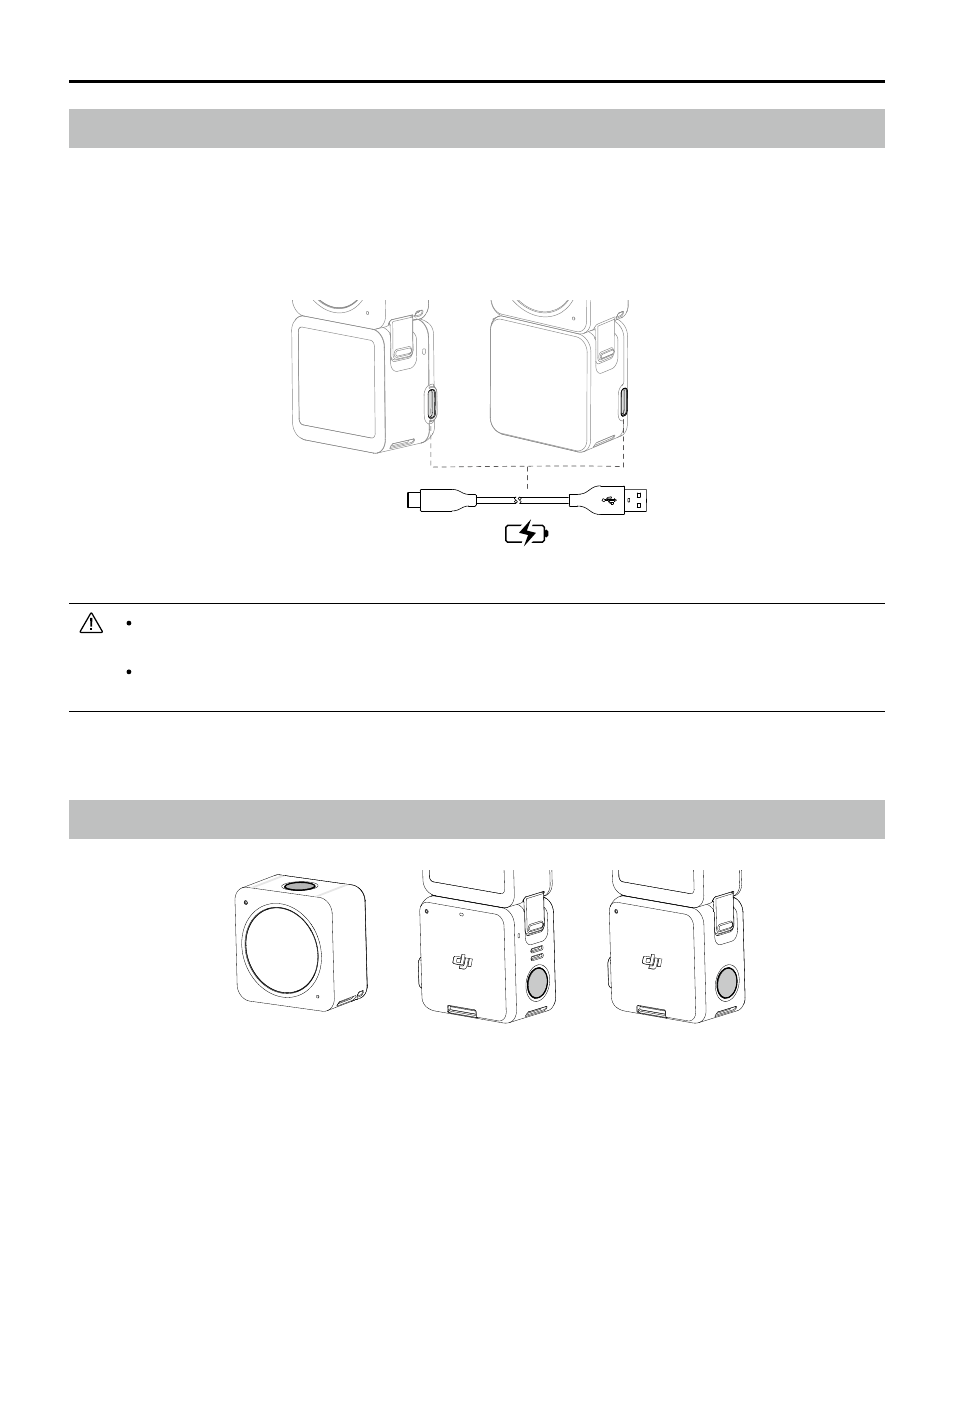
Charging DJI Action 2
1. Connect a USB adapter (not included) to the USB-C port using the power cable (included).
2. The status LED on the front touchscreen module or the power module turns on during charging
when powered off. The battery is fully charged when the status LED displays solid green for six
seconds and turns off. It takes approximately 90 minutes to fully charge both the camera unit and
the front touchscreen module or the power module when they are connected.*
* Measured using a 5V/2A USB adapter in a laboratory environment. Use as a reference only.
Charge the camera when the battery level is low. Storing the camera for more than four months with
low battery will reduce the battery life.
The camera unit will be charged first if the front touchscreen module or the power module is
connected to the camera unit during charging.
Usage
Power/Record Button
* Coming soon.
1. When powered off:
A. Press to power on.
B. Press and hold to quickly power on and begin shooting. The shooting mode will depend on the
SnapShot* settings.
2. When powered on:
A. Press to take photos or to start or stop recording. In settings or playback, press to return to
camera view.
B. Press and hold to enter sleep mode and press again to exit sleep mode. The camera will
automatically power off after 60 minutes in sleep mode. In QuickClip mode, press and hold to
extend recording time while recording.
C. Press twice to switch shooting mode.