Aligning the print head – Epson 480SX User Manual
Page 28
24
If any dots are missing, click
Clean
and follow the instructions on the screen to
clean the print head again.
If you don’t see any improvement after cleaning three or four times, check the
solutions in “Problems Getting Good Print Quality” on page 36. You can also
turn the printer off and wait overnight—this allows any dried ink to soften—and
then try cleaning the print head again.
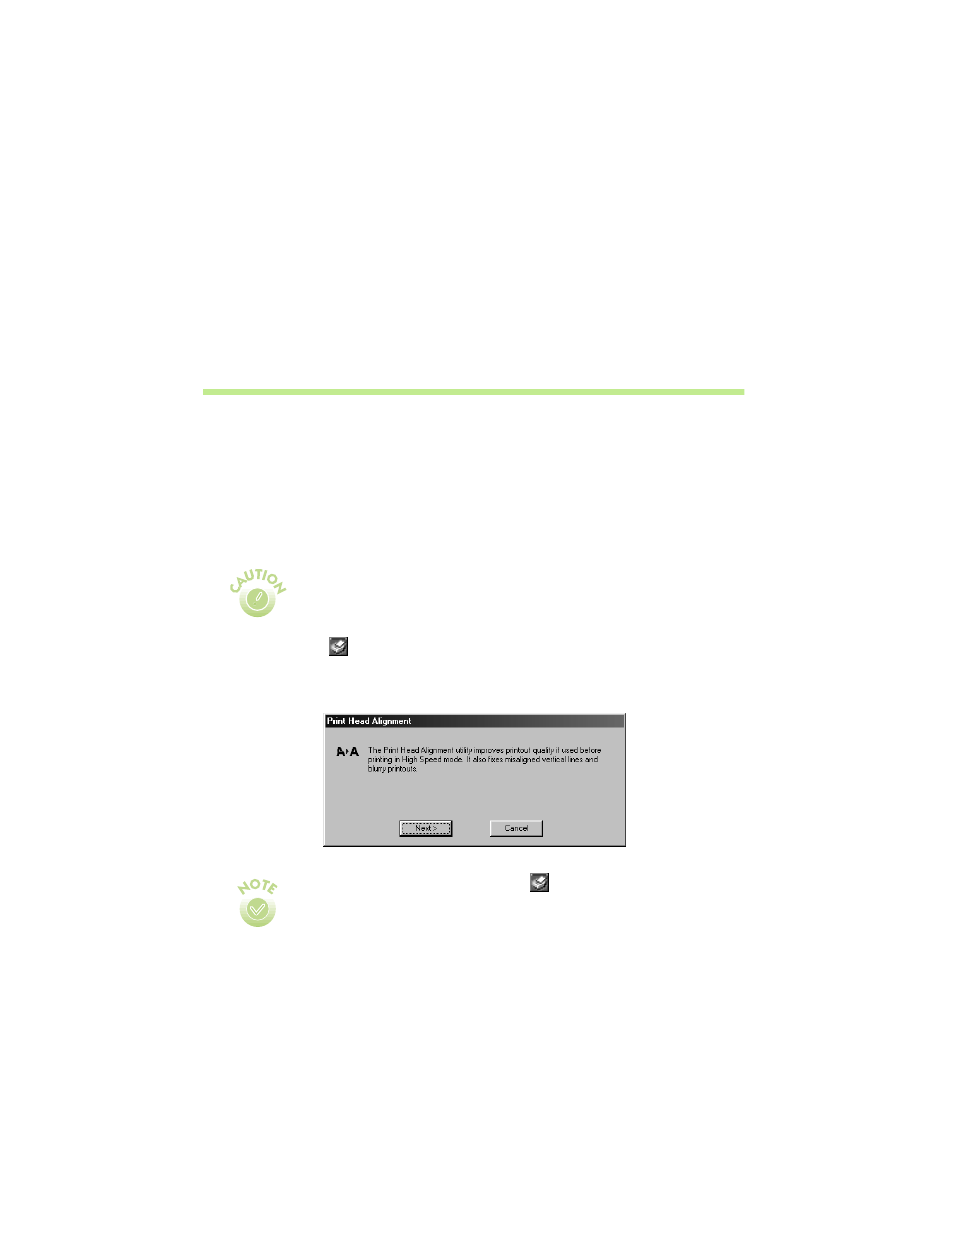
Aligning the Print Head
If your printouts contain misaligned vertical lines, you may need to align the print
head. Your printer must be connected directly to your computer, not connected
over a network, to use the Print Head Alignment utility. Follow these steps:
1. Make sure the printer is plugged in but not printing, and letter-size or larger
paper is loaded.
2. Right-click the
Status Monitor 3 icon on your Windows taskbar, then
select
Print Head Alignment
in the menu that appears. You see the window
below:
For the best results, load EPSON ink jet paper in the printer whenever
you check the print head alignment. Don’t use plain, recycled, or
photocopier paper.
To right-click, place your cursor on the
Status Monitor 3 icon and click
the right mouse button.
If you have an application running, you can also run the Print Head
Alignment utility by accessing the printer settings dialog box as
described on page 10. Click the Utilities tab, then click the Print Head
Alignment button.