Using the head cleaning utility – Epson 480SX User Manual
Page 27
23
Using the Head Cleaning Utility
Follow these steps to run the Head Cleaning utility:
1. Make sure the printer is plugged in but
not printing.
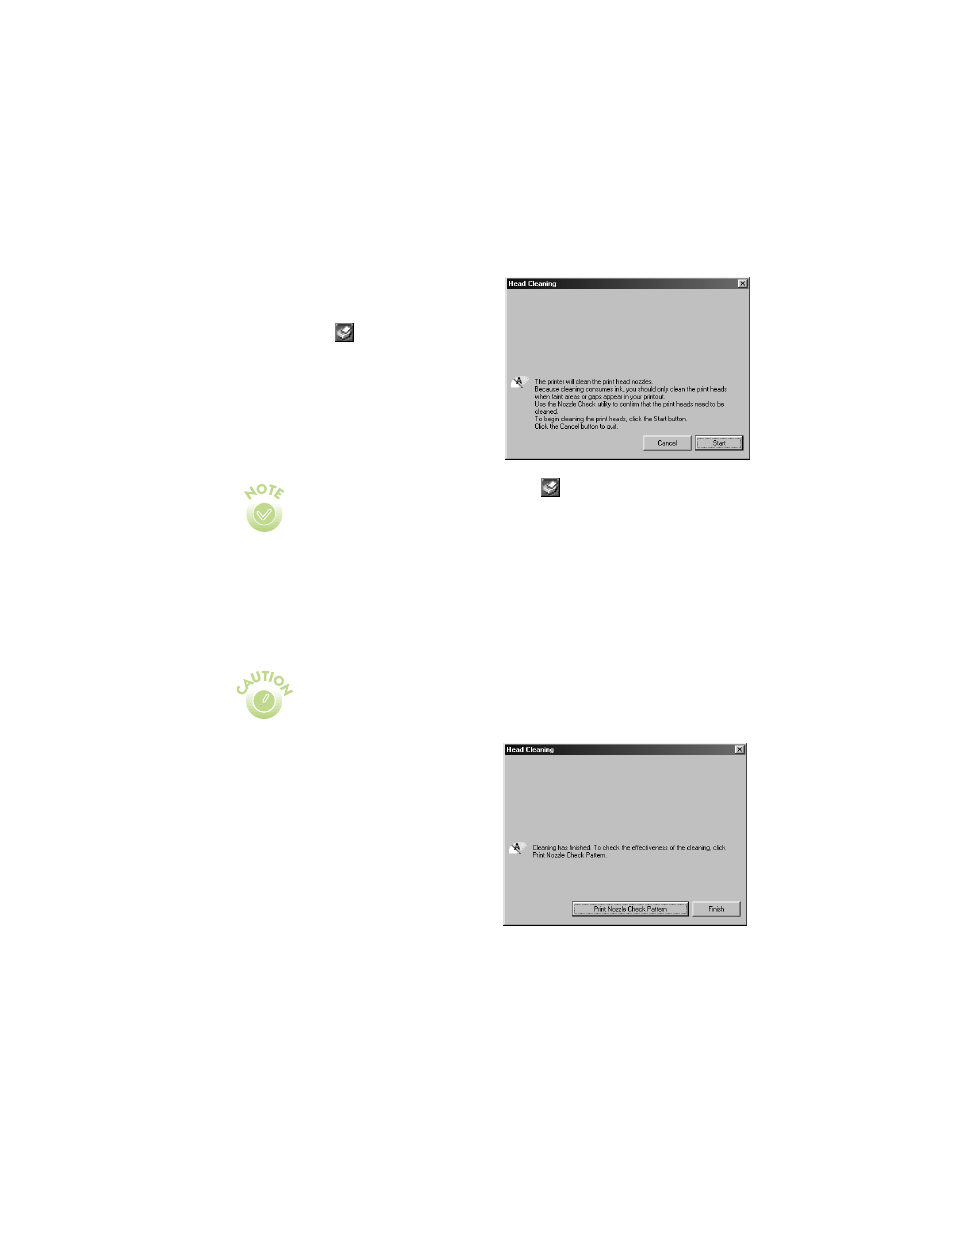
2. Right-click the
Status Monitor 3
icon on your Windows taskbar, then
select
Head Cleaning
in the menu
that appears. You see this window:
3. Click
Start
and follow the instructions on the screen to clean the print head.
Cleaning takes about 30 seconds, during which the print head moves and the
printer makes some noise.
4. When cleaning is finished, run a
nozzle check to confirm the print head
nozzles are clean. Click
Print Nozzle
Check Pattern
.
5. Make sure letter-size or larger paper is
loaded in the printer. Then follow the
instructions on the screen to print a
nozzle check.
6. See page 22 for details on examining
the nozzle check pattern. If the nozzle
check pattern isn’t missing any dots,
click
Finish
.
To right-click, place your cursor on the
Status Monitor 3 icon and
click the right mouse button.
If you have an application running, you can also run the Head Cleaning
utility by accessing the printer settings dialog box as described on
page 10. Click the Utilities tab, then click the Head Cleaning button.
Never unplug the printer while it’s cleaning the print head.