Epson 480SX User Manual
Page 21
17
4
×
6-inch Photo Paper
EPSON 4
×
6-inch Photo Paper is micro-perforated around the edges so you can
trim your printouts and “bleed” the photo—extend it to the edge of the paper—
on all sides.
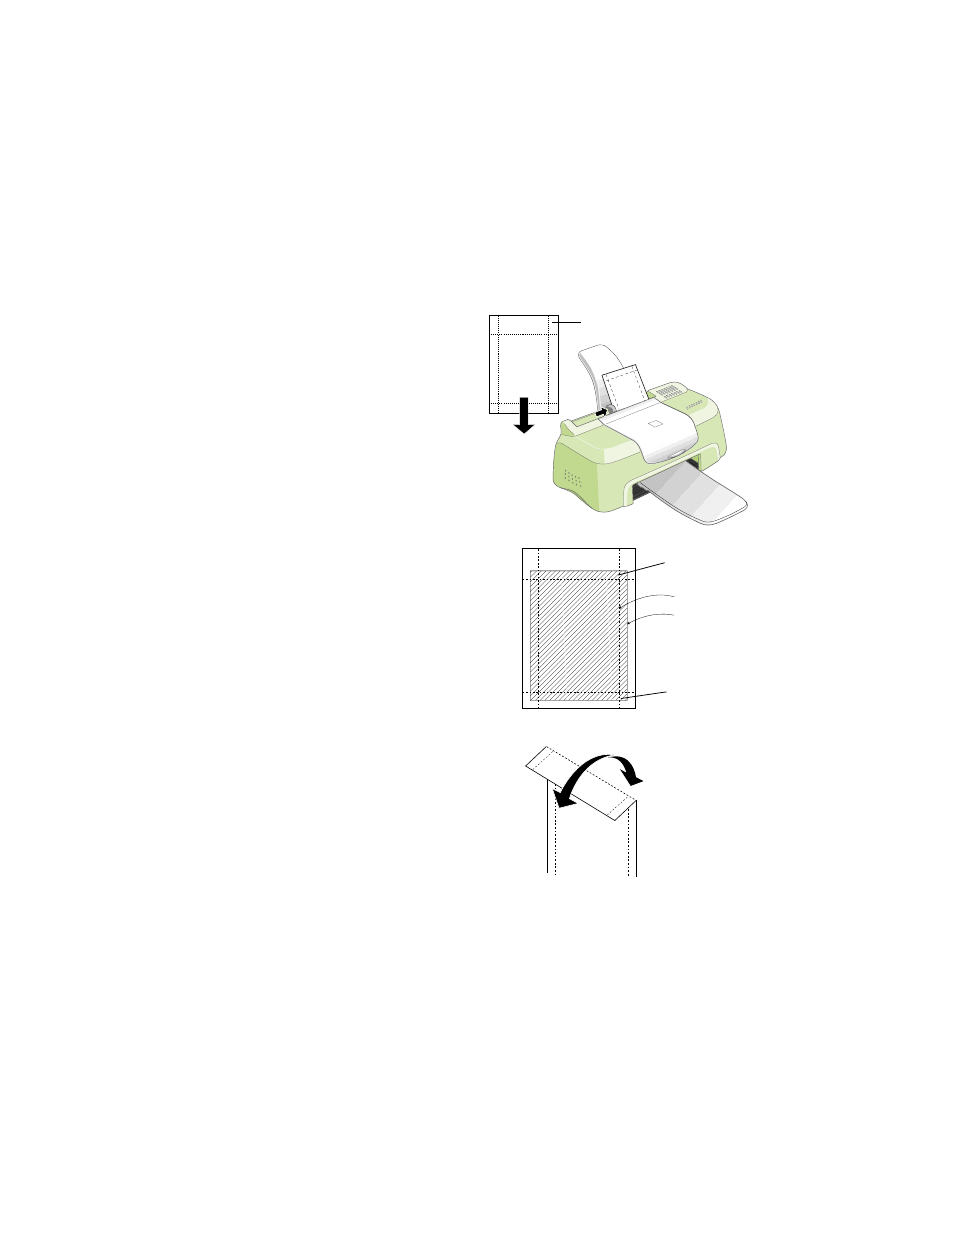
1. Load the paper against the right
edge of the sheet feeder with the
glossy side facing up and the
perforated margins positioned as
shown. Then slide the left edge
guide against the paper.
Place the included support sheets A
and B beneath the paper. (If you
don’t have the support sheets, use
plain paper cut to size.)
2. When you create the image in your
application software, size it to
4.25
×
6.25 inches. Or use your printer
software’s Reduce/Enlarge settings, as
described in your electronic Reference
Guide.
3. Choose
Photo Paper
as the Media Type
setting.
4. Choose
Photo Paper 4
×
6 in
as the
Paper Size setting and
Maximum
as the
Printable Area setting.
5. After you print your picture, fold the
paper back and forth along the
perforations and carefully tear off the
margins.
large margin on top
trim size
printed
image size
bottom of
printed image
top of
printed image
remove the
margins