Setting the drive mode, P.64), P.64 – Ricoh Pentax КP User Manual
Page 66

3
Shoo
ting
64
1
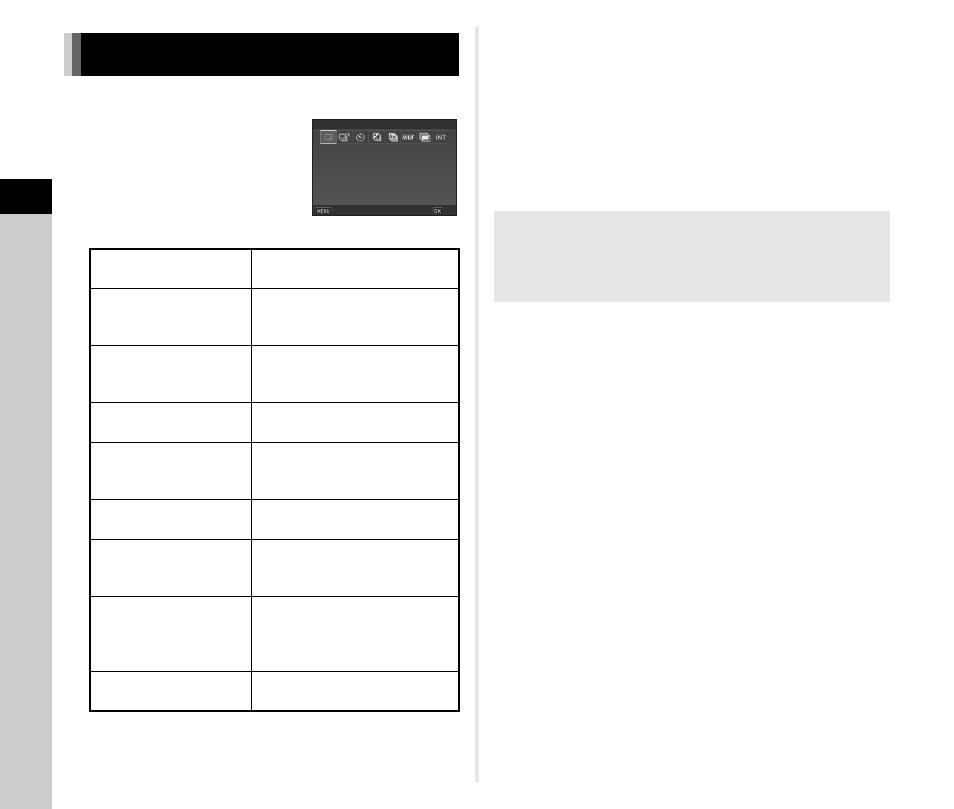
Press D in standby mode.
The Drive Mode screen appears.
2
Select a drive mode.
u
Caution
• There are restrictions on some drive modes when used in
combination with some other functions. (p.115)
t
Memo
• The Drive Mode setting is saved even after the power is
turned off. If [Drive Mode] is set to Y (Off) in [Memory] of the
A
5 menu, the setting returns to [Single Frame Shooting]
when the power is turned off. (p.110)
• When a drive mode that employs the self-timer is selected,
[Shake Reduction] of the A4 menu is automatically set to
[Off]. If you do not want to turn off the Shake Reduction
function, set in [19 Auto SR Off] of the E3 menu.
Setting the Drive Mode
Single Frame Shooting
(L)
Normal capture mode
Continuous Shooting
(Z, a, b)
Continuously takes pictures
while 0 is kept pressed.
(p.65)
Self-timer
(O, P, Y)
Releases the shutter about 12
seconds or 2 seconds after
0
is pressed. (p.65)
Bracketing
(T, 1)
Takes consecutive pictures at
different exposure levels. (p.66)
Depth of Field
Bracketing
(x, y)
Takes consecutive pictures at
different depth of fields
(aperture values). (p.67)
Motion Bracketing
(u, v)
Takes consecutive pictures at
different shutter speeds. (p.68)
Mirror Lock-up
Shooting
(c)
Takes pictures with the mirror
raised. (p.69)
Multi-exposure
(V, z, W)
Creates a composite image by
taking multiple pictures and
merging them into a single
image. (p.69)
Interval Shooting
(q, U, V, w)
Automatically takes pictures at
set intervals. (p.70)
Single Frame Shooting
Single Frame Shooting
Cancel
Cancel
OK
OK
If Light Enters through the Viewfinder
When a drive mode that employs the self-timer is selected,
exposure may be affected by the light entering through the
viewfinder. In such a case, use the AE Lock function. (p.51)
