Hardware installation, 1 stand-alone media converter installation, Tand – PLANET GST-80X Series User Manual
Page 9: Alone, Edia, Onverter, Nstallation, Gst-80x
- 9 -
2. HARDWARE INSTALLATION
This product provides two different running speeds – 10/100/1000Base-T and 1000Base-LX/SX in the same device.
This section describes the hardware installation of GST-80x. Before connecting any network device to the GST-80x, read
this chapter carefully.
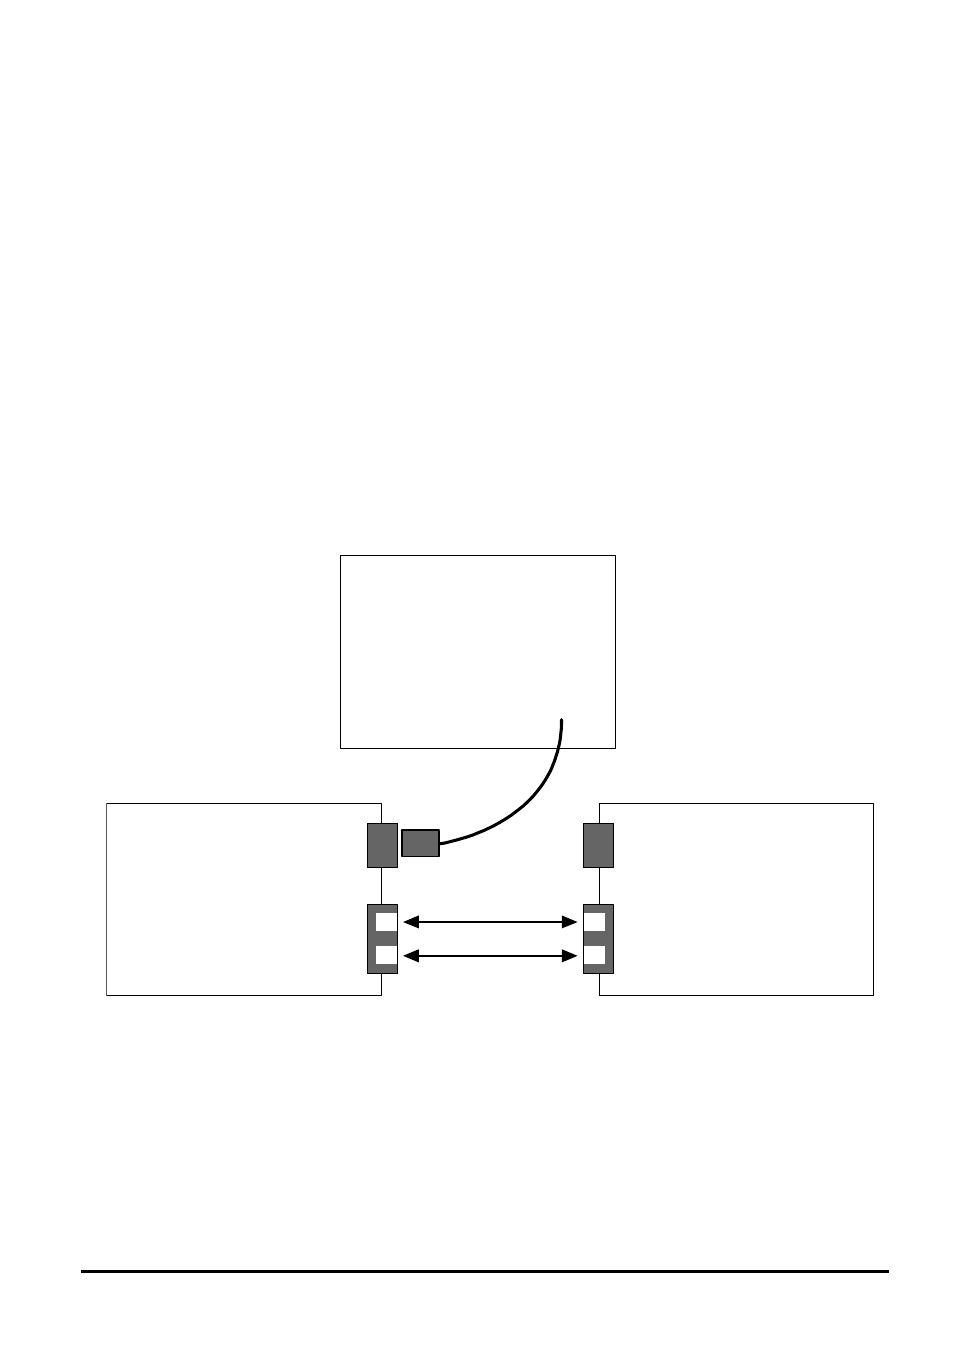
2.1 Stand-alone Media Converter Installation
The GST-80x can use as a stand-alone Media Converter for Plug & Play and quick network environment deploy, please
follow these steps to install the converter:
•
Turn off the power of the device/station in a network to which the GST-80x will be attached.
•
Ensure that there is no activity in the network.
•
Attach fiber cable from the GST-80x to the fiber network. TX, RX must be paired at both ends.
•
Attach a Cat. 5/5e/6 UTP cable from the 10/100/1000Base-T network to the RJ-45 port on the GST-80x.
•
Connect the 5VDC power adapter to the GST-80x and verify that the Power LED lights up.
•
Turn on the power of the device/station, the TX Link /Act and LX/SX Link/Act LEDs should light when all cables are
attached.
•
1 0 / 1 0 0 / 1 0 0 0 Ba s e -T
C a t . 5 / 5 e / 6
C a b le Ne t w o rk
1 0 / 1 0 0 / 1 0 0 0 Ba s e -T t o
1 0 0 0 Ba s e -L X/ S X
1 0 0 0 Ba s e -S X/ L X
F ib e r Ne t w o rk
RX
TX
GST-80X
TX
RX
#
Notice:
1. RJ-45/STP, UTP Cat 5/5e/6, straight/crossover cable is accepted.
2. Please refer to Appendix A for more about the wiring distance of your TP and fiber- Optic cable.