4 wall/ceiling mount installation proc, 4 wall/ceiling mount installation procedure – PLANET ICA-8200 User Manual
Page 7
7
Step 3. Attach the power supply
Plug the power adapter in the IP camera and connect the other end to
the power outlet.
Note
Only use the power adapter supplied with the IP camera; otherwise,
the product may be damaged.
Step 4. Plug Power on 100V ~ 240V
Ensure the power adaptor specification matches the power system (100 ~
110V AC or 220 ~ 240V AC) and connect the adaptor to the outlet.
Step 5. Check LED status
The Power LED is defined to identify the IP camera status. When the IP
camera is booting, the LED will flash, and while the IP camera is ready,
the LED will be green.
Step 6. Adjust lens focus
Clockwise or counter-clockwise rotation can be adjusted for the focus of
the IP camera lens.
2.4 Wall/Ceiling Mount Installation Procedure
Step 1. Stick the given mounting label at the installation location.
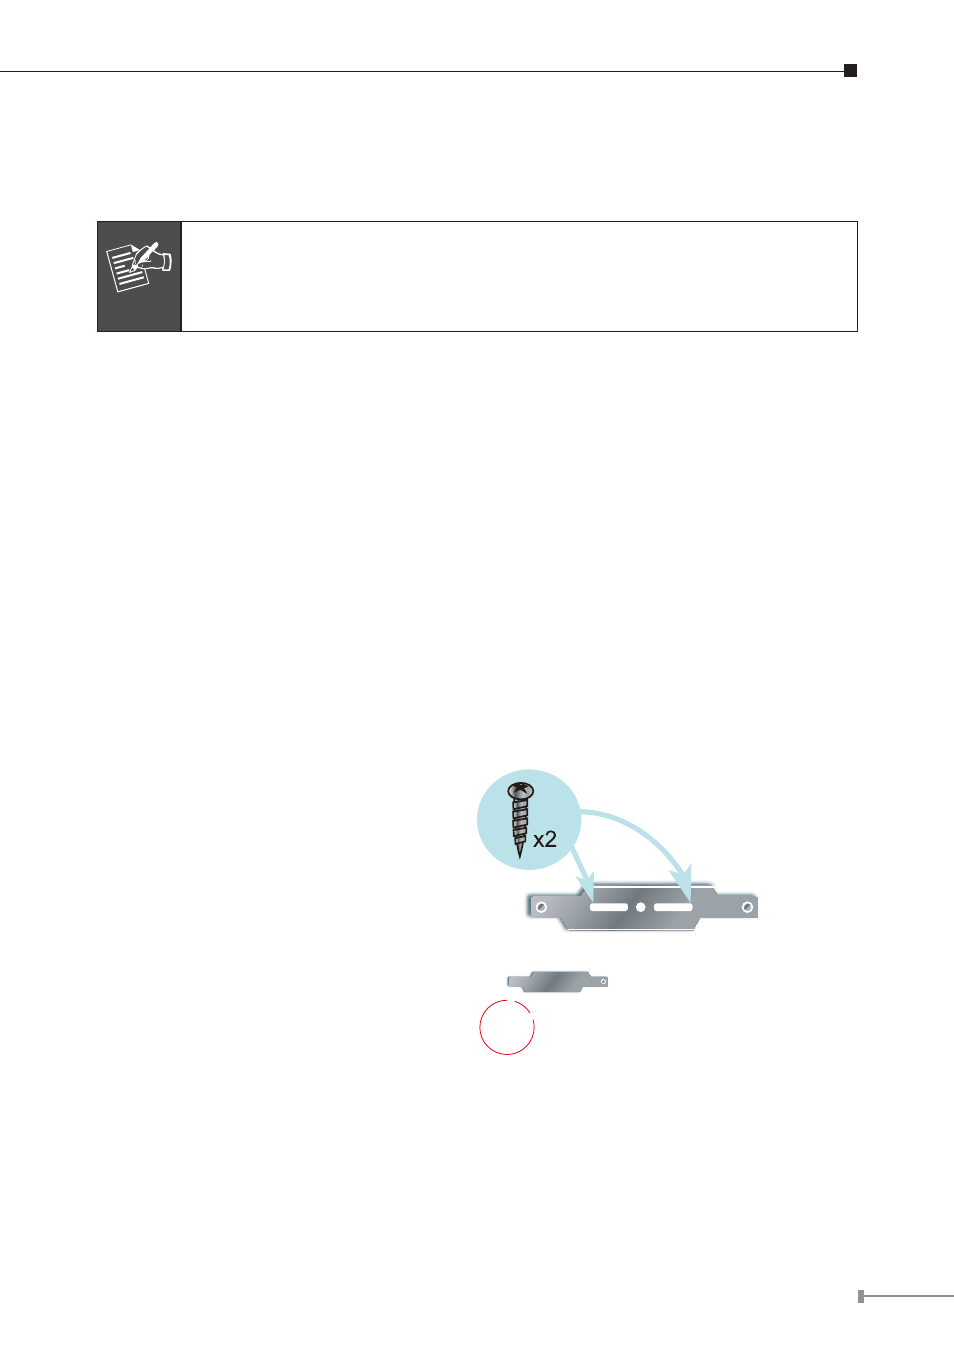
Step 2. Take the wall mount bracket,
put it on the target place and
fix it with the supplied screws
(total of 2).
Step 3. Load the camera into the
wall mount. Be sure the
camera is mated with two
fixed screws, and rotate the
camera clockwise to lock it in
position.