Connecting the router for operation – RISCO Group RP3G68 User Manual
Page 14
14
3. Click OK to establish the wireless connection
IMPORTANT: Once a wireless connection has been
established, don’t forget to disconnect the Ethernet cables that
connect the wireless IP cameras to the router, and to install the
wireless IP cameras at the premises.
4. Once the “camera is ready for use” message is displayed, click OK.
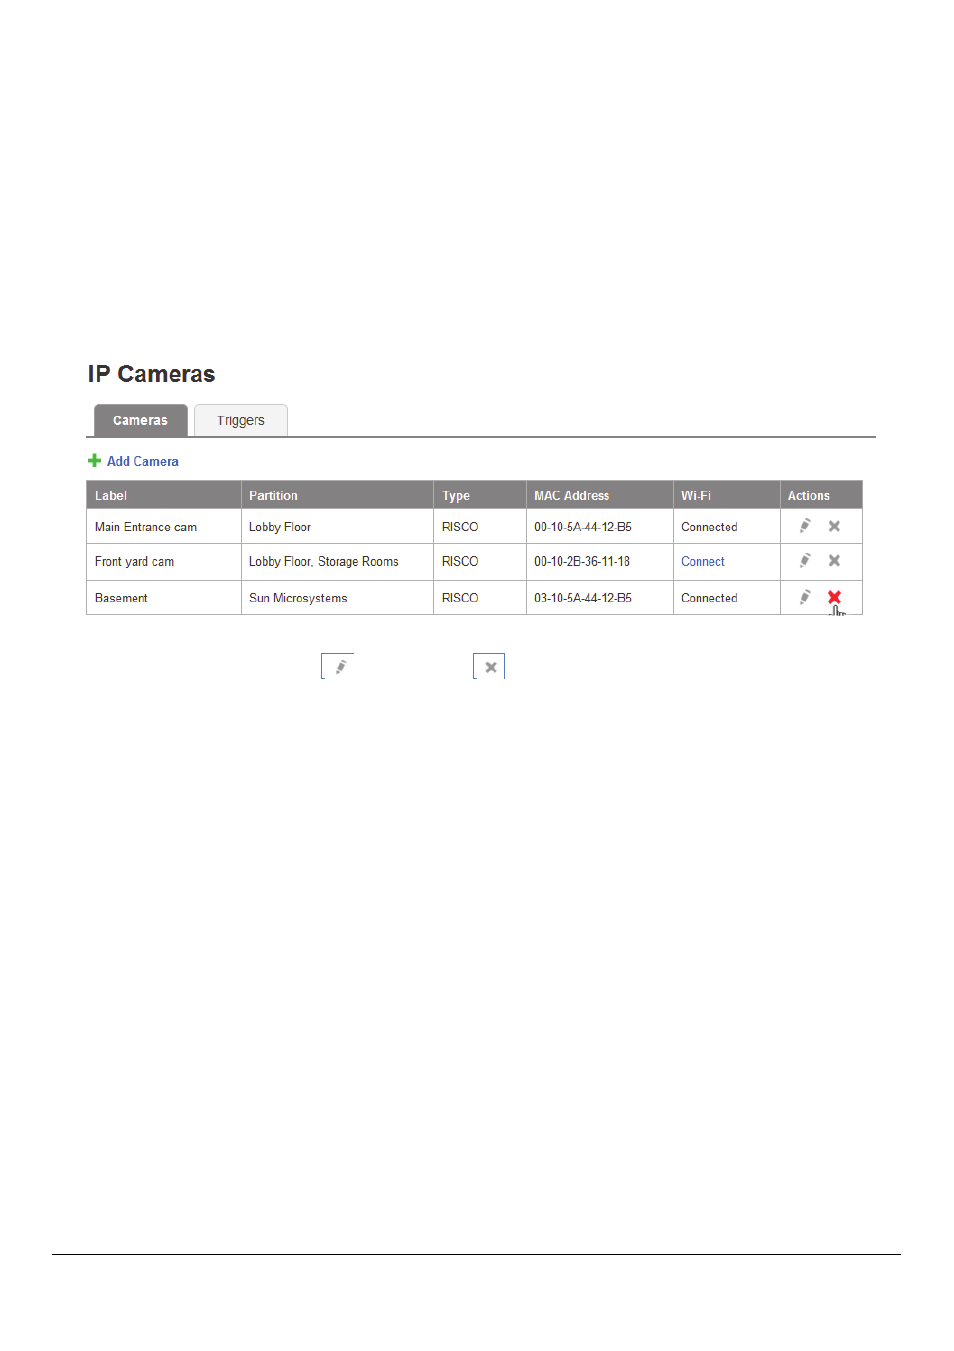
The defined IP camera is displayed in the IP Cameras page.
NOTE: You can edit or delete the selected IP camera.
NOTE: For more information, such as defining IP camera triggers
and troubleshooting, see the IP camera installation documentation.
5. In the Web browser enter http://192.168.8.1 to re-open the router
configuration screen, and at the login screen enter Admin for both
user name and password.
6. For enhanced security, from the Wireless menu (Basic tab) you can
select the Do not broadcast SSID checkbox, and then click Apply.
7. Disconnect the Ethernet switch from the powered-down laptop,
router, and IP module.
Connecting the Router for Operation
Having finished with the IP camera and WiFi configuration, you can
now connect the router to the IP module via Ethernet cable, and
power-up your system components for operation.