Adding ip cameras, Risco installer administrative application – RISCO Group RP3G68 User Manual
Page 12
12
RISCO Installer Administrative Application
Via the RISCO Cloud, the Installer Administrative Application
enables you to add IP cameras to the network (LAN or WiFi) and
configure the camera settings. It also enables you to establish a WiFi
connection.
Adding IP Cameras
To add and configure IP cameras via the Cloud:
1. Log into the RISCO Installer Administration application at
www.riscocloud.com/ELAS/WAApp and enter your user name
and password (click Sign Up as Installer Admin if you need to
create new login credentials).
NOTE: It is recommended to use Google Chrome or Mozilla
Firefox to log into the Installer Administration application.
NOTE: Refer to the RISCO Cloud Installer Application manual
for more details.
2. Select the Control Panels List link. The Control Panels List page is
displayed.
3. From the Control Panels List page, select the Control Panel you
wish to view. The Control Panels Update page is displayed.
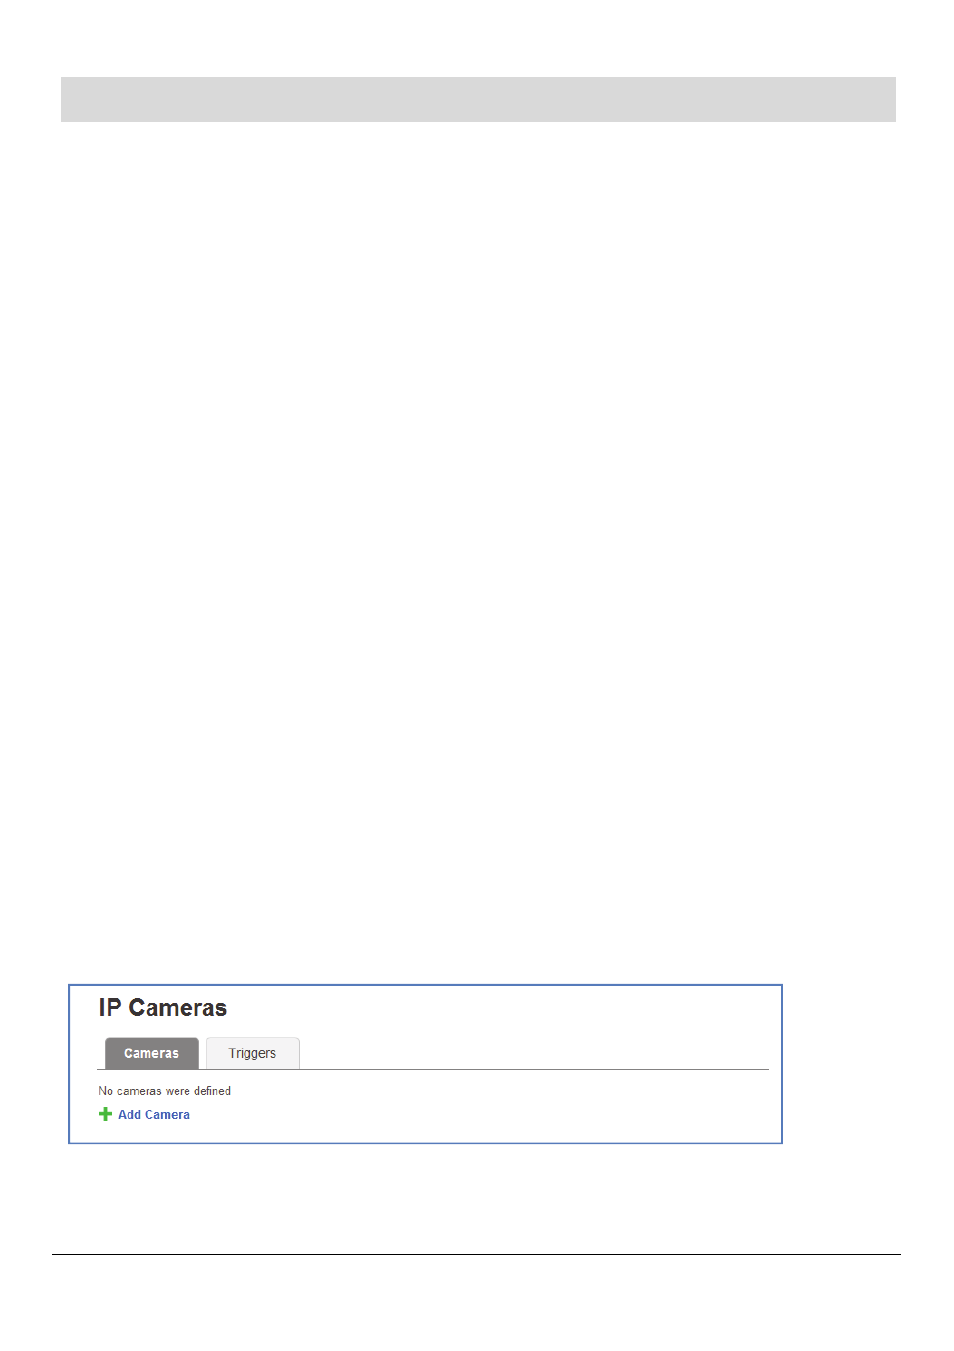
4. Click the Network Cameras link in the left-hand column; the IP
Cameras List page is displayed.
5. Click Add Camera; the Add Camera dialog box is displayed.