Putting on snowshoes, Removing snowshoes, Cleat cover – Crivit SN-1531 User Manual
Page 9: Gear
9
GB
putting on Snowshoes
note
Before starting on your first snow-
shoeing outing you should practice
putting the snowshoes on. preferably
outdoors to prevent scratches indoors.
please note the right and left marking
on the snowshoes.
1. Adjust the heel strap (3) to your shoe size.
The shoe size is marked on the heel strap.
2. Place the snowshoe on a level surface with
the binding open. Insert the foot into the
snowshoe with your foot pointing straight
forward (Fig. B). Pulling by the flap, pull the
heel strap upward to ankle height.
Now firmly place your foot all the way back
against the heel strap (Fig. C).
3. Now pull the tension strap (4) tight (Fig. D).
Tighten the binding so the shoe is straight and
firm.
Then secure the tension strap loop to the
attached clips (6).
note!
Verify your foot is correctly positioned
by flipping the heel lift up. when flipped
up the heel lift should be positioned at
the centre of the heel.
removing Snowshoes
Press the quick-release lever (5) outward to
release the tension strap (4). You will now be
able to slide your foot out of the binding.
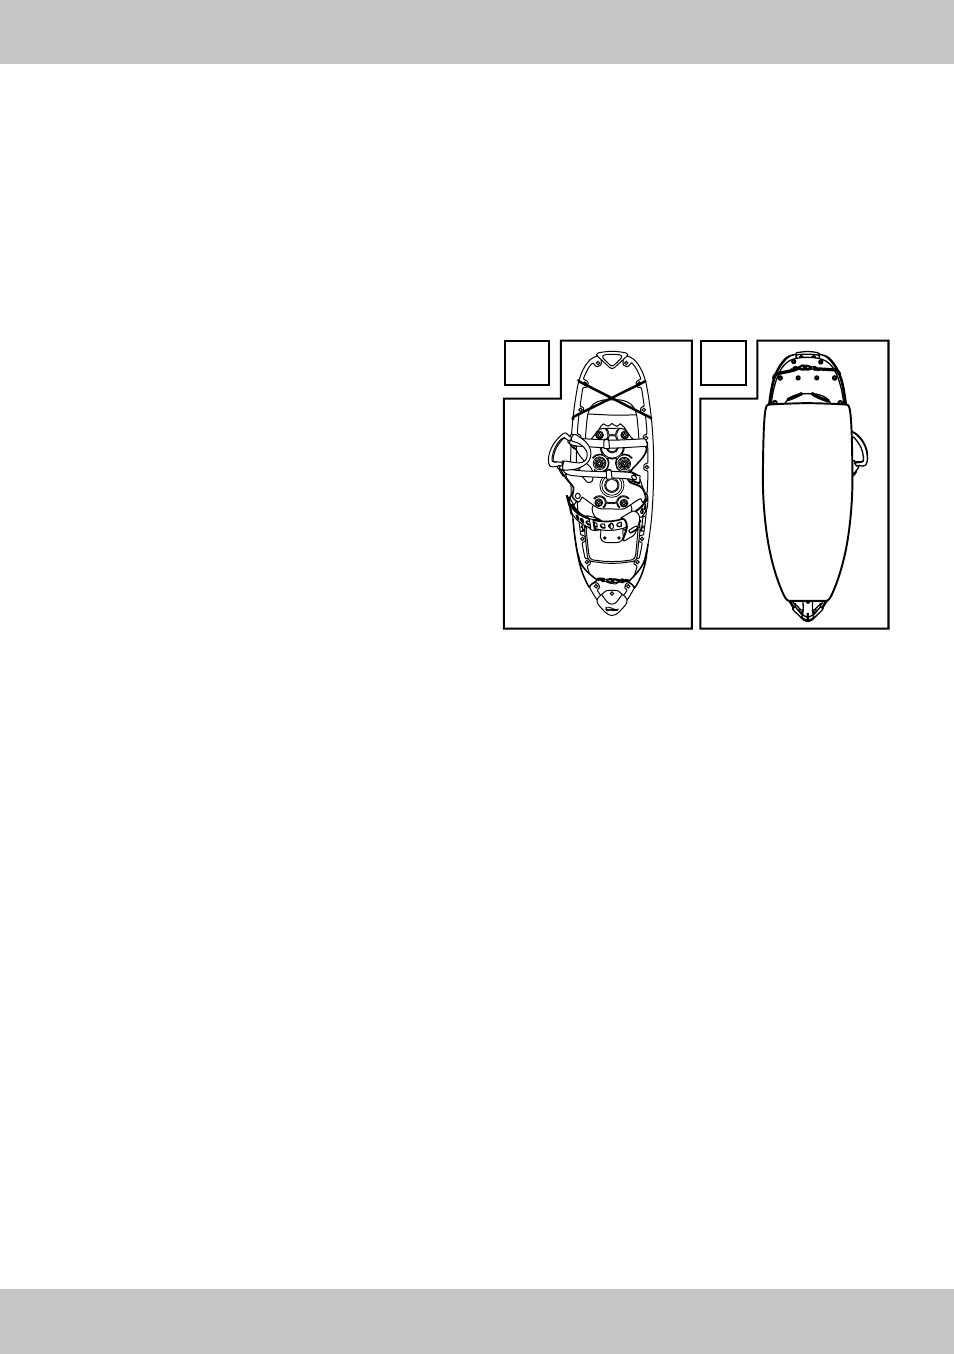
cleat cover
When the item is not in use please cover with the
included cleat guard. The elastic bands do not
need to be released. Place the end of the cleat
cover with the shorter elastic band over the rear
pointed end of the snowshoe. Then place the
sheet over the snowshoe crampons. Once the
cleat cover is correctly positioned, double wrap
the elastic around the front part of the snowshoe.
i
j
Gear
Shoes
Use conventional mountain, hiking or trekking
shoes.
clothing
Adapt your clothing to weather conditions.
In changing weather you may choose to wear
layers of clothing. This will allow you to quickly
adjust your clothing to conditions.
poles
Ski or trekking poles will make it easier to snow-
shoe. They will help with balance, thus enhan-
cing stability. Use poles with large baskets to
minimise sinking in deep snow.