Installation and operation, cont’d – Extron Electronics MIX 301 User Manual
Page 10
MIX 301 • Installation and Operation
Installation and Operation, cont’d
6
a.
Hold the unit against the underside of the table or
other furniture, and mark the locations for four screws
(two screws per bracket) on the mounting surface.
b.
At each mark, drill a 3/32" (2 mm) diameter pilot hole
approximately 1/4" (6 mm) deep in the mounting
surface.
c.
Insert #8 wood screws into the four pilot holes.
Tighten each screw into the mounting surface until just
less than 1/4" (6 mm) of the screw protrudes.
d.
Align the bracket slots with the wood screws and place
the unit against the mounting surface.
e.
Slide the unit either forward or backward until the
screws are in contact with the edge of the bracket slots.
Then, tighten each screw to secure the unit in place.
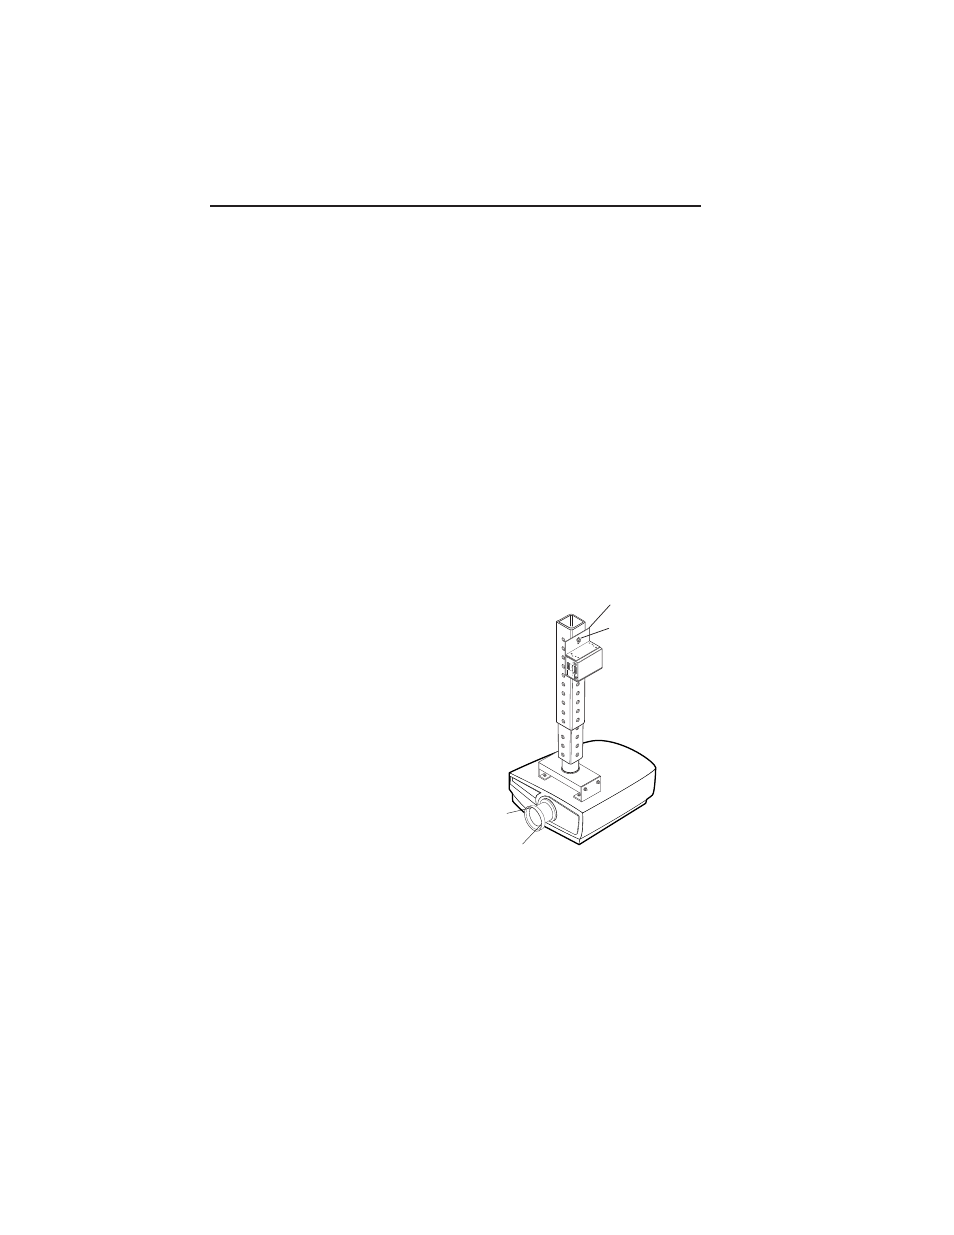
Projector mounting
1.
Remove the rubber feet if they were previously installed.
2.
Attach the mounting bracket to the MIX 301 with the
machine screws provided.
3.
Secure the unit to a
projector mount or other
surface using mounting
bolts as shown in the
following diagram.
Digital Projector
Projector
Mounting
Bracket
Mounting
Bolt
B
U
C 102
A
U
DIO
B
A
L/UNB
AL
CONVER
TER
PO
WER
12V
0.2A
MAX
L
R
B
AL/UNB
AL OUTPUT
S
L
R
B
AL/UNB
AL INPUT
S
S
PA
R
E
ON
BA
L
UNB
A
L
1
2