Projector file viewer operations, Uploading a file to projector internal memory, Logging in to the transfer file page – Casio XJ-UT310WN Network Function Guide User Manual
Page 67

67
Projector File Viewer Operations
This section explains how to use a web browser to access projector internal memory to upload files
and to delete existing files. It also provides information about File Viewer operations you can perform
with a web browser.
You need to log in to the “Transfer File” page in order to upload a file to projector internal memory.
Logging In to the Transfer File Page
If there is a wireless LAN connection between the projector and a computer, you can perform a
Network Connection operation on the computer to log in to the “Transfer File” page.
You can directly log in to the Transfer File page over a wired LAN without using Network Connection.
To log in to the Transfer File page over a wireless LAN
connection
1.
Perform one of the operations below to connect a computer to the projector via
a wireless LAN.
z “To use a projector simple connection SSID to establish a wireless LAN connection and
project” (page 12), steps 1 through 9
z “To use a projector generic SSID to establish a wireless LAN connection and project” (page
15), steps 1 through 11
z “To use a user SSID to establish a wireless LAN connection and project” (page 22), steps 1
through 11 (User SSID already created).
2.
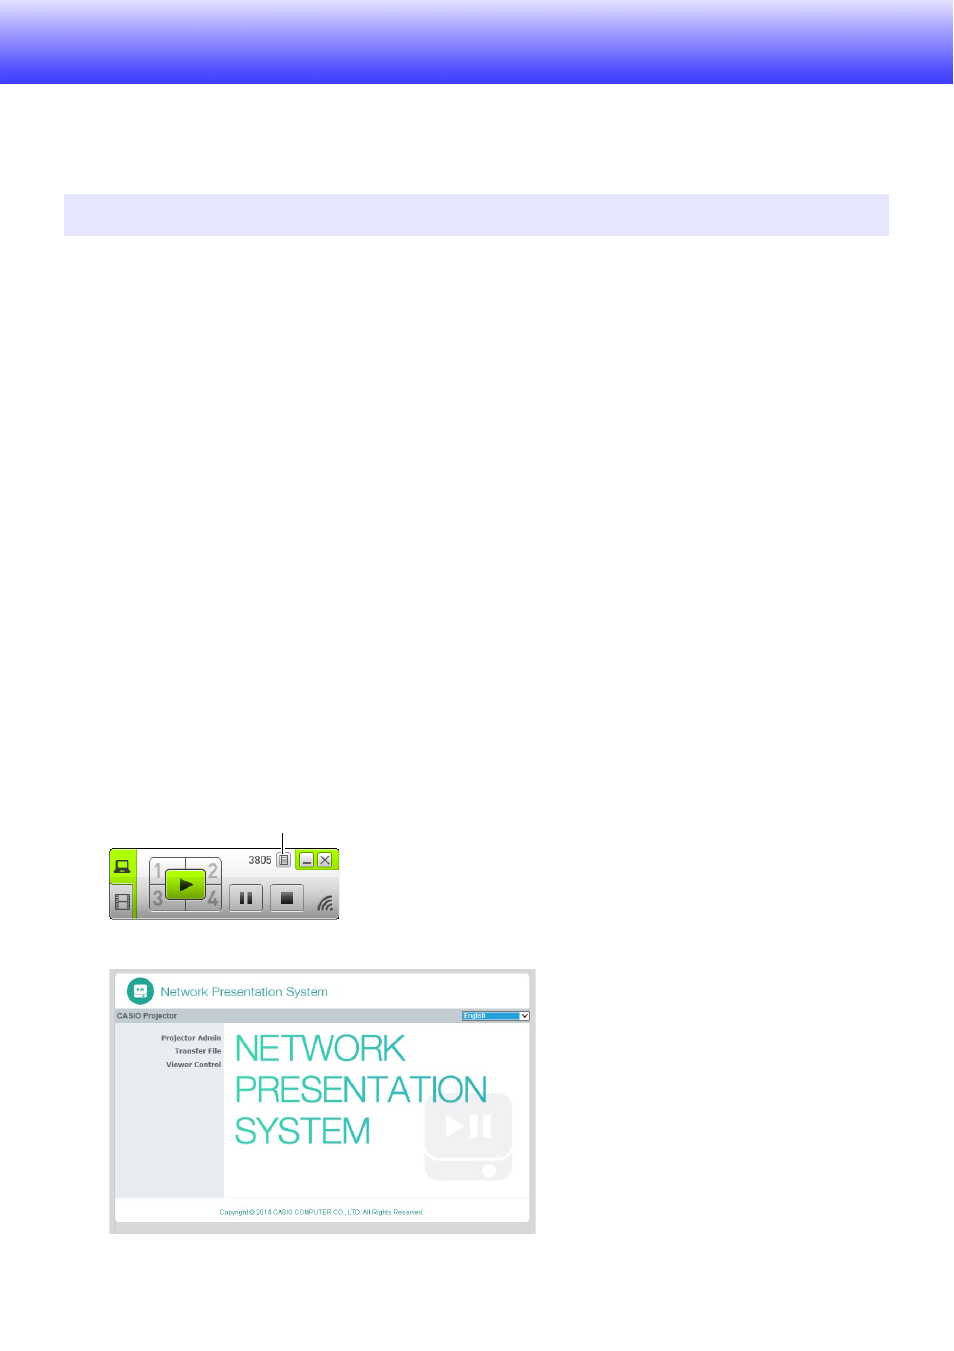
On the Network Connection window, click the function menu button and then
click [Admin Screen] on the menu that appears.
z This starts up the computer’s web browser and displays the projector’s top page.
Uploading a File to Projector Internal Memory
Function menu button
