Casio GV-10 2 User Manual
Recording images
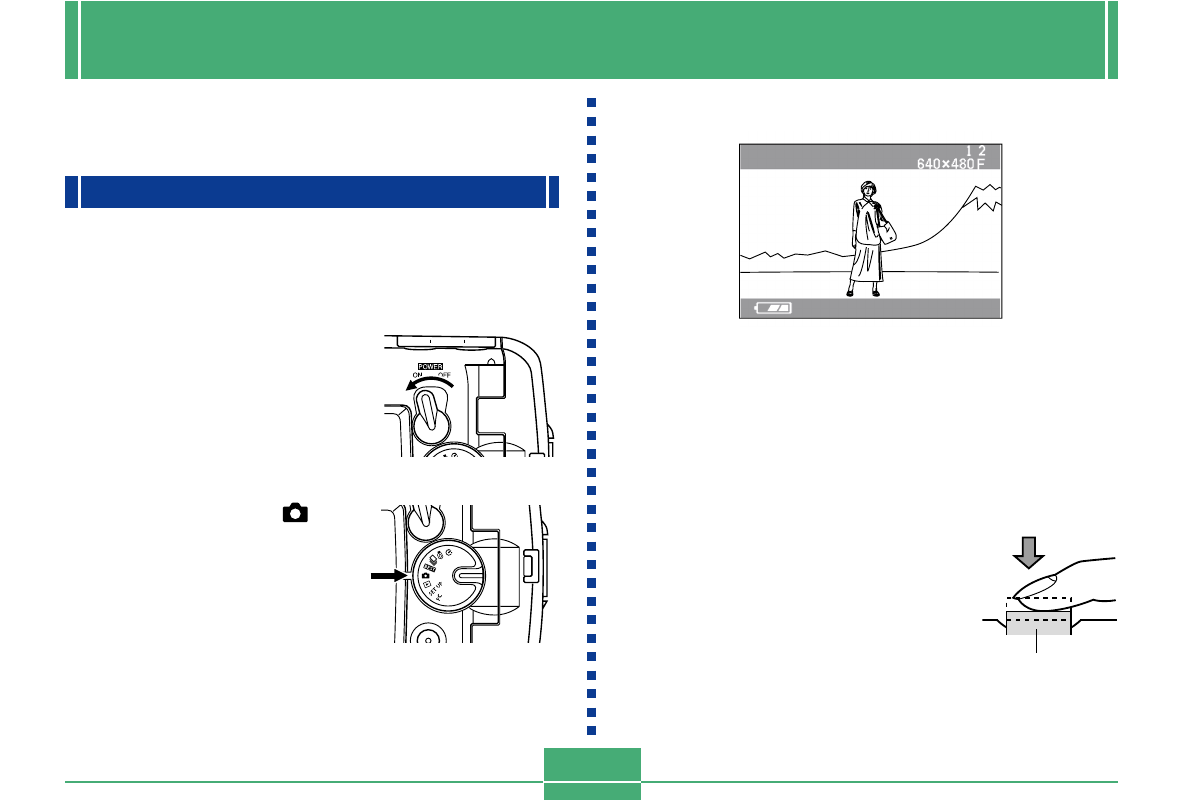
RECORDING IMAGES
45
3.
Compose the image on the monitor screen.
• The focusing range of the camera is approximately 60
cm (23.6˝) to infinity (
∞
).
• You can compose images using either the monitor
screen or the optical viewfinder (page 52).
• When using the optical viewfinder to compose im-
ages, you can use DISP to turn off the monitor screen
and conserve battery power.
4.
Press the shutter
release button about
half way to lock the
exposure (AE Lock).
This section describes the basic procedure for recording an
image.
Recording a Simple Snapshot
Use the snapshot mode to record simple snapshots. Your
camera automatically adjusts shutter speed and aperture
settings in accordance with the brightness of the subject.
1.
Move the POWER ON/
OFF switch to ON.
• This causes an image or
a message to appear on
the monitor screen.
2.
Align the dial with
(snapshot mode).
RECORDING IMAGES
Shutter release button
Document Outline
- RECORDING IMAGES
- Recording a Simple Snapshot
- About the REC Mode Monitor Screen
- Recording Precautions
- Image Recording when Batteries are Low
- Using Zoom
- Using the Flash
- Flash Status Indicators
- Precautions when Using Flash
- Recording Macro Images
- Using the Optical Viewfinder
- Recording Consecutive Images
- (Continuous Shutter Mode)
- Recording with the self-timer
- Recording an Image Using a Best Shot Mode Scene
- Recording a Movie (Movie Mode)
- Specifying Image Size and Quality
- Exposure Compensation
- Selecting White Balance
- PLAYBACK
- DELETING IMAGES
- MANAGING IMAGES
- OTHER SETTINGS
- CONNECTING TO EXTERNAL EQUIPMENT
- REFERENCE
- SET UP Menu
- Troubleshooting
- Specifications