Configuring layouts for a cascade room, Repairing a cascade configuration – Grass Valley Kaleido-IP with Kaleido-X Cascade Manual User Manual
Page 7
5
Kaleido-IP/Kaleido-X cascade
Step-by-Step Configuration
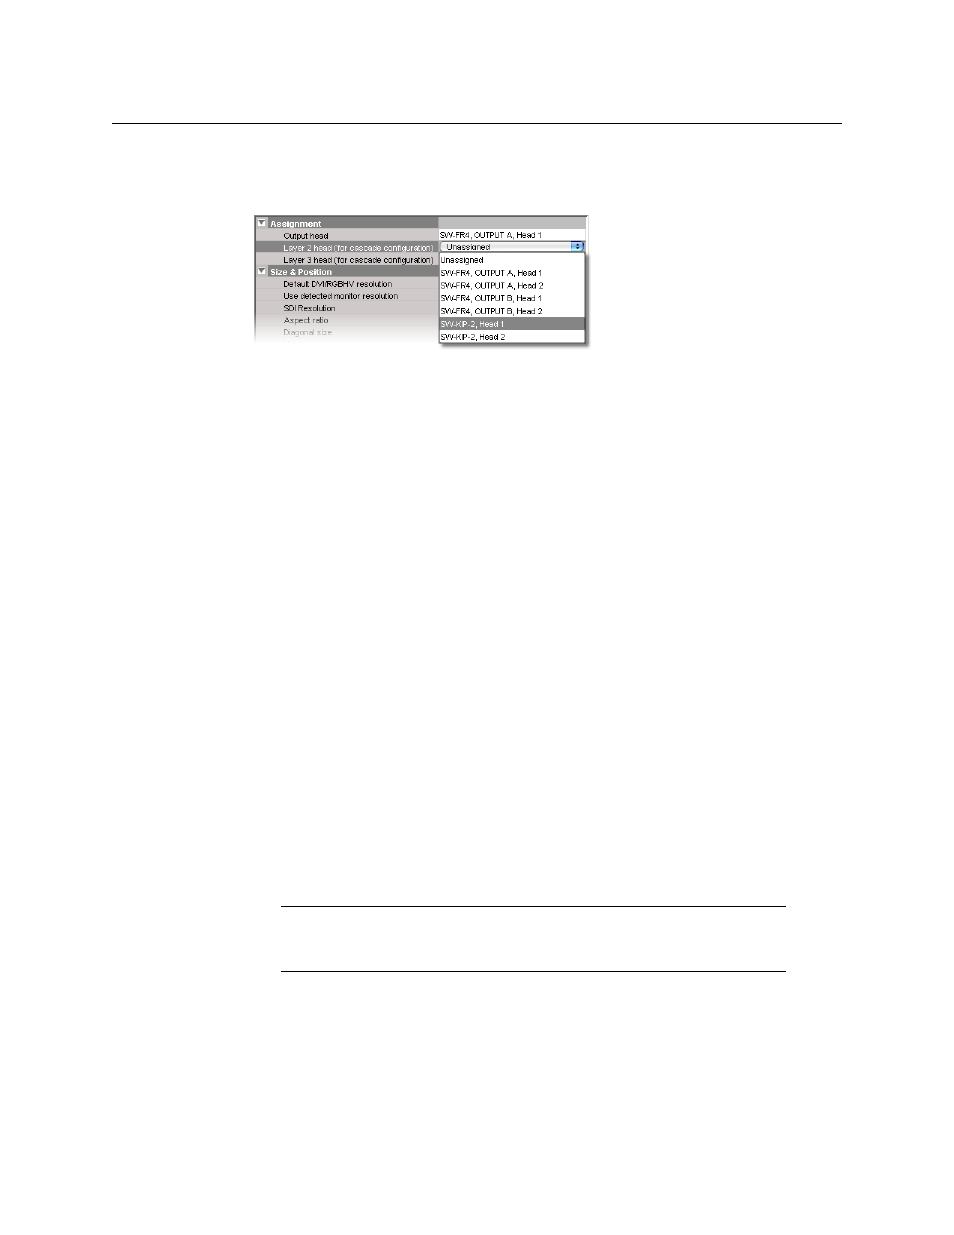
2 Click a first head. In the Properties pane, its name appears in the Output head box.
3 Select the appropriate Kaleido-IP head from the Layer 2 head (for cascade
configuration) list.
Since the Kaleido-IP/Kaleido-X cascade does not support a third layer, leave Layer 3
head (for cascade configuration) unassigned.
4 In the case of a dual-head cascade room, repeat the procedure to configure the head
layer assignments for the other Kaleido-X head.
5 On the File menu, click Save.
The updated room configuration is automatically propagated to the Kaleido-IP.
Configuring Layouts for a Cascade Room
Creating cascade layouts is no different than creating any regular layout. The only limitation
is that all layout creation and configuration must be performed in online mode, while
connected to one of the cascade members.
• When you configure layouts for a cascade room, all logical sources from all the
multiviewers associated with this cascade room are available.
• When you save a Kaleido-IP/Kaleido-X cascade layout, any changes are automatically
propagated to the other multiviewer in the cascade.
Repairing a Cascade Configuration
While connected in XEdit to a multiviewer that is part of a cascade, if you change the
system name or IP address of this multiviewer while another cascade member is offline or
otherwise unavailable, the underlying cluster’s integrity will be broken. If you attempt to
make such a change, XEdit will alert you of the situation, prompting you to cancel the
operation and try again later, when all cascade members are available. However, in the
advent that such a change was made by mistake, or that is had to be forced for some
reason, you will have to repair the broken cascade.
To repair the cascade configuration
1 In XEdit, connect to System B, the multiviewer that was unavailable when the change
was made, once it is available again.
2 In the Description/Calibrations tab, remove System A from the cluster, and then add it
back to the cluster.
Note:
In the procedure below, System A refers to the system whose name or
IP address was changed while another multiviewer, referred to as System B,
was unavailable.