Grass Valley Vertigo XG Integration v.2.6 User Manual
Page 14
10
Installing and Configuring XG Inside
Installing and configuring the VertigoXG desktop plugin
Installing and configuring the VertigoXG desktop plugin
The VertigoXG plugin is an iTX channel plugin that allows the scheduling of secondary
graphics events that are inserted into the iTX Program stream by the XG Inside option
installed on an iTX Playout Server.
This plugin adds the VertigoXG palette to the Content Selector on the Channel Control
layout, which lets you create graphics pages based on Vertigo templates and then add the
pages and/or scenes to the schedule or timeline. See
Adding XG Events to an iTX schedule
on page 26 for more information.
The following procedure assumes that you have already set up the channel configurations
in the iTX Desktop.
To install and configure the Vertigo XG plugin on a machine hosting iTX Desktop:
1 Acquire and run the latest Vertigo Suite installer on the computer hosting the iTX
Desktop that is connected to the iTX Playout Server with XG Inside.
2 When prompted by the installation wizard, select to install the Vertigo iTX Desktop
Plugin.
3 Follow the wizard instructions and respond to the prompts to install all dependencies.
4 Restart the computer when the wizard prompts you to.
The wizard takes a few minutes to complete the installation after the (final) restart.
To configure the VertigoXG Plugin for XG Inside operation:
1 In the iTX Desktop, select the Engineering>Channel Configuration view.
2 Select the channel.
3 Select the Plugins>VertigoXG tab and click the Active button to enable the Vertigo XG
plugin.
The Active button is a toggle for enabling (green LED) or disabling (grey LED) the
Vertigo XG plugin.
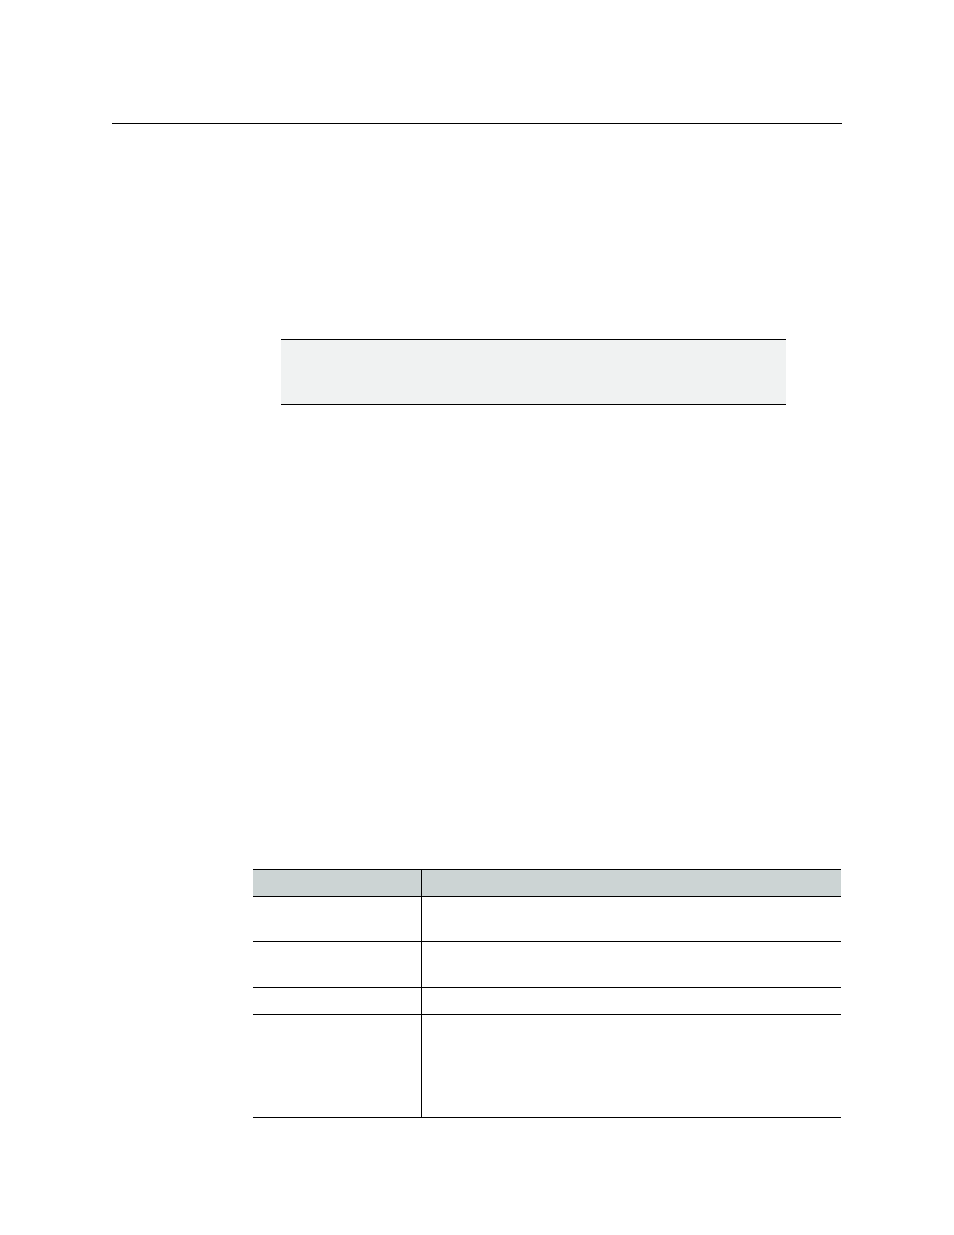
4 Complete the following settings to associate the Vertigo XG plugin with the playout
server:
IMPORTANT
To operate, the VertigoXG plugin requires that an iTX Integrated XG license
be installed on the iTX Framework Server.
Field
Description
Address
Enter the IP address of the playout server on which Xplay is
running.
Port
5006
is the port number on which iTX is to communicate with
Xplay.
Output Channel
Currently not used.
Enable Slave Device
Enable this setting when a Master-Slave setup is used and the
Master and Slave each have their own instance of an XG.
If the Master-Slave channels share an instance of XG Inside, do
not enable this setting on either of the channels. iTX will control
the XG Inside system through TxPlay in the main channel only.