Configuring a dasdec-ii device – Grass Valley iTX Emergency Alert Service v.2.6 User Manual
Page 10
6
Setting Up the Emergency Alert Service
Configuring a DASDEC-II device
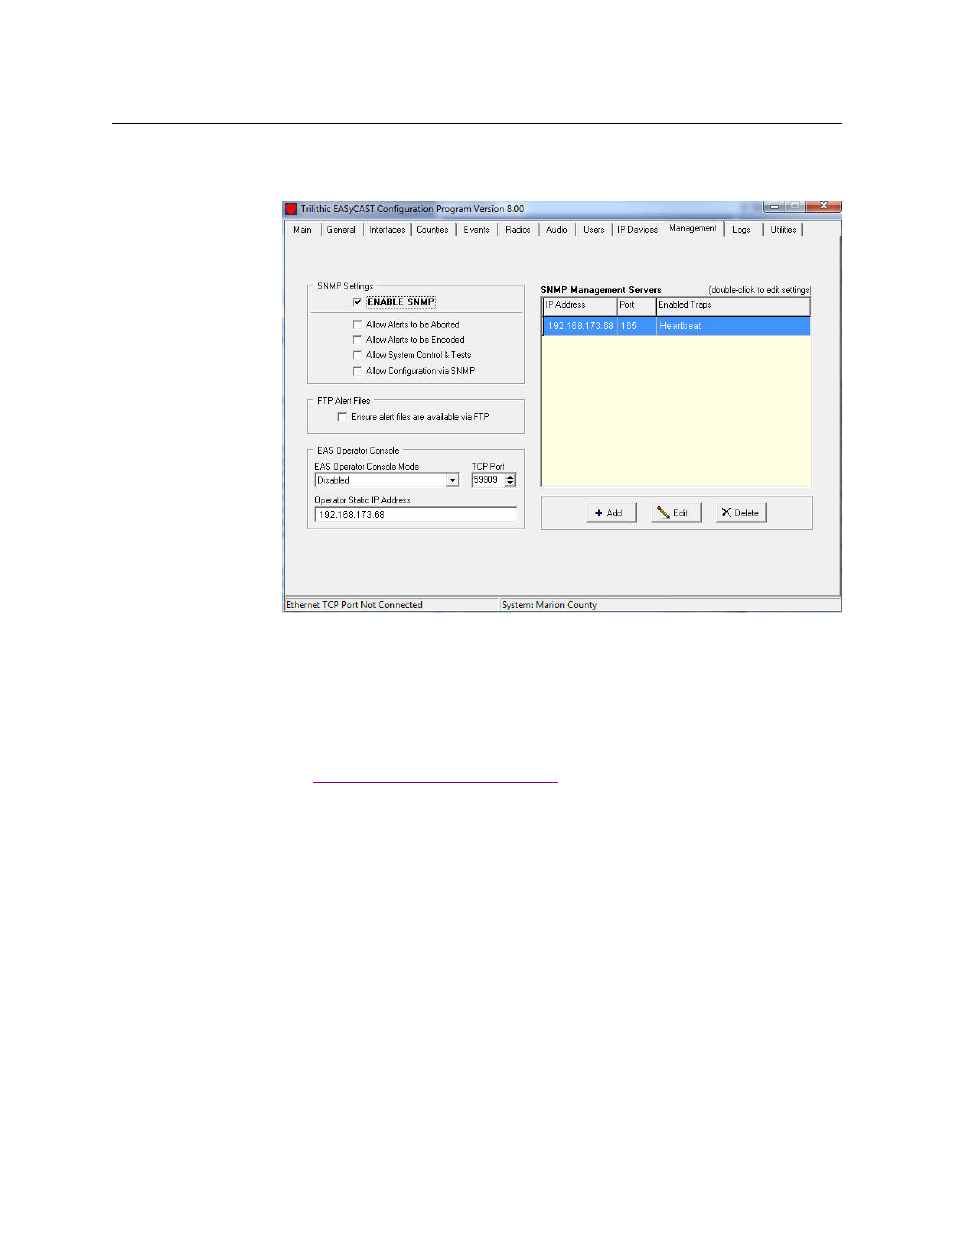
c With the ENDEC Manager Server added, select the Enable SNMP option and
specify the IP Address in the Operator Static IP Address field.
7 Select the Main tab and click the Program Configuration button to apply the changes
made to the EASyCast device’s configuration.
Configuring a DASDEC-II device
The iTX Emergency Alert Service supports the DASDEC-II by Monroe Electronics.
Please consult the manufacturer’s web site for official documentation and installation
instructions (
http://www.digitalalertsystems.com
).
The following procedure guides you through the steps required to configure the DASDEC
device to feed EAS messages to the iTX Emergency Alerts Service.
1 Open Internet Explorer and type the DASDEC device’s IP address in the address bar
(
http://10.14.4.3
) and press Enter.
2 Log into the DASDEC Server by entering a valid User Name and Password.
3 Select the Setup tab, enable the Net Alerts radio button and select the EAS Net tab.
4 Scroll down to the Event Data IP Control section. Specify the IP address and port of the
host running the iTX Render Service.
5 In the FTP Ancillary Data File control options, specify the FTP user account
information in the EAS_NET User and EAS_NET Password fields.
Note the double slash characters after the domain name (e.g. miranda\\vxm)
Also, set the Audio File Sample Size and Audio File Sample Rate fields.
Note that iTX supports the audio combination of 16 Bits/Sample and 48000
Sample/second without the need to up-convert.