5 troubleshooting – Alinco DR-SR8 User Manual
Page 90
88
Chapter 7 Maintenance
7.5 Troubleshooting
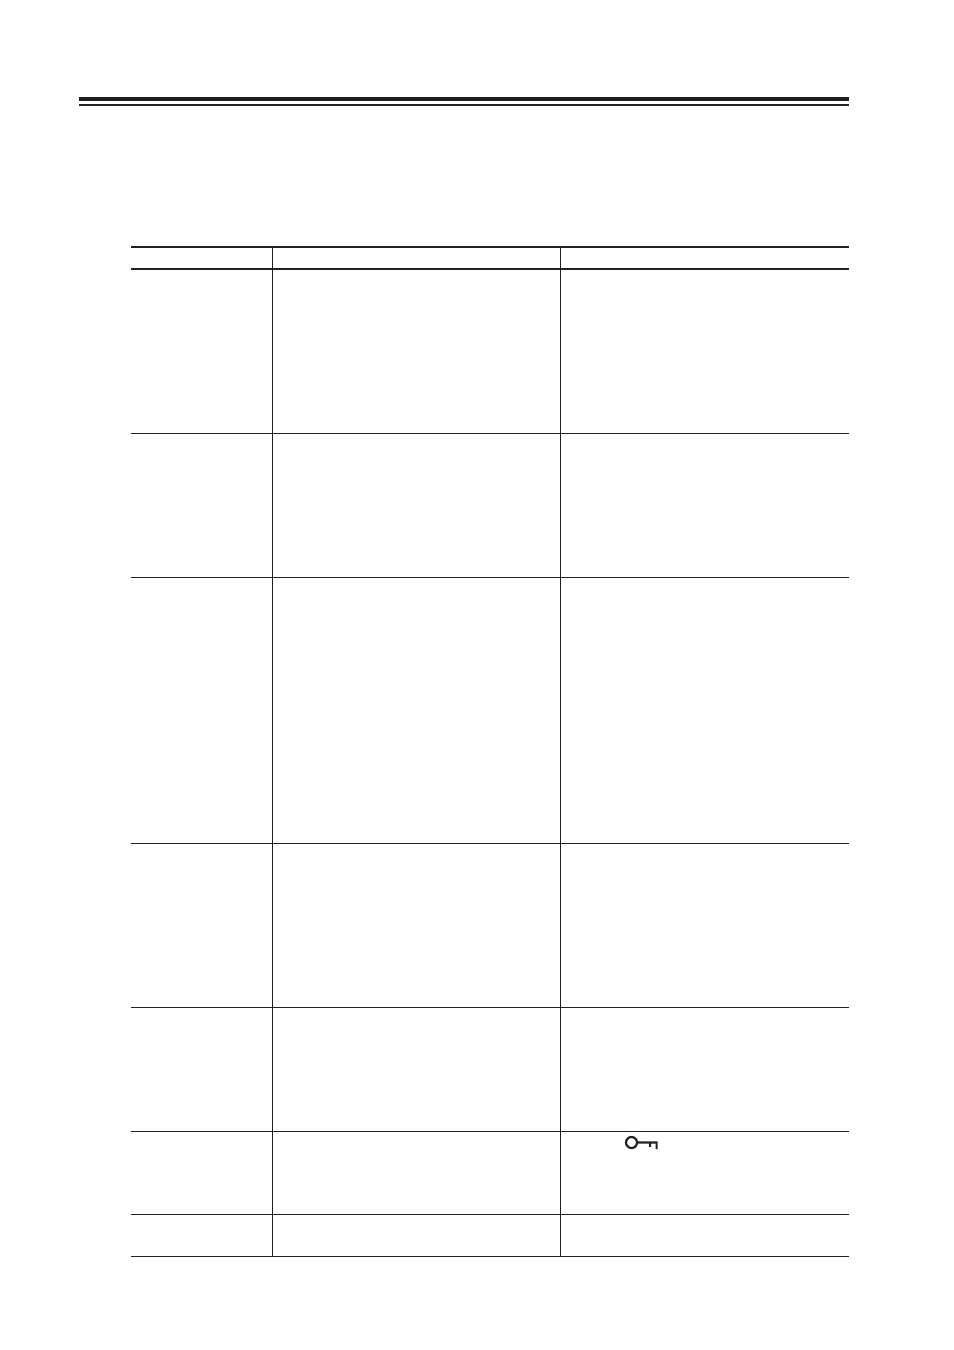
If a problem should occur, fi rst try the troubleshooting procedure given below. If the problem
persists, contact your nearest ALINCO dealer for technical assistances.
Symptom
Possible Cause
Remedy
Power does not
come on.
1. DC power cable is incorrectly
connected.
2. Fuse is blown.
3. Plug polarity is wrong.
4. Power switch of DC regulated power
supply is off.
5. Voltage from the power supply is
insuffi cient.
1. Correctly connect cable.
2. Replace fuse. (page 86)
3. Correct polarity and replace fuse.
4. Turn power switch on.
5. Supply a regulated 13.8 V DC ± 15 %
LCD display related
troubles.
1. Power supply voltage is low. To
transmit at 100 W output, the power
supply must be capable of supplying 30
Amps continuously at 13.8 V DC.
2. No illumination.
1. • Check that DC regulated power
supply is used.
• Adjust the operating voltage within
a range of 13.8 V DC±15 % (11.7 to
15.8 V DC).
2. Check the Set mode's dimmer setting
(P.76)
No sound from
speaker.
1. AF control knob is turned fully
counterclockwise.
2. [PTT] key of microphone is on.
3. Telegraph key is in transmission.
4. External speaker cable is short-circuited
or damaged.
5. Headphones or earphone is plugged
into the speaker jack.
6. Squelch level is set too high.
1. Rotate AF control knob to adjust
volume. (page 25)
2. Release [PTT] key. (page 33)
3. Stop keying with telegraph key. Also
check that cable plug is not short-
circuited.
4. Check cable.
5. Unplug headphones or earphone. (page
14)
6. Turn SQL control knob
counterclockwise to unmute squelch.
(page 25)
Only strong signals
are received.
1. Squelch is muted.
2. ATT is on.
3. Defective antenna or short-circuited or
damaged coaxial cable.
4. Antenna is not suitable for reciving
band.
1. Turn SQL control knob
counterclockwise. (page 25)
2. Press [RF] key to turn ATT off. (page
31)
3. Check antenna, cable, and connector.
(page 13)
4. Connect correct antenna.
Received signal is
not demodulated.
1. Wrong mode is set. (If SSB, also check
LSB and USB)
2. Wrong passband is set.
1. Press the mode key (page 26) to
select a correct mode.
2. • Turn
'IF control knob to a position
where proper audio can be heard. (page
62)
• Select proper fi lter. (page 63)
No frequency
change when
rotating the main
tuning dial.
1. Dial is locked.
1. Press [
] key to free dial. (page 68)
Scan does not start. 1. Scan setting is incorrect in the Set mode
or squelch is unmute.
1. Correct the scan type (p.74) or mute the
squelch.