Installation procedures, Step 1: attach the corner mount – ACTi Outdoor Hemispheric / Fisheye Dome on Corner with Tilted Mount (PMAX-0310) User Manual
Page 3
Installation Guide
Installation Procedures
This section covers the step-by-step procedures in mounting the camera on a corner wall using
the Corner Mount with Surface Mount tilted accessory set. In this installation, the camera is
mounted with a 10 tilt so there would be maximum coverage of the floor in the field of view.
Because the Corner Mount Kit does not support flex conduit entry via the Tilted Mount, therefore
the side hole of the camera will be used for cabling. Make sure whether this solution is acceptable
for you or not.
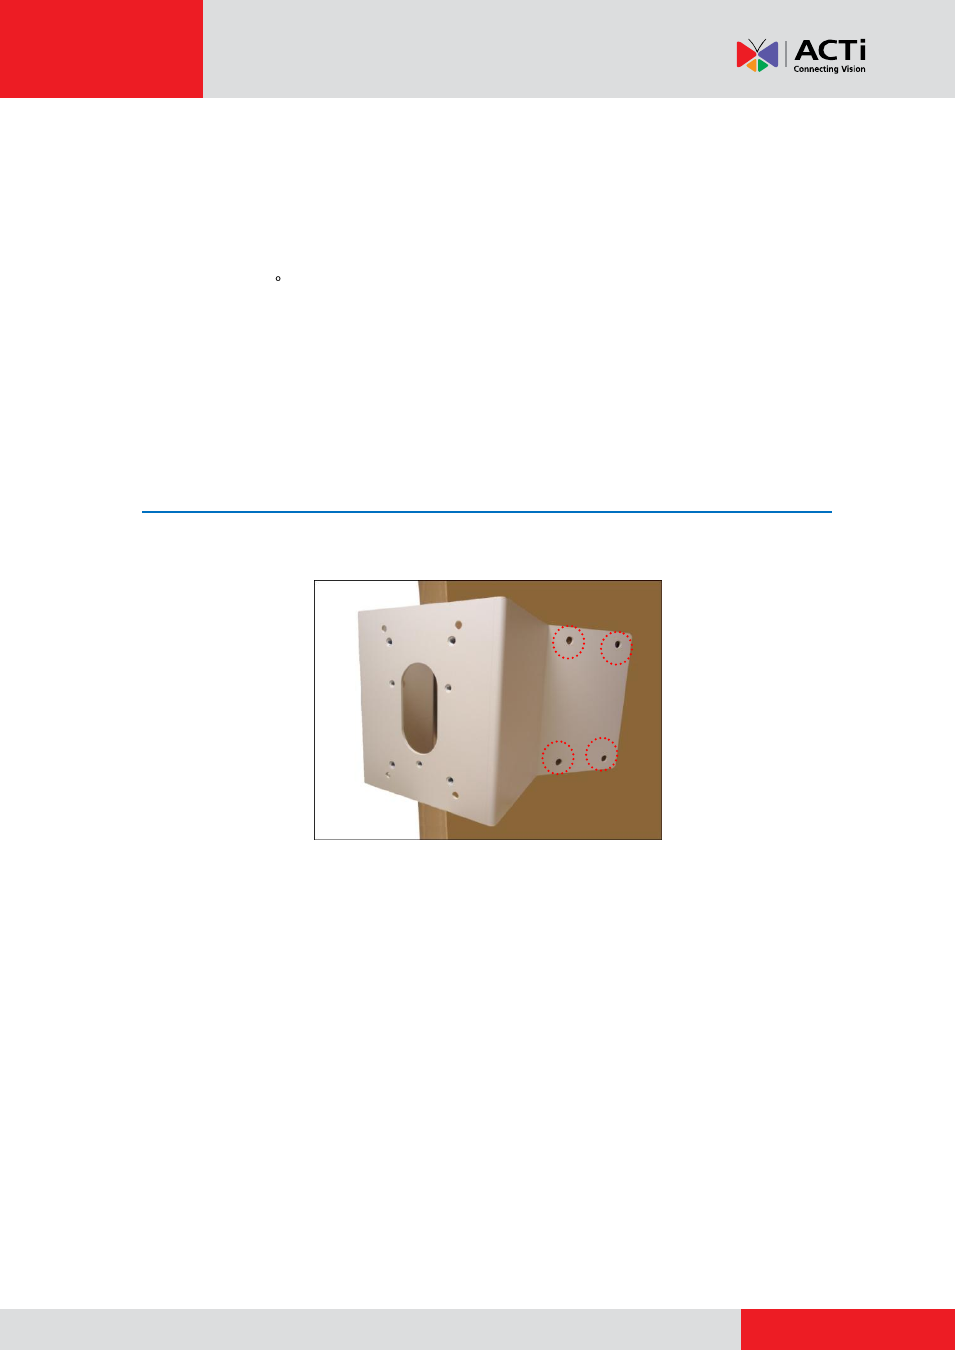
Step 1: Attach the Corner Mount
1.
Align the Corner Mount to the corner wall and mark the location of the eight (8) screw holes.
NOTE:
The illustration above shows only the screw holes on one side of the wall.
Remember to mark the screw holes on the other side of the wall, too.
Due to different corner surfaces and shapes, it is recommended to use the
actual Corner Mount to mark the holes for drilling.
2.
Drill the eight (8) screw holes.