Installation procedures, Step 1: prepare for installation – ACTi B41 User Manual
Page 13
Hardware Manual
Installation Procedures
This section describes the procedures in installing the camera on the wall using the integrated
bracket.
IMPORTANT!
Before installation, make sure the wall can bear more than the weight of the
camera and its bracket.
NOTE:
The following procedures and pictures are based on the cable going along the wall; same
procedures apply when the cable will pass through the wall, unless otherwise specified.
Step 1: Prepare for Installation
1.
Depending on the wall material, purchase applicable screws and screws plugs (as needed)
that can hold the camera and bracket weight on the wall.
2.
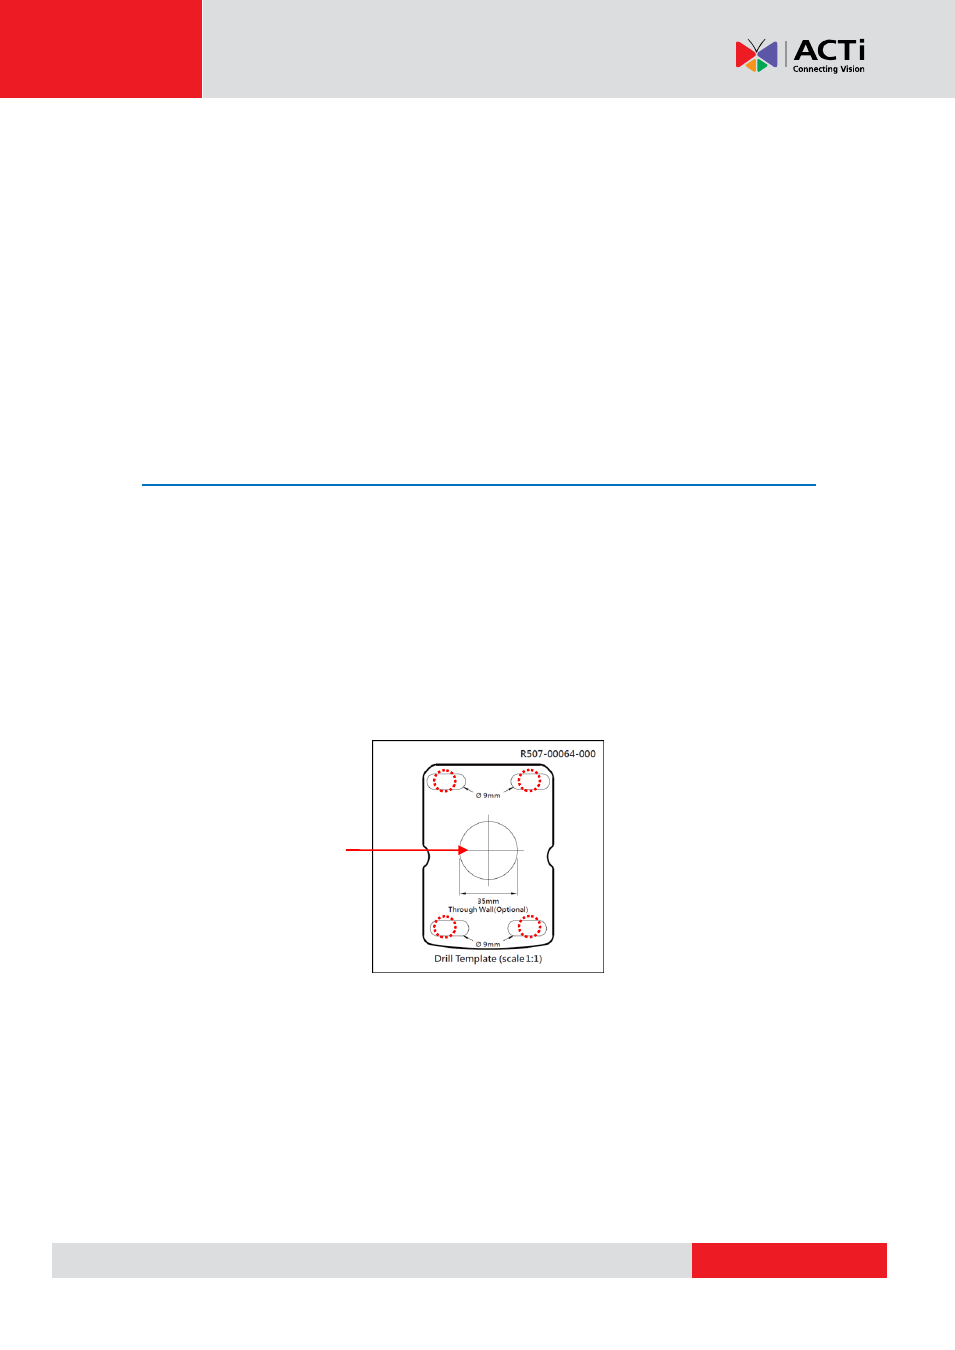
Attach the supplied drill template sticker on the wall.
3.
Determine how the cable will be routed:
pass through the wall
or
along the wall
.
If the cable will pass through the wall
, drill the cable hole and the four (4) screw
holes on the wall.
If the cable will be routed along the wall
, just drill the four (4) screw holes on the
wall.
4.
Detach the drill template sticker from the wall and insert the plastic plugs into the screw
holes.
Cable hole