Adjusting the input level, A note on metering, Selecting the reference clock – Teac DV-RA1000 User Manual
Page 22: 3 – basic principles
3 – Basic principles
22
TASCAM DV-RA1000 Owner’s Manual
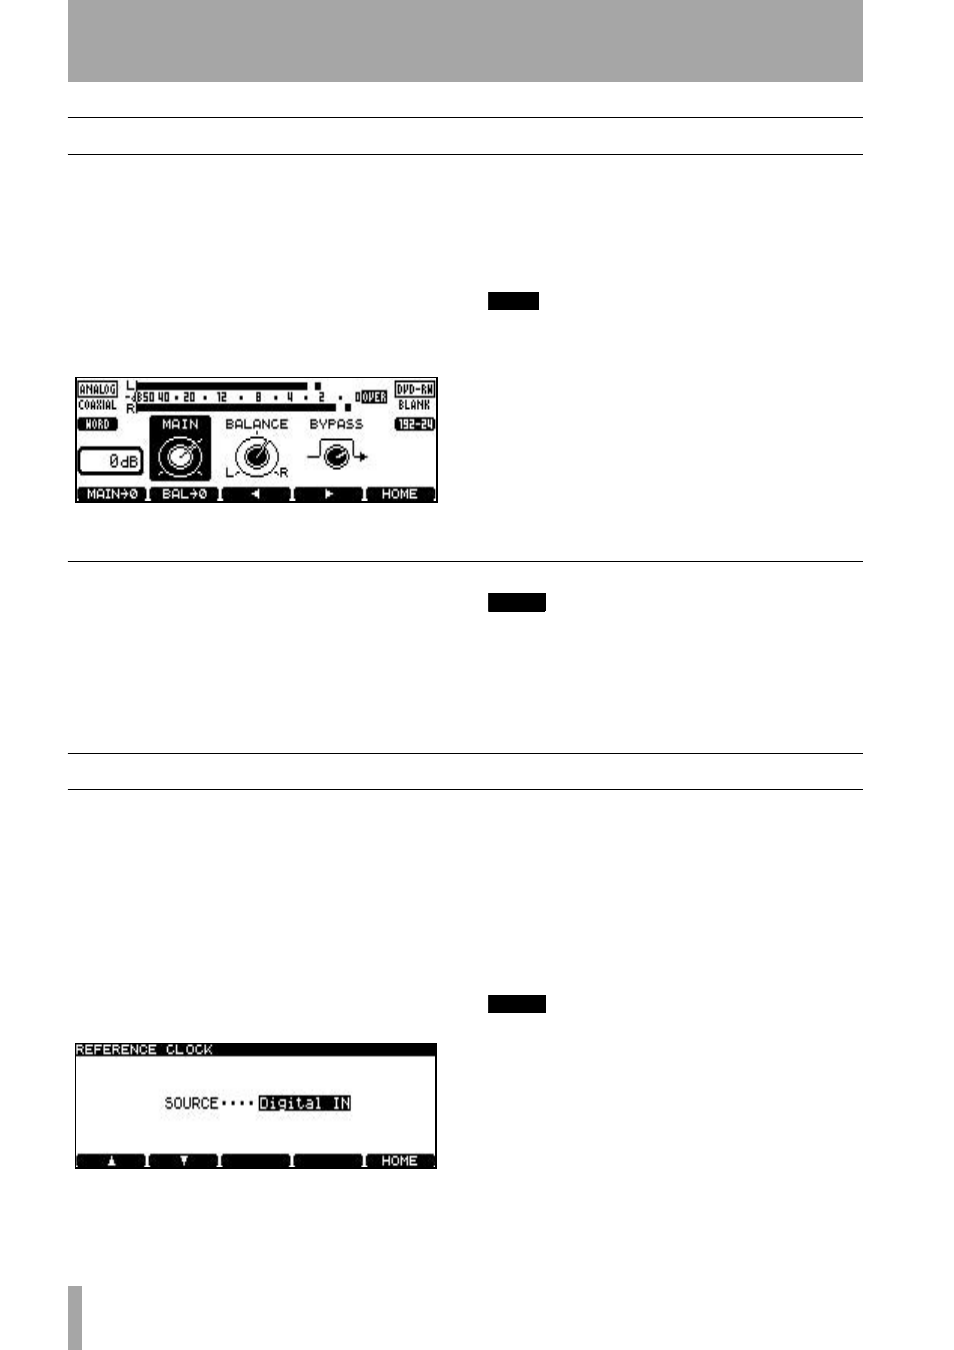
Adjusting the input level
The input level is adjustable for all inputs (analog or
digital), regardless of the current selection.
The balance between the left and right channels of
the input may also be set.
For optimum sonic quality, it is also possible to
bypass the input level and balance circuitry.
1
Press the
INPUT LEVEL
key to bring up the
input level screen:
2
Use the
F3
and
F4
keys to move between the
MAIN
(input level),
BALANCE
(between left and
right) and
BYBASS
sections of the display.
Use the wheel to adjust the settings, including
the bypass setting.
TIP
Use the
F1
key to reset the input level to unity gain,
and the
F2
key to center the balance setting.
3
Press
ENTER
when finished.
A note on metering
Since there is some ambiguity between makers of
digital audio equipment on exactly what constitutes
an OVER reading, it is important to recognize the
meaning of an OVER reading on the DV-RA1000.
NOTE
When the signal on playback or recording is at 0dBFS or
over for more than one sample, the OVER indicator on
the meter lights. If a track is normalized to 0dB on a
DAW before recording at unity gain on the DV-RA1000,
the OVER indicators may therefore light, even though
there is no clipping taking place.
Selecting the reference clock
As mentioned earlier, only one clock sync source
should be available within a system.
The current clock selection is always shown on the
home display.
To select the clock source for the DV-RA1000:
1
Press the
MENU
key, and use the wheel to
select
SYSTEM SETUP
. Press
ENTER
.
2
Use the wheel to select
REFERENCE CLOCK
. Press
ENTER
.
3
Use the wheel to select the clock source
(
SOURCE
):
•
Internal
—the DV-RA1000 acts as the clock mas-
ter.
•
Word
—the clock sync is received from the BNC
WORD SYNC IN
connector.
•
Digital IN
—the clock is received from the cur-
rently selected digital audio input source.
NOTE
This last option is not valid if a DSD disc is being
recorded or played back.
4
Press
ENTER
to confirm the setting and return
to the
SYSTEM SETUP
menu.
Figure 3.13: Input level settings
Figure 3.14: Word sync selection