Remote control inputs – Studio Technologies 780-03 V.4.15 User Manual
Page 41
Model 780-03/790 User Guide
Issue 1, April 2015
Studio Technologies, Inc.
Page 41
for Surround
Display in dB SPL
If the Model 790 is configured to display
the monitor output level in dB SPL, the
4-digit display will always show the output
level in positive numbers. These numbers
are intended to represent the sound pres-
sure level in dB SPL, a figure that should
directly relate to the actual sound pressure
level that the loudspeaker system is pre-
senting to users. (Typically, the level value
would actually be in dBC, the C-weighted
sound pressure level.) When the refer-
ence level button is enabled, or the rotary
level control is set so that the reference
level has been reached, the display will
typically show something in the range of
82 to 87 dB. Assuming that the monitoring
environment has been correctly calibrated,
this would indicate that an average listen-
ing level of 85 dB, for example, had been
achieved.
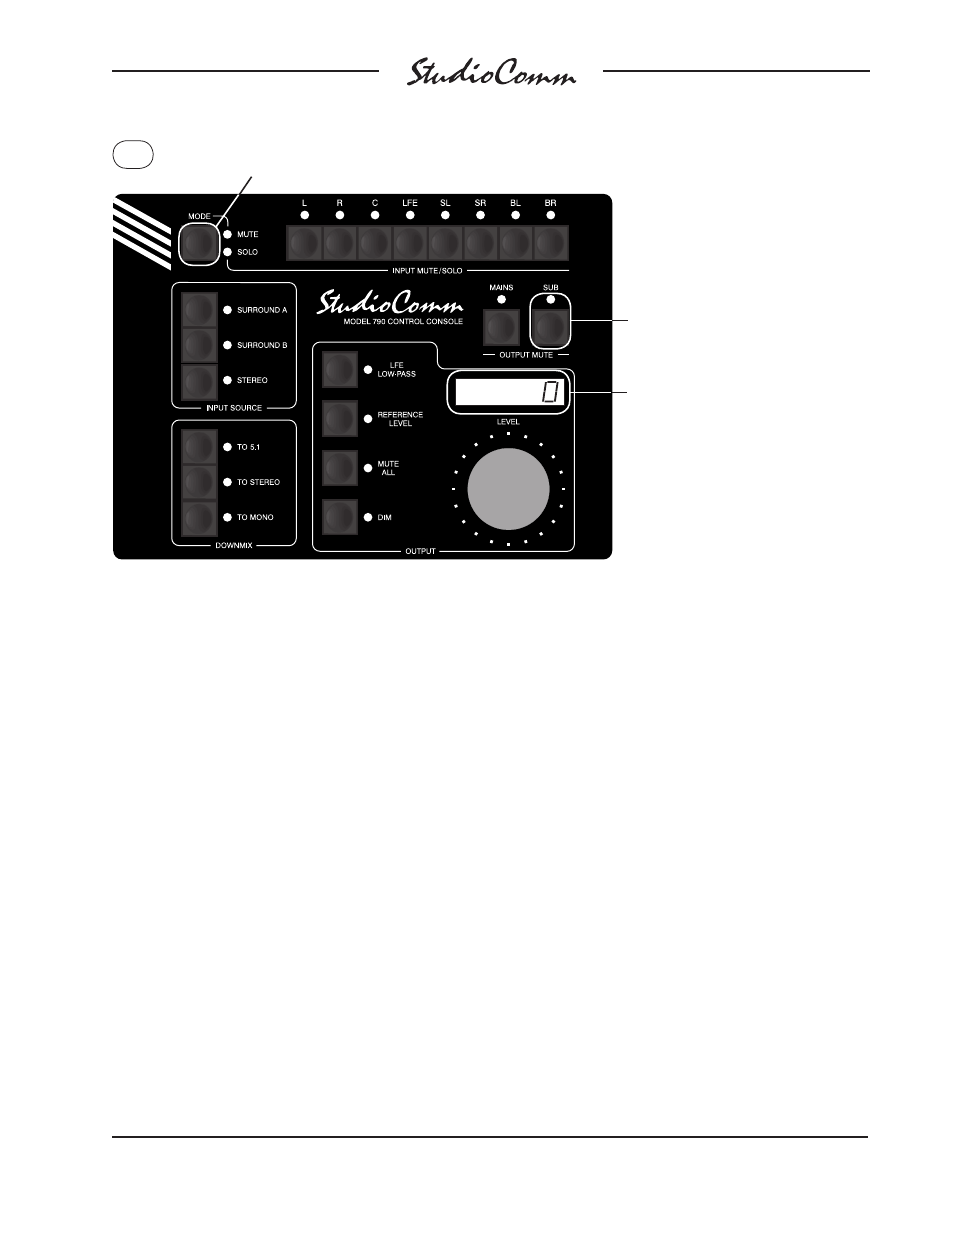
During normal operation, press and hold the Mute/Solo button
to view and change the input delay setting.
This LED displays the current
setting of the input delay.
LED not lit means input delay A
is selected; LED lit means input
delay B is selected. Press the
button to change the setting.
The display shows the currently
selected input delay in milliseconds.
Remote Control Inputs
As previously discussed in the Installa-
tion section of this user guide, two remote
control signals can be connected to the
Model 780-03. The functions are remote
mute all and remote dim. When an external
signal activates remote mute all the LED
on the Model 790 associated with the mute
all button will flash. If mute all was already
active when the remote mute all function is
activated, the LED will change from being
steadily lit to flashing.
When an external signal activates remote
dim the LED on the Model 790 associated
with the dim button will flash. If dim was al-
ready active when remote dim is activated,
the LED will change from being steadily lit
to flashing.
Figure 11. Selecting the input delay