Initial setup for net-ip-pro, Have the same ip ad- dress – Smart Avi Net-IP-Pro User Manual
Page 7
7
© 2013 SmartAVI, Inc.
INITIAL SETUP FOR NET-IP-PRO
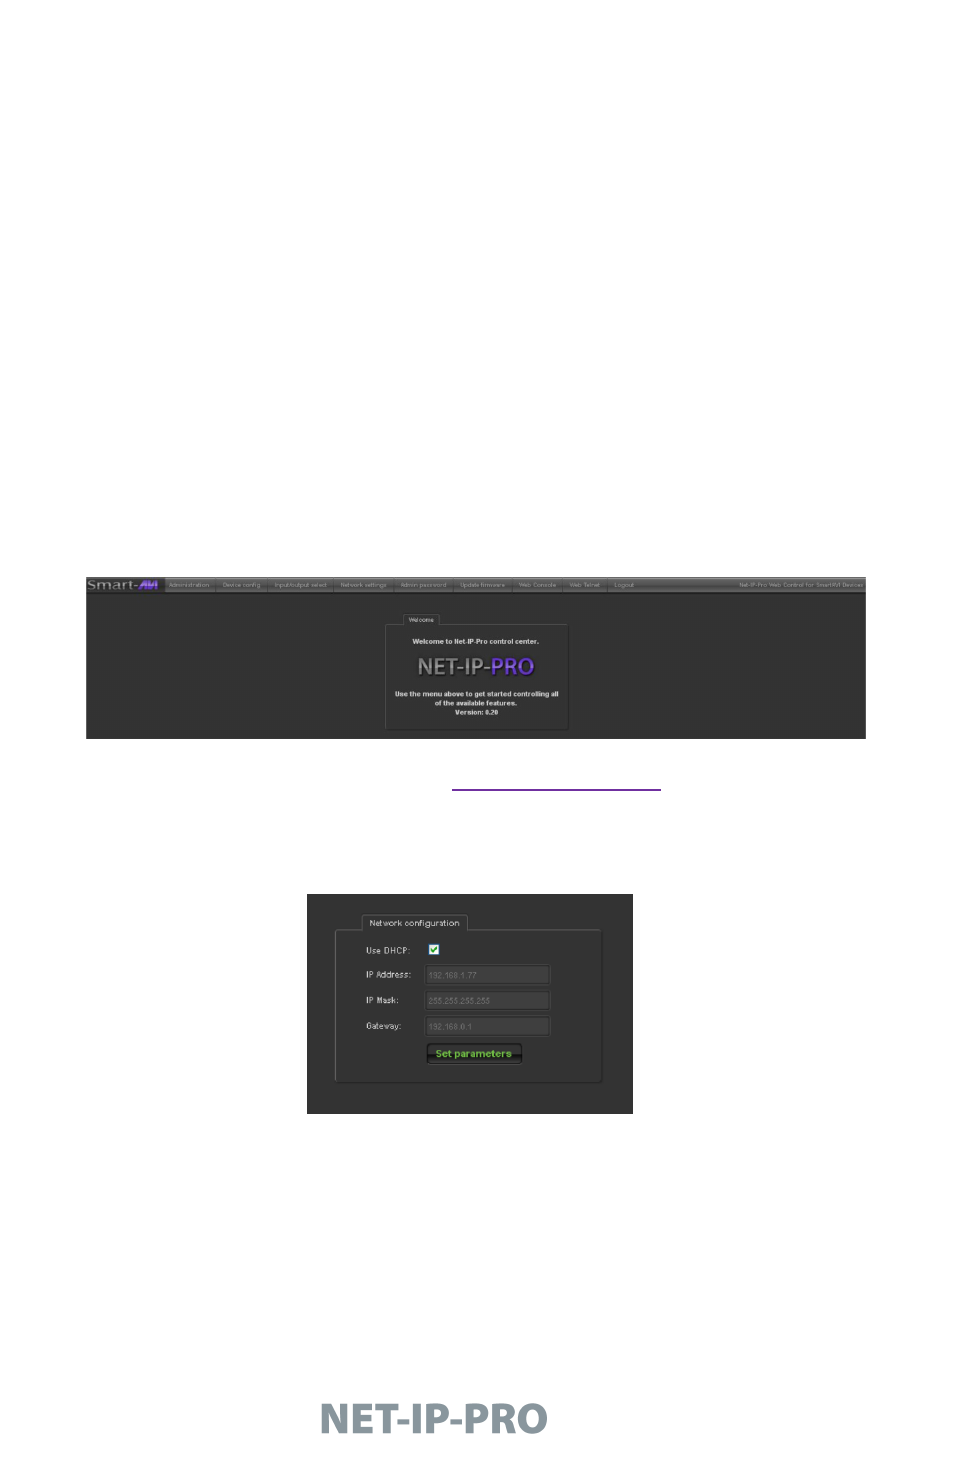
1. Once connected to the NET-IP-PRO, you will see the follow-
ing menu of options:
Administration
Device Config
Input/Output Select
Network Settings
Admin Password
Update Firmware
Web Console
Web Telnet
Logout
For the initial setup, click the
Network Settings
button and
manually assign an IP address to the NET-IP-PRO. This will as-
sure that the NET-IP-PRO will always
have the same IP ad-
dress.
Note: Be sure to choose an address that will not conflict with
any other devices on the network, and that the address is not
in the range of the DHCP server.
2. Once you have manually assigned an IP address, the NET-IP
-PRO must be restarted before it will be accessible at that IP
address.