Locking switch in the off position, Changing abrasive discs – Delta 31-750 User Manual
Page 11
11
O P E R ATING CONTROLS AND A D J U S T M E N T S
Fig. 21
Fig. 22
STARTING A N D
STOPPING SANDER
The on/off switch (A) Fig. 21, is located on the sander
base. To turn the sander ON move the switch to the up
position. To turn the sander OFF move the switch to the
down position.
LOCKING SWITCH IN
THE OFF
POSITION
W e suggest that when the sander is not in use, the
switch be locked in the OFF position. This can be done
by grasping the switch toggle (B) and pulling it out of the
switch, as shown in Fig. 22. With the switch toggle (B)
removed, the switch will not operate. However, should
the switch toggle be removed while the sander is running,
it can be turned OFF once, but cannot be restarted
without inserting the switch toggle (B).
CHANGING ABRASIVE DISCS
IMPORTA N T:M A K E C E R TAIN T H E M A C H I N E IS DIS-
C O N N E C T E D F R O M T H E P O W E R S O U R C E.
Remove abrasive disc by pulling it from the disc plate
pad or the transition pad.
H O O K A N D L O O P ABRASIVE DISC
If you are using the hook and loop backed abrasive disc,
simply position hook and loop abrasive disc (A) Fig. 23,
directly onto disc plate pad (B). NOTE: If you are chang-
ing over from using a hook and loop abrasive disc
to a pressure sensitive abrasive disc, refer to section
ASSEMBLING ABRASIVE DISCS TO DISC P L ATE .
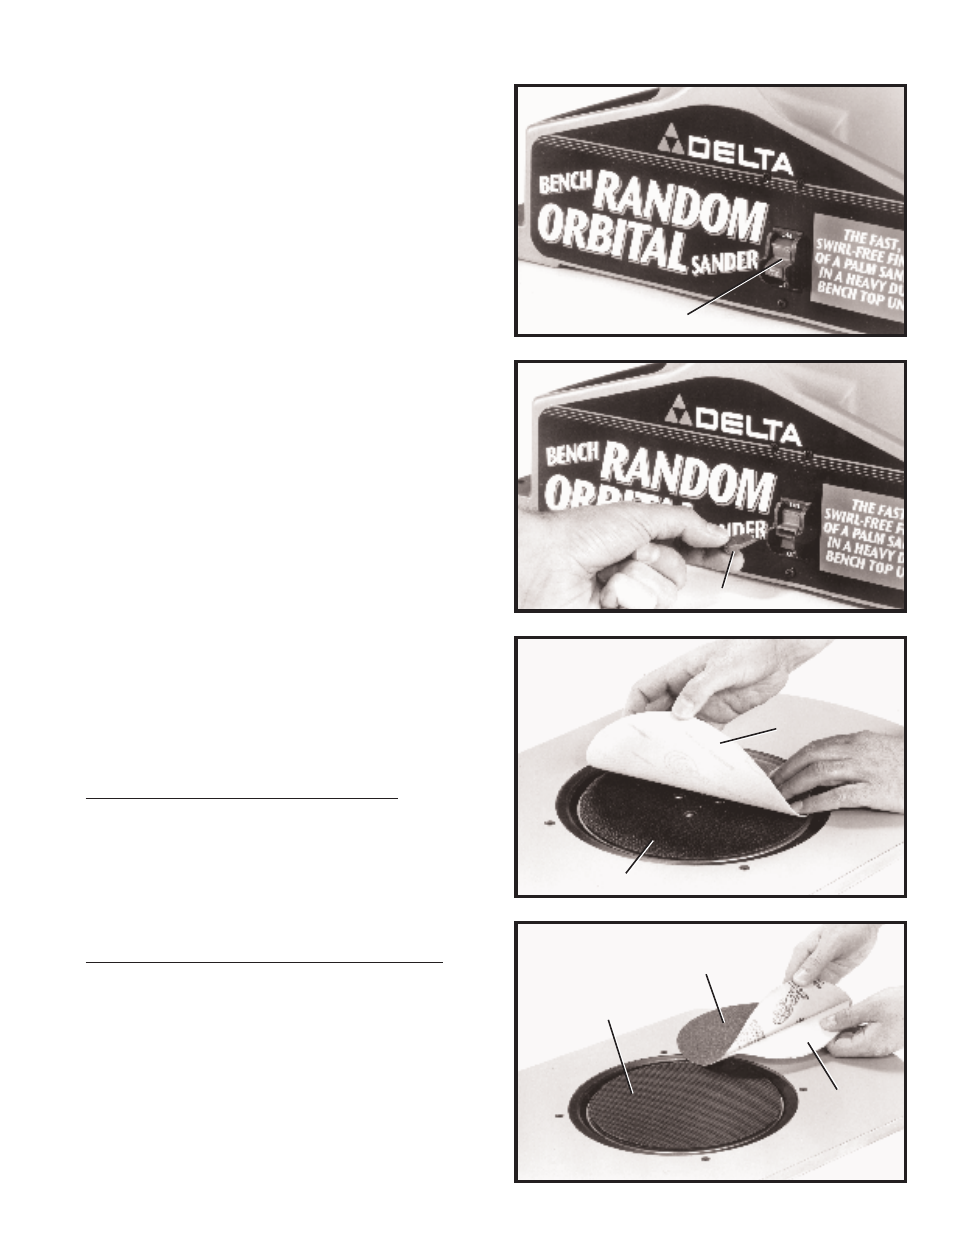
P R E S S U R E SENSITIVE ABRASIVE DISC
If you are using an adhesive-backed abrasive disc,
remove backing (D) Fig. 24, from abrasive disc (E) and
press the disc onto transition pad (C). NOTE: If you are
changing over from using an adhesive-backed abrasive
disc to a hook and loop abrasive disc, refer to section
ASSEMBLING ABRASIVE DISCS TO DISC P L ATE .
A
B
Fig.23
A
B
Fig. 24
C
E
D