Chapter 4- starpac utility – NavCom StarPac Rev.A User Manual
Page 11
11
NCT-2100DP/D Integration Guide - Rev A
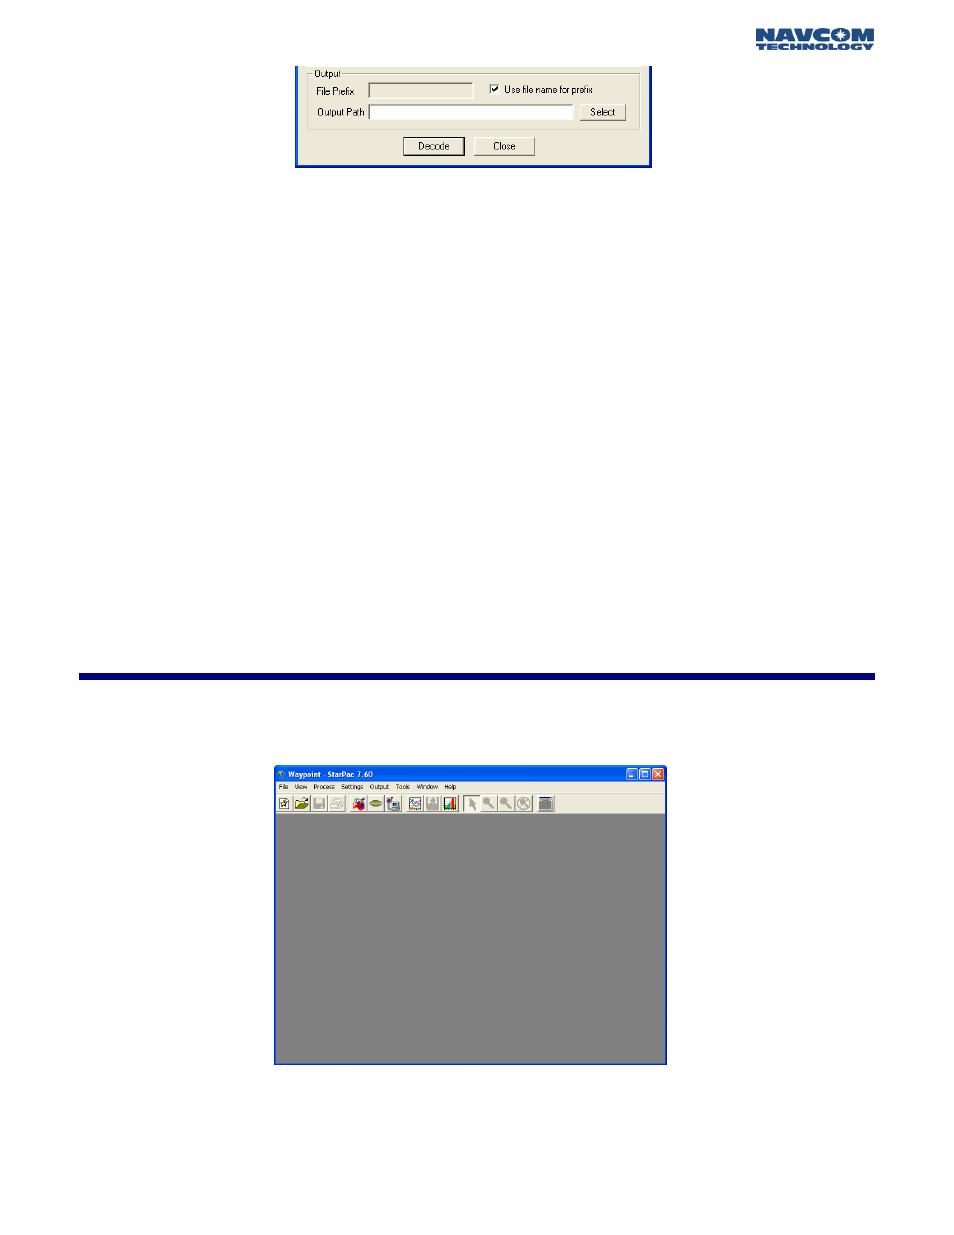
Figure 3.7: Extract NavCom Output Options
Once the file name and output path are chosen, select Decode. The NavCom Decoding box will be
displayed and StarPac™ will begin decoding the file.
This process can take up to several minutes depending on the speed of the system and size of
the file.
Once the decoding is complete select Close to close the NavCom Decoding box. If there are more
files that need decoding, select them and again click decode, otherwise select Close on the decoding
window. The decoding process created the specified files in the selected output directory.
It is recommended to keep all the decoded files located in the same directory with the same
prefix while using StarPac™. Some functions of StarPac™ will automatically detect and
import needed files if they are within the same directory and of the same filename.
Data files downloaded from NavCom receivers are in the ITRF 2000 Datum (Referred to as
ITRF00 in StarPac ™menus options). This can be changed using the Datum shift feature
included in StarPac™. For more information about this feature please consult the Waypoint
User Guide located under the help menu.
The decoded files can now be integrated, analyzed, and exported with StarPac™.
Chapter 4
StarPac™
Utility
The default StarPac™ startup screen should look similar to Figure 4.1.
Figure 4.1: Default StarPac™ Utility Screen
The button on the far right side of the toolbar switches the view from all buttons, to a simple button
layout, depending on what is preferred.