MicroLinks UM12 - user manual User Manual
Page 60
Microscope Software manual http://www.ViTiny.com
60
Copyright © 2008-2014 MicroLinks Technology Corp.
ratio display
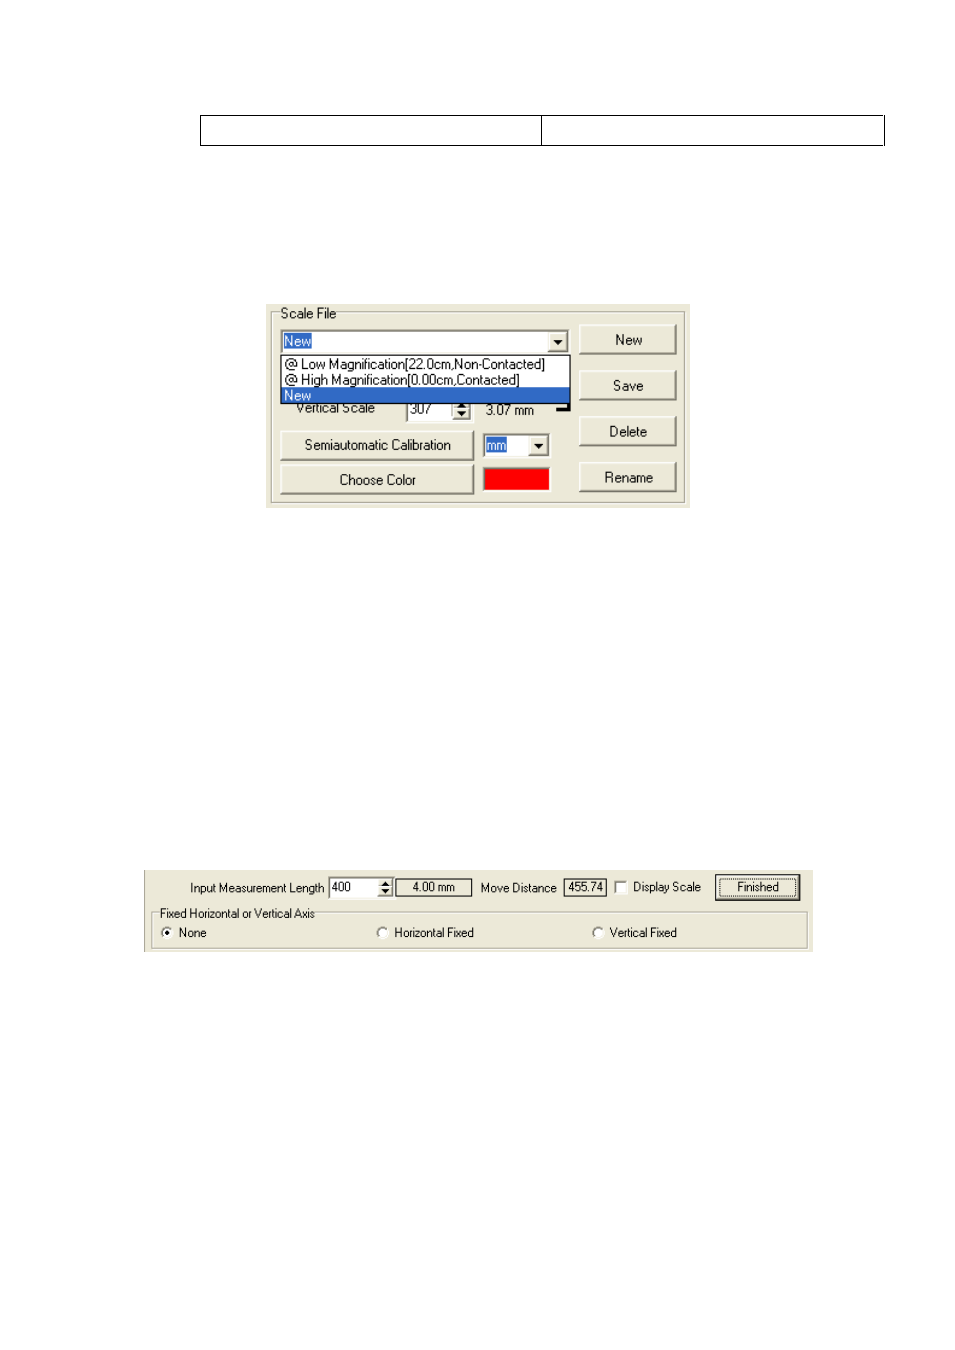
To delete and rename scale file
Choose delete or rename the file from the drop down menu, see Fig.5-59.
Then click “delete” or “rename”.
Fig.5-59 drop down menu choose file
Semi-Auto Calibration
Set up a customized semi-auto Calibration. See Fig. 5-60. “Input
Measurement Length” means the real length. For example, enter 400 means
4.00mm, enter 50 means 0.5mm. The Display Scale check-box is to decide to
show the Display Scale or not. If click the Horizontal Fixed, only a horizontal axis
can draw on the image; on the contrary, if click the Vertical fixed, only a vertical
axis can draw on the image. If choose “None”, axis can draw from any direction. A
horizontal or vertical axis can be draw by pressing ‘shift’ button on your keyboard
together with clicking mouse left. After it is completed, please click “Finished” for
saving the new scale.
Fig. 5-60 Input the actual measurement length
The calibration frame can be freeze by pressing the right button on the
mouse. The freeze frame helps for calibrating in a stable condition. Put the
calibrator under the machine and adjust focus to clearly see the scale. Key in
“400” length in the check-box of “Input Measurement Length”. Use mouse to
draw a yellow line for 4.00mm.Click “Finished” to complete and save the new
calibration figure.
The new setting scale (Calibration Scale [New]) show on the frame. See