Lynx Studio Hilo Reference A/D D/A Converter System - Owner's Manual with LT-USB User Manual
Page 11
Page 7
2.4 Initial Setup
It is important to set up Hilo in the proper order to avoid any speaker damage calamities. Follow these steps for the best
results:
• Connect the AC power cord to Hilo and to a quality, surge-protected AC power source. Check the Power and
Safety section of this manual for additional information.
• Connect cables from Hilo to whatever audio devices Hilo will be connected to. These could include powered
speakers, mixing consoles, power amps, microphone pre-amps, effects processors, etc.
• Make sure volumes are turned down on connected equipment to avoid excessive level being sent to the
equipment during setup.
• If the context of use is as a standalone AD/DA converter that will not be connected to a computer, skip ahead
to section 3, and in particular section 3.4.8: Output Mix Routing Page, for appropriate routing assistance.
• If using Hilo with a Mac or PC computer, follow the installation procedure below.
2.5 Computer Set Up
All driver files and utilities mentioned in the subsequent installation steps are available on our website at:
http://www.lynxstudio.com
> Support > Downloads
If a previous driver version is present, it will automatically be removed as part of the driver installation process.
Note: No driver installation is required for OS X, only for Windows.
2.5.1 Driver Installation for Windows XP, Vista or Windows 7/8
1. Power on Hilo with the USB cable disconnected. The Hilo driver should be installed prior to connecting
the cable.
2. Download the most recent driver from the
http://www.lynxstudio.com
website and save the file to a
convenient location.
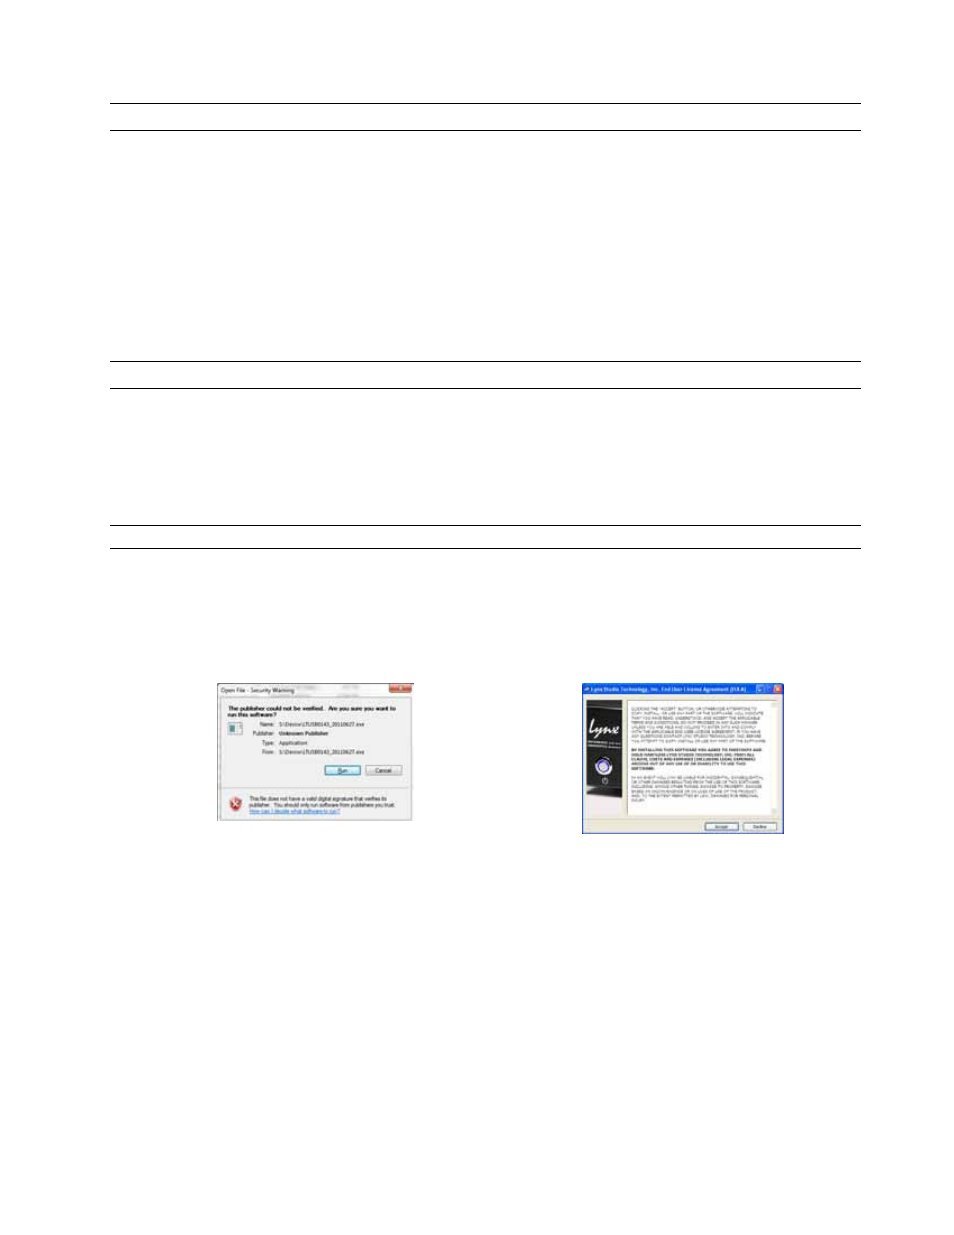
3. Double-click the downloaded HiloSetup.exe file.
4. Click “Run” on the following screen to
launch the installer.
5. Accept the “End User License Agreement”
to proceed
.