Removing an esata device – Kanguru QS2 v1.1 User Manual
Page 11
11
Removing an eSATA Device
2.2.3 Removing an eSATA Device
Windows Users
Before attempting to remove a device connected through eSATA, make sure that no data is being
transferred to or from the device. The easiest way to determine that no data is being transferred to or
from the device is to check that the blue LED indicator is not blinking. Be sure to follow safe removal
procedures to avoid loss of data.
To remove an eSATA connected hard drive:
1. Right click on the My Computer icon on your desktop and then select Manage from the popup
menu. The Computer Management window appears.
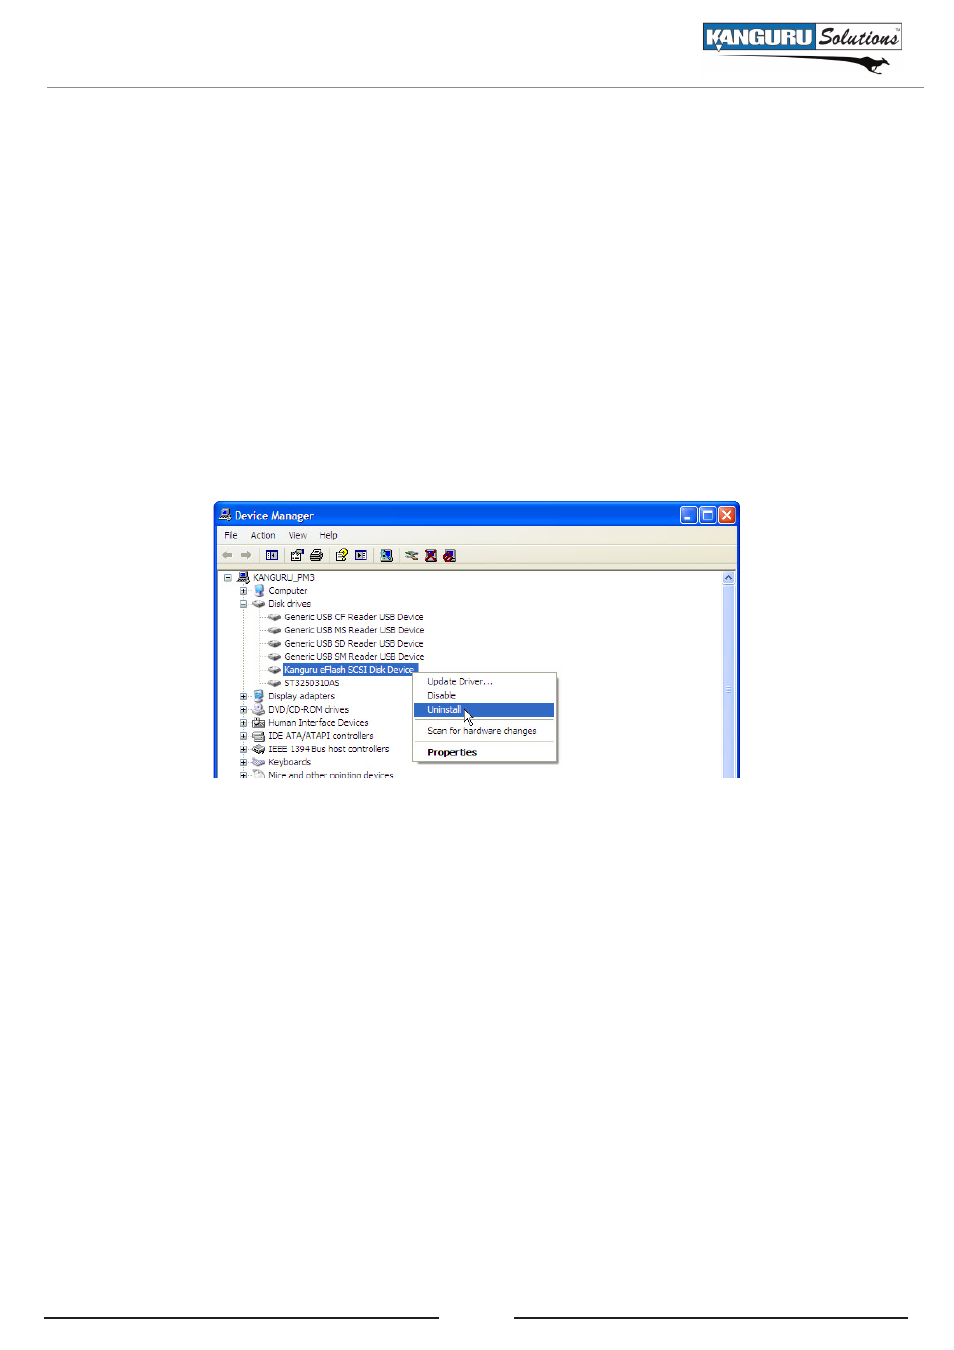
2. Under System Tools in the left window, select Device Manager.
3. In the right window, select Disk drives to view all connected disk drives.
4. Right click on the hard drive and then click on Uninstall from the popup menu to remove the
device.
If you receive an error message stating that the device cannot be removed yet, make sure that any
programs that may still be accessing the device are closed and then try to remove it again.
Once the device has been successfully removed, you can safely disconnect the drive.
Mac Users
To safely remove the device, drag the eFlash drive icon on the desktop into the trash can.
Once the device has been successfully removed, you can safely disconnect the eFlash.