Mac operation – Kanguru Flashblu2 User Manual
Page 8
8
3. Mac Operation
At present only Mac OS X supports USB 2.0. Mac OS 9 only supports USB 1.1. Without the right
hardware and software driver, you will not be able to use the Kanguru FlashBlu II at its fullest speed.
Using the Kanguru FlashBlu II with Mac
To begin using the Kanguru FlashBlu II for the first time:
1. Start up the computer.
2. Plug the Kanguru FlashBlu II into a USB 2.0 Hi-Speed port.
Note: You will be able to use the device at the highest speed only if you connect the device to a
USB 2.0 port. Mac OS X comes with a Built-in USB Mass Storage driver. If you plug the FlashBlu
II into a USB 1.1 port, it will not perform at the fastest possible speed.
3. The FlashBlu II will appear on the desktop.
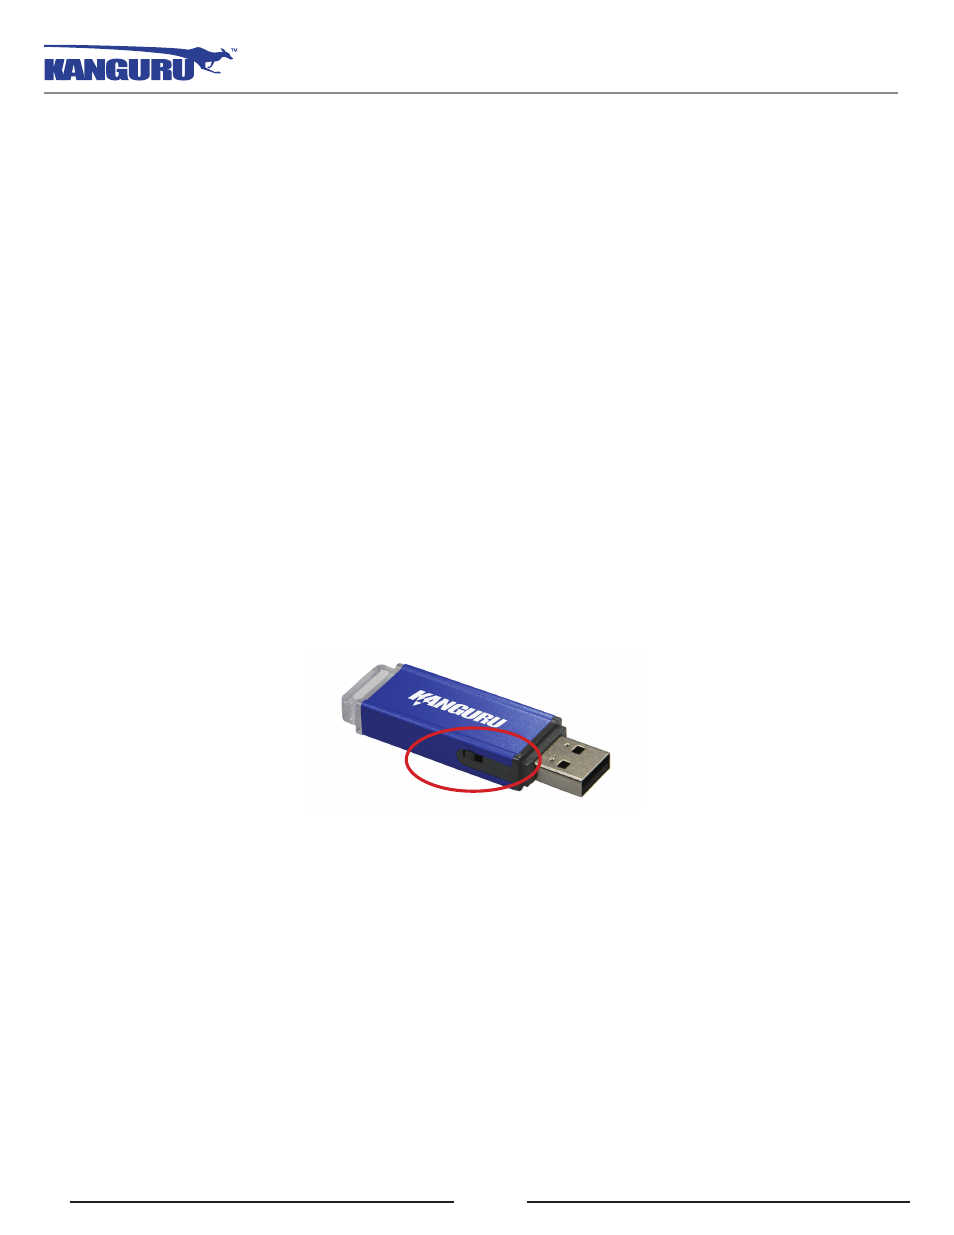
Congratulations! Your Kanguru FlashBlu II is ready to use. You can now begin transferring files to and
from your portable flash drive. There is a write protect switch on the side of the device. Slide the switch
to the locked position if you need to protect your data from being overwritten.
If you are having issues getting your Kanguru FlashBlu II installed on your computer, please refere to
the Fequently Asked Questions section starting on page 9.
Removing the Kanguru FlashBlu II
Before attempting to remove the FlashBlu II, make sure that no data is being transferred to or from the
device. The easiest way to determine that no data is being transferred to or from the device is to check
that the LED indicator on the back of the FlashBlu II is not blinking.
Be sure to follow these safe removal procedures. Failure to do so may result in data corruption. To
remove the FlashBlu II, click and drag the FlashBlu II icon on the desktop to the trash to unmount it.
When the FlashBlu II icon disappears from the desktop you can safely disconnect the drive from your
computer.
Macintosh Operation