Infloor Infloorboard II User Manual
Page 4
4
Securing Boards
In the event that it is necessary to field cut the
boards, 12” on center screw spacing should be
maintained. Construction adhesive should be
applied to each board.
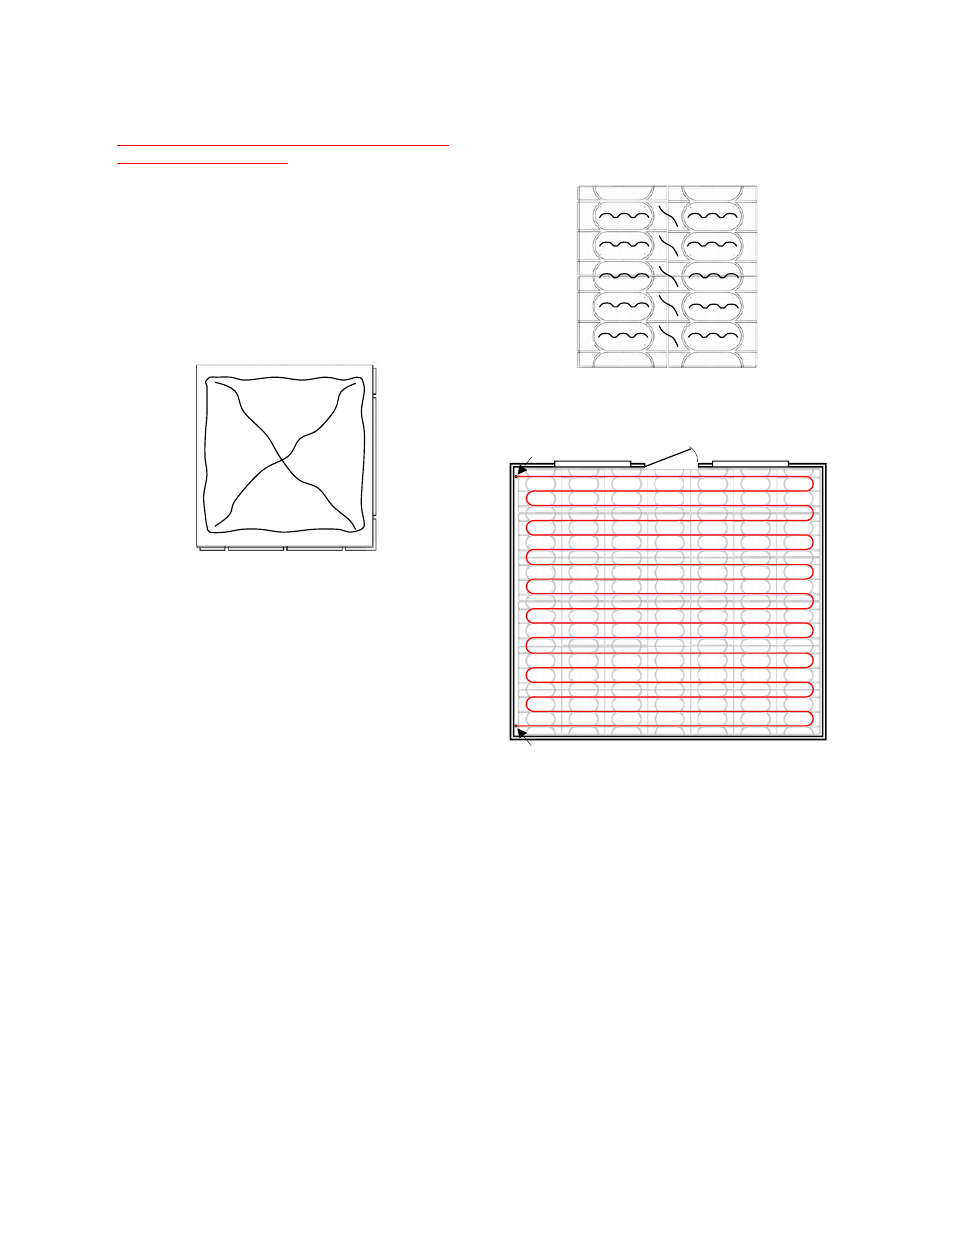
Using an 1/8” bead, apply the adhesive around
the perimeter of the board approximately 1”
from the edge. Complete the adhesive cover-
age by applying an “X” from corner to corner.
*Take care to ensure that adhesive does not
come into contact with PEX tubing.
Floating Board Installation
InfloorBoard II™ may also be installed without
physically attaching it to the subfloor. This appli-
cation is typically used for installation over a
concrete slab or where subfloor penetrations
are not desired. A floating board installation is
not recommended for tile or stone finish floors.
Note: It is important in a floating board installa-
tion to stagger the seams between rows of
boards. This will provide for a more stable floor.
At the start of the second row, cut 8” off of the
first board. Continue to cut the first board on
every other row making sure that the surface
grooves line up with previous rows.
There are two methods for installing “floating”
boards. First, boards may be edge glued similar
to laminate flooring installation. Use a quality
construction adhesive and follow the manufac-
turer’s instructions. Wipe all excess adhesive
from the grooves and joints taking care to en-
sure that adhesive will not be in contact with the
PEX tubing. The second method is to apply a
plywood cover sheet overtop of a “dry” fit (not
edge glued) InfloorBoard II™ installation. After
the PEX tubing has been installed (see
Install
PEX Tubing), the cover sheet should be glued
and screwed to the boards. Apply construction
adhesive to the boards maintaining at least a 2”
clearance from all surface grooves. After gluing,
screw the cover sheet to the InfloorBoard II™
using 12” on center screw spacing.
InfloorBoard II™ Layout
It is best to utilize a floor plan to determine the
optimum board layout. Using a carpenters
square, determine if the room itself is square. If
necessary, snap a chalk line to follow. In gen-
eral, the first board should be placed in a far
exterior corner of the room so that the straight
runs of tubing will be parallel to the exterior wall
of highest heat loss. This and all other boards
should be maintained aprox. 3/8”” from the
walls
. *Place temporary 3/8” spacers be-
tween the wall and InfloorBoard II™. These
will be removed after installation is com-
plete. The two “tongue” edges should be facing
the two walls. This leaves the recessed “groove”
edges exposed towards the room. As you con-
tinue to place down the boards, the grooved
edges will now remain exposed for easier tap-
ping of the boards (using a rubber or other
Adhesive Layout
Supply
Return
Adhesive Layout