Hypertherm HT200LHF-200 Volt HySpeed User Manual
Page 99
MAINTENANCE
5-10
HySpeed HT2000LHF
Instruction Manual
6
Problem
Possible Causes
/ Solutions
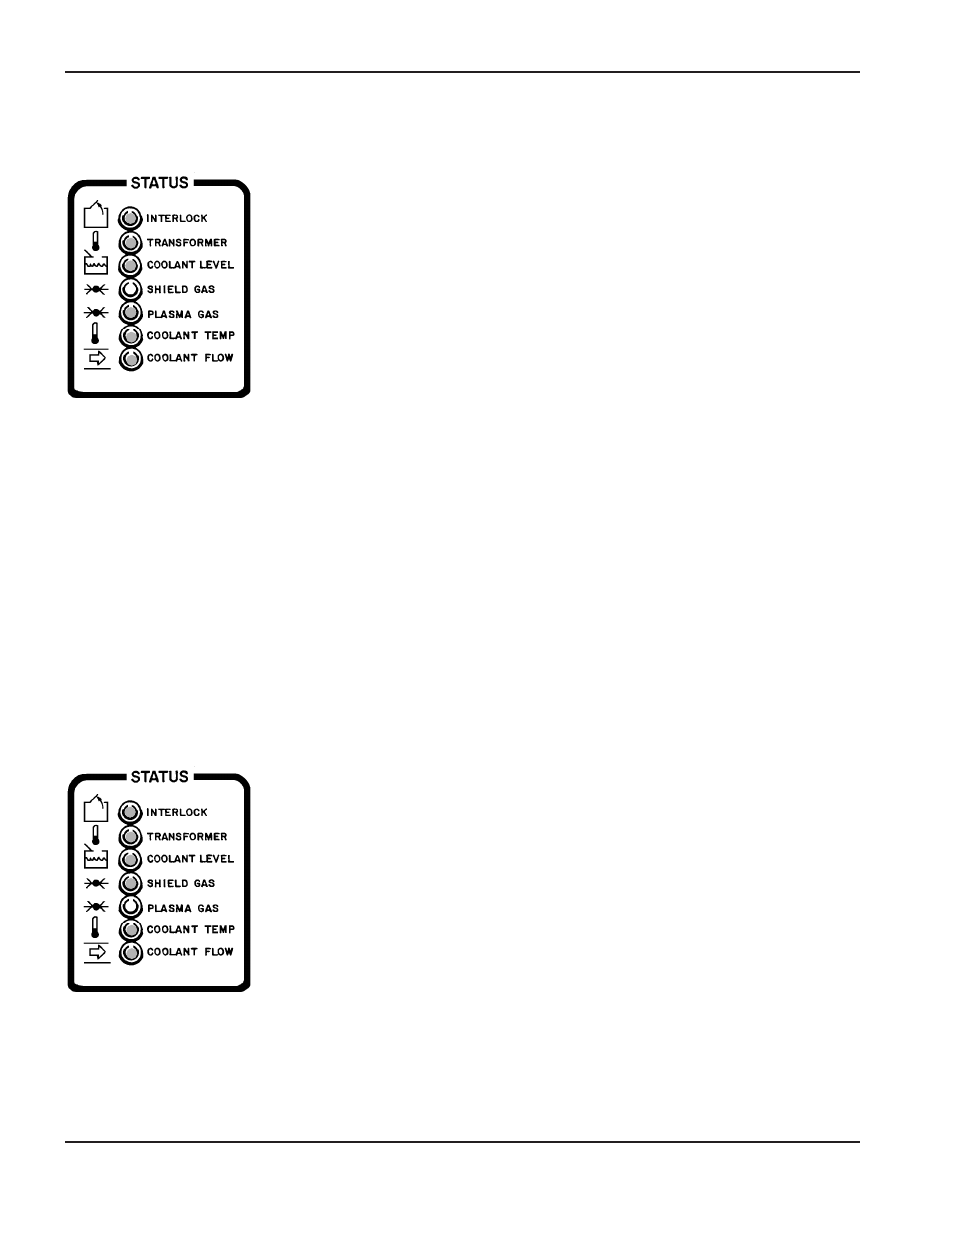
5. PLASMA GAS LED illuminated:
5.1. Plasma gas pressure is too low.
This LED will extinguish when PS1 and/or PS2 in the gas
console senses plasma gas pressure of 80 psi (5.5 bar) or
greater.
• Verify that the plasma gas supply is set to 120 psi (8.3 bar) as
defined in the
Specifications
section of this manual.
• Verify that all plasma gas connections are secure, and that
there are no leaks in any hoses connected to the gas console.
5.2. Pressure switches PS1 and/or PS2 not functioning.
These switches are normally open, and close when plasma gas
pressure is at or above 80 psi (5.5 bar). After PS1 and PS2 are
closed (in O
2
mode) or PS1 is closed (in N
2
mode), the Plasma
Gas LED extinguishes.
• Using the wiring diagrams, check pins, connectors and wiring
from the power distribution board (PCB1) to PS1 and PS2.
Repair and/or replace defective component(s), if necessary.
4. SHIELD GAS/CAP LED illuminated:
4.1. Shield gas pressure is too low.
This LED will extinguish when shield gas pressure of 12 psi
(0.83 bar) or greater is sensed by PS3 (located in the power
supply).
• Check to see that the shield gas supply is set to 90 psi (6.2
bar) as defined in the
Specifications
section of this manual.
• Verify that all shield gas connections are secure, and that
there are no leaks in any hoses connected to the power
supply or gas console.
4.2. Torch cap not tightened securely.
If the torch retaining cap is not tightened securely, or there is
debris in the retaining cap, the shield gas may escape and
cause pressure switch PS3 to remain open.
• Listen at the torch for a hissing sound during startup.
• Remove the retaining cap and check for debris or O-ring
damage. Clean or replace, if necessary. See
Changing
Consumable Parts
in the
Operation
section.
4.3
.
Pressure switch PS3 in the power supply is not functioning.
PS3 is normally open, and closes when shield gas pressure is
12 psi (0.83 bar) or greater.
• Using the wiring diagrams, check pins, connectors and wiring
from the power distribution board (PCB1) to PS3.
Repair and/or replace defective component(s), if necessary.