Bearing replacement – Greenheck USF and CSW (479870) User Manual
Page 15
Utility and Centrifugal Fans
15
®
For Arr. 1, 3, 8, 9 or 10
The intent of this procedure is to allow a field service
technician to replace bearings with the fan remaining
in place in its intended application. All work can
be conducted by accessing the bearings by either
removing a shaft guard, a weatherhood or working
under a weatherhood. This is dependent on the size
of the unit. This procedure assumes the power source
has been locked out prior to removing guards and
covers, belts and pulleys have been loosened and
removed properly and extended lubrication lines have
been disconnected at the bearing. In some cases,
it may be necessary to remove the fan inlet cone
and wheel if the bearings cannot be removed due to
corrosion or damage. See Radial Gap, Overlap and
Wheel Alignment on page 9 to the realign wheel upon
installation.
Bearing Removal
This procedure assumes proper safety measures have
been taken.
• Read and follow all instructions carefully.
• Disconnect and lock-out power before installation
and maintenance.
• Driven sheaves and belts have already been
removed.
• Arr. 8 fans will need the coupler removed, the motor
feet marked, and slid back far enough for bearing
removal. For reinstallation of coupler, follow the
coupler manufacturers’ installation procedures.
• Arr. 3 fans will need the inlet ducting removed to
access the non-drive bearing removal.
• Shaft black coating can be removed with a solvent
similar to a brake/carburetor cleaner.
1. Scribe a line around the shaft by both bearings
and around the bearing base to the bearing
support or write down the measurement from the
end of the shaft to the bearings. This will help in
repositioning the new bearing and wheel cone
overlap.
2. Follow the bearing manufacturers’ procedures for
removal and installation.
3. Before removing the bearing bolts, make sure the
shaft is supported slightly. Remember to consider
the wheel weight on the shaft. (Arr. 3 may need
the wheel to be suspended through an access
door on top of the fan.)
4. Remove both bearings from the shaft and clean/
remove any burrs using an emery cloth or file.
5. Clean mounting surface of any dirt or grease.
Bearing Installation
1. Before installing, read bearing manufacturers’
procedures. Before putting the new bearings on
the shaft, you may need to break what is called
swivel torque on the bearings (depending on style
of bearing). This is done by holding the bearing
housing securely and being able to move the
inner bearing race around freely.
2. Apply light film of oil on shaft, then gently slide
the new bearings onto the shaft.
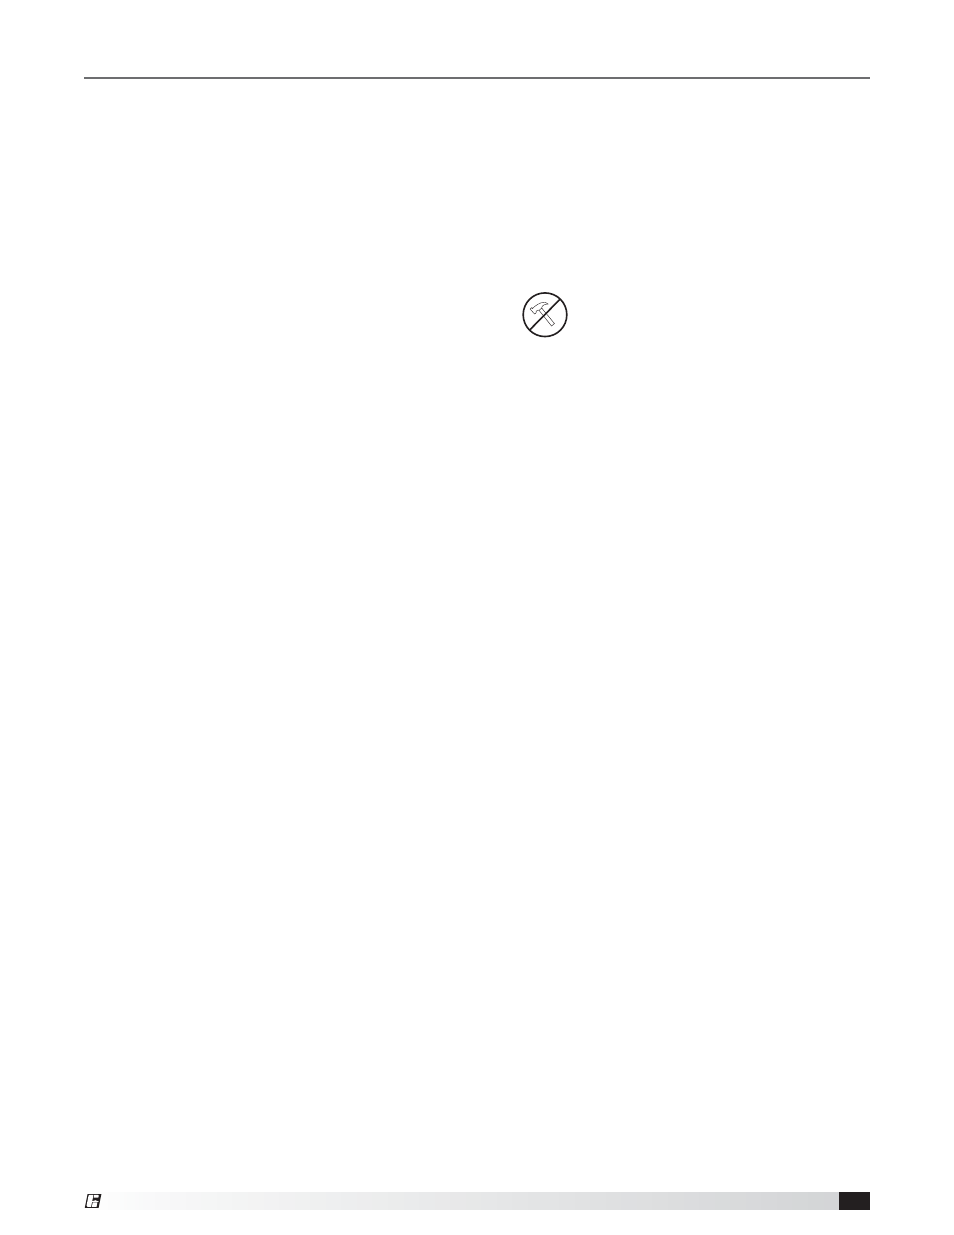
Do not hammer bearing onto shaft!
3. Align bearings on shaft with the previous scribe
marks that are on the shaft and lock bearing to
shaft.
4. Put bolts into mounting surface and bearings. Do
not tighten.
5. Remove blocks if shaft is supported. (Arr. 3
release the weight of the wheel onto the bearing).
6. Set bearings on support with the scribed marks
locating the bearings. Make sure bearings are
square and level with the shaft.
7. Tighten bolts and torque bearing bolts, bearing
set screws/locking collars as per bearing
manufacturers’ procedures.
8. Rotate shaft by hand to help allow the bearings to
help set in. Also at this time, listen for any unusual
noises such as wheel rubbing on cone and any
bearing noise.
9. Connect extended lube lines in new bearings if
needed.
10. Reinstall the drive sheaves and belts. Check the
belt alignment.
11. Make sure to reinstall all guards and follow proper
safety measures before starting up the fan.
Bearing Replacement