Unit start-up – Greenheck Housed Plenum Array , Plug and Plenum Fans (475405) User Manual
Page 10
10
Housed Plenum Array, Plug and Plenum
Unit Start-Up
Additional Steps for Initial Start-Up
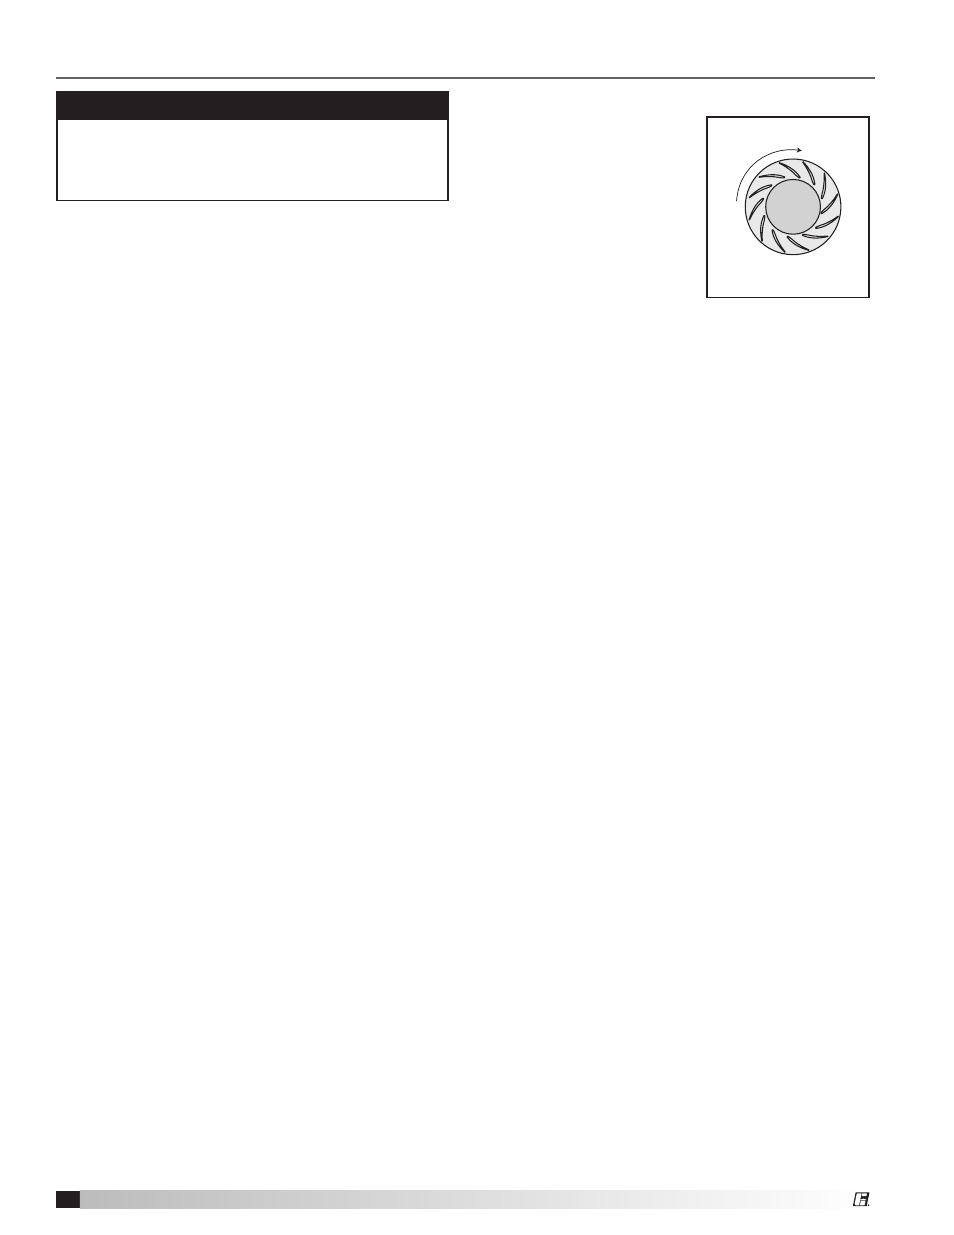
1. Check for proper wheel
rotation by momentarily
energizing the fan. Rotation
is always determined by
viewing the wheel from
the drive side and should
correspond to the rotation
decal affixed to the unit.
Note: One of the most
frequently encountered
problems with centrifugal
fans is motors which are wired to run in the wrong
direction. This is especially true with 3-phase
installations where the motor will run in either
direction, depending on how it has been wired. To
reverse rotation of a 3-phase motor, interchange any
two of the three electrical leads. Single phase motors
can be reversed by changing internal connections as
described on the motor label or wiring diagram.
2. Fans with multi-speed motors should be checked on
low speed during initial start-up.
3. Check for unusual noise, vibration or overheating of
bearings. Refer to the “Troubleshooting” section of
this manual if a problem develops.
4. Grease may be forced out of the bearing seals during
initial start-up. This is a normal self-purging feature
of this type of bearing.
WARNING
Disconnect and secure to the “Off” position all
electrical power to the fan prior to inspection or
servicing. Failure to comply with this safety precaution
could result in serious injury or death.
R
O
TA
TIO
N
Always viewed from
the drive side.
Airfoil Wheel Rotation
Visual Inspection of Equipment
The equipment type and arrangement should be
verified as ordered at once when it arrives at the jobsite.
When a discrepancy is found, the local Greenheck
Fan Corporation Sales Representative must be
notified immediately so that corrective action may
be investigated, also verify electrical conformance
to specifications. Unauthorized alterations and
unauthorized backcharges will not be recognized by
Greenheck Fan Corporation.
After the unit has been assembled, installed and all
utilities have been hooked up, the unit is now ready for
operation.
Check
Before starting the unit, check the following:
1. Confirm that building supply voltage matches the
voltage for which the unit is wired.
2. Disconnect and lock-out all power switches to fan.
See warning below.
3. Check all piping and wiring penetrations made by
contractors for water tightness. All penetrations
must be made watertight to prevent water damage
to the unit and building.
4. Check all fasteners, set screws and locking collars
on the fan, bearings, drive, motor base and
accessories for tightness.
5. Rotate the fan wheel by hand and assure no parts
are rubbing. Remove any dirt or debris that may
have accumulated during installation.
6. Check for bearing alignment and lubrication.
7. Check the V-belt drive for proper alignment and
tension.
8. Check all guarding (if supplied) for being securely
attached and not interfering with rotating parts.
9. Check all electrical connections for proper
attachment.
10. Check for obstructions and foreign material that
may damage the fan wheel.